To keep drain water from going back into the washer:

Do not straighten the drain hose, and do not force excess drain hose into standpipe. Hose should be secure, but loose enough to provide a gap for air.

Do not lay excess hose on the bottom of the laundry tub.

Floor drain

You may need additional parts. See Floor drain under “Tools and Parts.”

Secure the Drain Hose

1.Drape the power cord over the washer top.

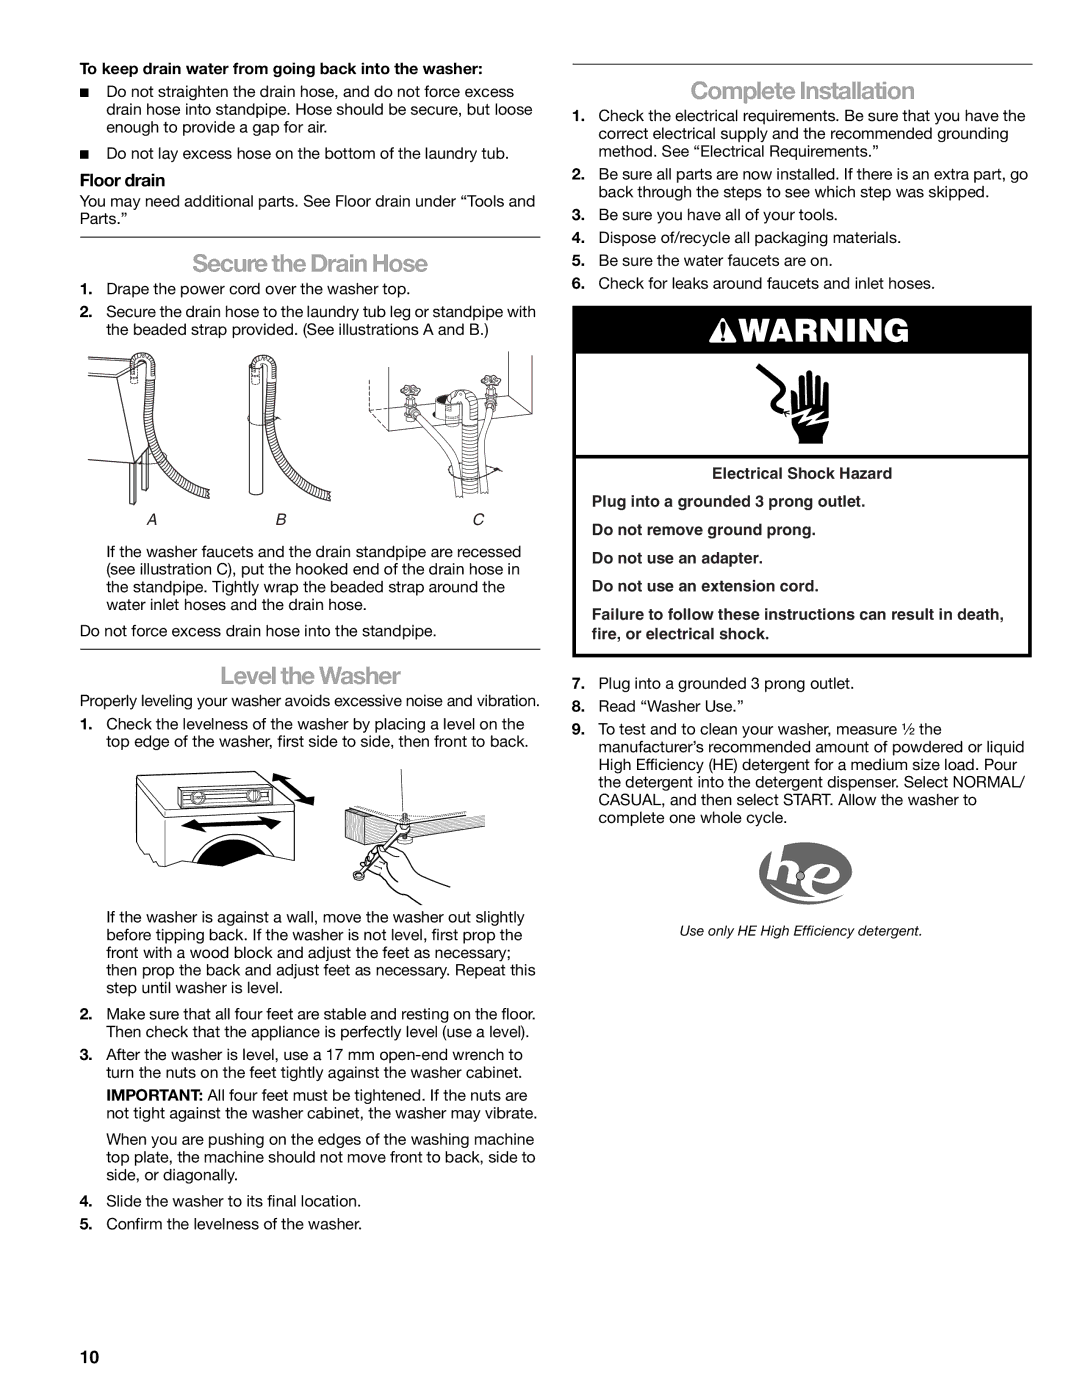
2.Secure the drain hose to the laundry tub leg or standpipe with the beaded strap provided. (See illustrations A and B.)

ABC

If the washer faucets and the drain standpipe are recessed (see illustration C), put the hooked end of the drain hose in the standpipe. Tightly wrap the beaded strap around the water inlet hoses and the drain hose.

Do not force excess drain hose into the standpipe.

Level the Washer

Properly leveling your washer avoids excessive noise and vibration.

1.Check the levelness of the washer by placing a level on the top edge of the washer, first side to side, then front to back.

If the washer is against a wall, move the washer out slightly before tipping back. If the washer is not level, first prop the front with a wood block and adjust the feet as necessary; then prop the back and adjust feet as necessary. Repeat this step until washer is level.

2.Make sure that all four feet are stable and resting on the floor. Then check that the appliance is perfectly level (use a level).

3.After the washer is level, use a 17 mm open-end wrench to turn the nuts on the feet tightly against the washer cabinet.

IMPORTANT: All four feet must be tightened. If the nuts are not tight against the washer cabinet, the washer may vibrate.

When you are pushing on the edges of the washing machine top plate, the machine should not move front to back, side to side, or diagonally.

4.Slide the washer to its final location.

5.Confirm the levelness of the washer.

Complete Installation

1.Check the electrical requirements. Be sure that you have the correct electrical supply and the recommended grounding method. See “Electrical Requirements.”

2.Be sure all parts are now installed. If there is an extra part, go back through the steps to see which step was skipped.

3.Be sure you have all of your tools.

4.Dispose of/recycle all packaging materials.

5.Be sure the water faucets are on.

6.Check for leaks around faucets and inlet hoses.

WARNING

Electrical Shock Hazard

Plug into a grounded 3 prong outlet.

Do not remove ground prong.

Do not use an adapter.

Do not use an extension cord.

Failure to follow these instructions can result in death, fire, or electrical shock.

7.Plug into a grounded 3 prong outlet.

8.Read “Washer Use.”

9.To test and to clean your washer, measure ¹⁄₂ the manufacturer’s recommended amount of powdered or liquid High Efficiency (HE) detergent for a medium size load. Pour the detergent into the detergent dispenser. Select NORMAL/ CASUAL, and then select START. Allow the washer to complete one whole cycle.

Use only HE High Efficiency detergent.

10

Page 10
Image 10
Kenmore 110.4708, 110.4709 manual Secure the Drain Hose, Level the Washer, Complete Installation, Floor drain

110.4708, 110.4709, 110.4708 specifications

The Kenmore 110.4708 and 110.4709 are top-loading washing machines that stand out in the Kenmore lineup for their reliable performance and user-friendly features. Both models boast a robust design that ensures durability and efficiency, making them popular choices for households seeking dependable laundry solutions.

One of the main features of the Kenmore 110.4708 and 110.4709 is their large capacity. With a 3.5 cu. ft. drum, these machines can handle sizeable loads, allowing users to wash more clothes in one cycle, thereby saving time and energy. The high-efficiency design also means that these washers use less water and detergent compared to older models, making them environmentally friendly options as well.

Both models incorporate a range of wash cycles to accommodate different fabrics and soil levels. From delicate items to heavily soiled work clothes, users can choose from various settings, including normal, perm press, and delicate. This versatility ensures that all types of garments receive the appropriate care during washing.

Another noteworthy aspect is the easy-to-use control panel. With straightforward dial settings and options, users can quickly select the desired cycle and adjust water levels without any confusion. The large lid also makes loading and unloading laundry effortless, contributing to overall user convenience.

In terms of technology, the Kenmore 110.4708 and 110.4709 feature an advanced agitator system that efficiently distributes water and detergent throughout the wash, improving cleaning performance. These models also come equipped with a dual-action agitator that helps to lift and separate clothes, enhancing their ability to remove tough stains.

Energy efficiency is another strong suit of these washers. Both models are Energy Star certified, meaning they meet strict energy efficiency guidelines set by the U.S. Environmental Protection Agency. This certification assures users that they are reducing their environmental impact while also saving on utility bills.

In summary, the Kenmore 110.4708 and 110.4709 models exemplify the perfect combination of capacity, versatility, and energy efficiency. Their durable construction, user-friendly controls, and advanced washing technology make them excellent choices for households seeking reliable and efficient laundry appliances. These characteristics not only improve the washing experience but also foster a commitment to sustainability, making them a smart addition to any home.