Regardless of which burner cleaning procedure you use, we recommend you also complete the following steps to help prolong burner life.
1.Use a fiber pad or nylon brush to clean the entire outer surface of each burner until free of food residue and dirt.
2.Clean any clogged ports with a stiff wire, such as an open paper clip.
3.Inspect each burner for damage (cracks or holes) and if such damage is found, order and install a new burner. After installation check to ensure that gas
valve orifices are correctly placed inside the ends of the burner tubes.
!WARNING
Spiders and insects can nest inside the burners of the grill and disrupt gas flow. This very dangerous condition could cause a fire behind the valve panel, thereby damaging the grill and making it unsafe for operation. Inspect the grill at least twice a year.
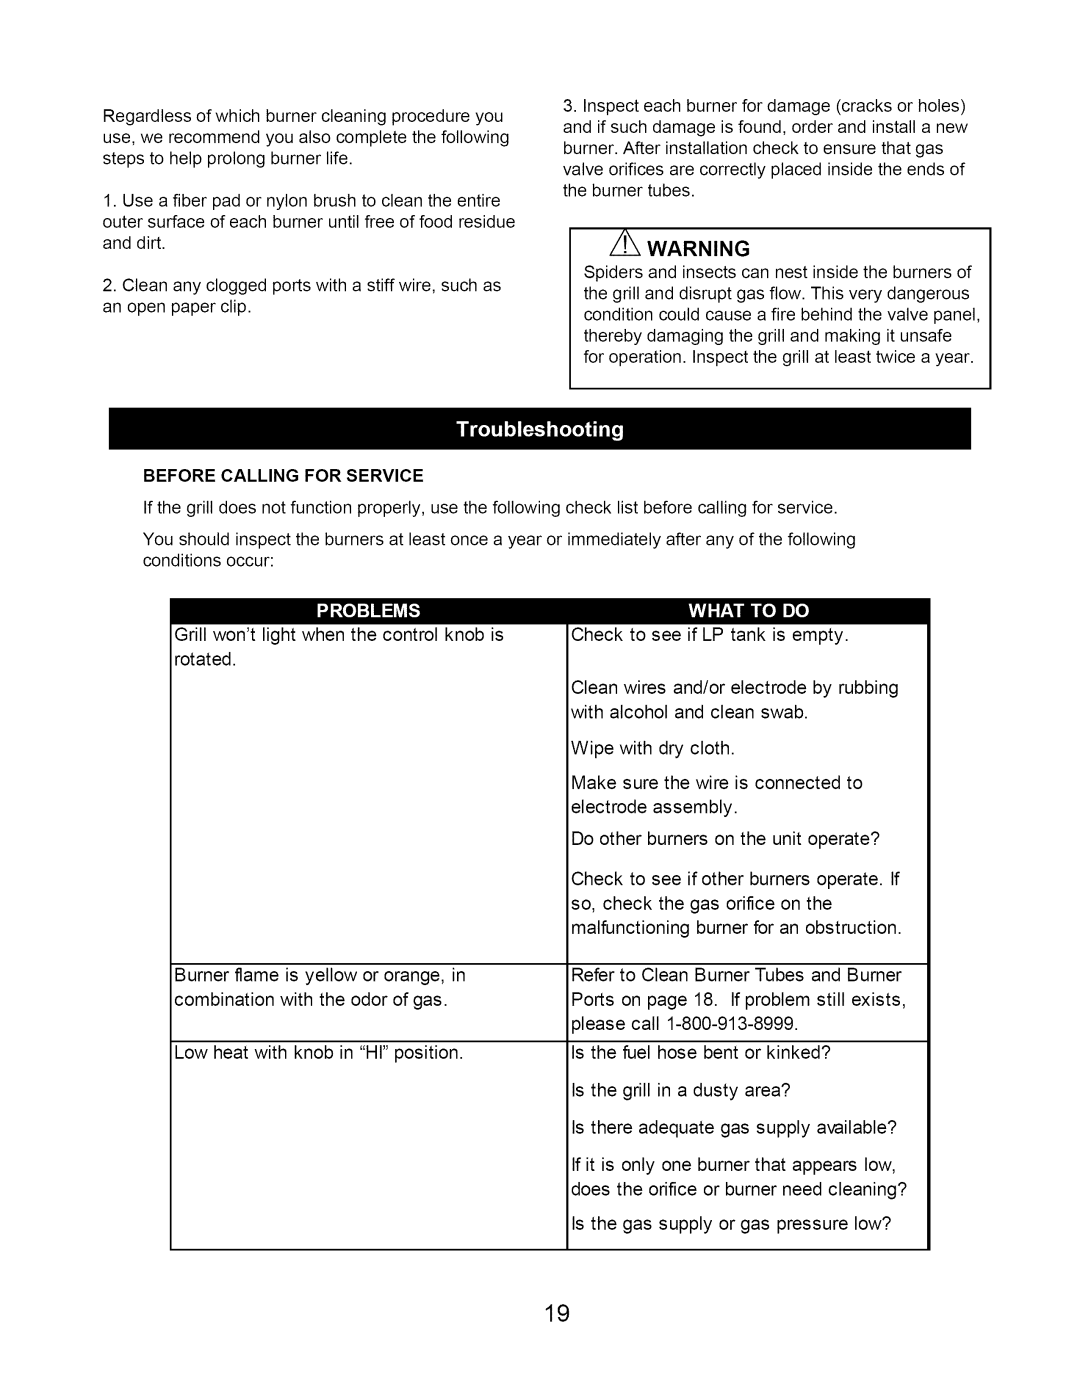
BEFORE CALLING FOR SERVICE
If the grill does not function properly, use the following check list before calling for service.
You should inspect the burners at least once a year or immediately after any of the following conditions occur:
Grill won't light when the control knob is rotated.
Burner flame is yellow or orange, in combination with the odor of gas.
Low heat with knob in "HI" position.
Check to see if LP tank is empty.
Clean wires and/or electrode by rubbing with alcohol and clean swab.
Wipe with dry cloth.
Make sure the wire is connected to electrode assembly.
Do other burners on the unit operate?
Check to see if other burners operate. If so, check the gas orifice on the malfunctioning burner for an obstruction.
Refer to Clean Burner Tubes and Burner Ports on page 18. If problem still exists, please call
Is the fuel hose bent or kinked?
Is the grill in a dusty area?
Is there adequate gas supply available?
If it is only one burner that appears low, does the orifice or burner need cleaning?
Is the gas supply or gas pressure low?
19
