Operating Instructions (cont'd)
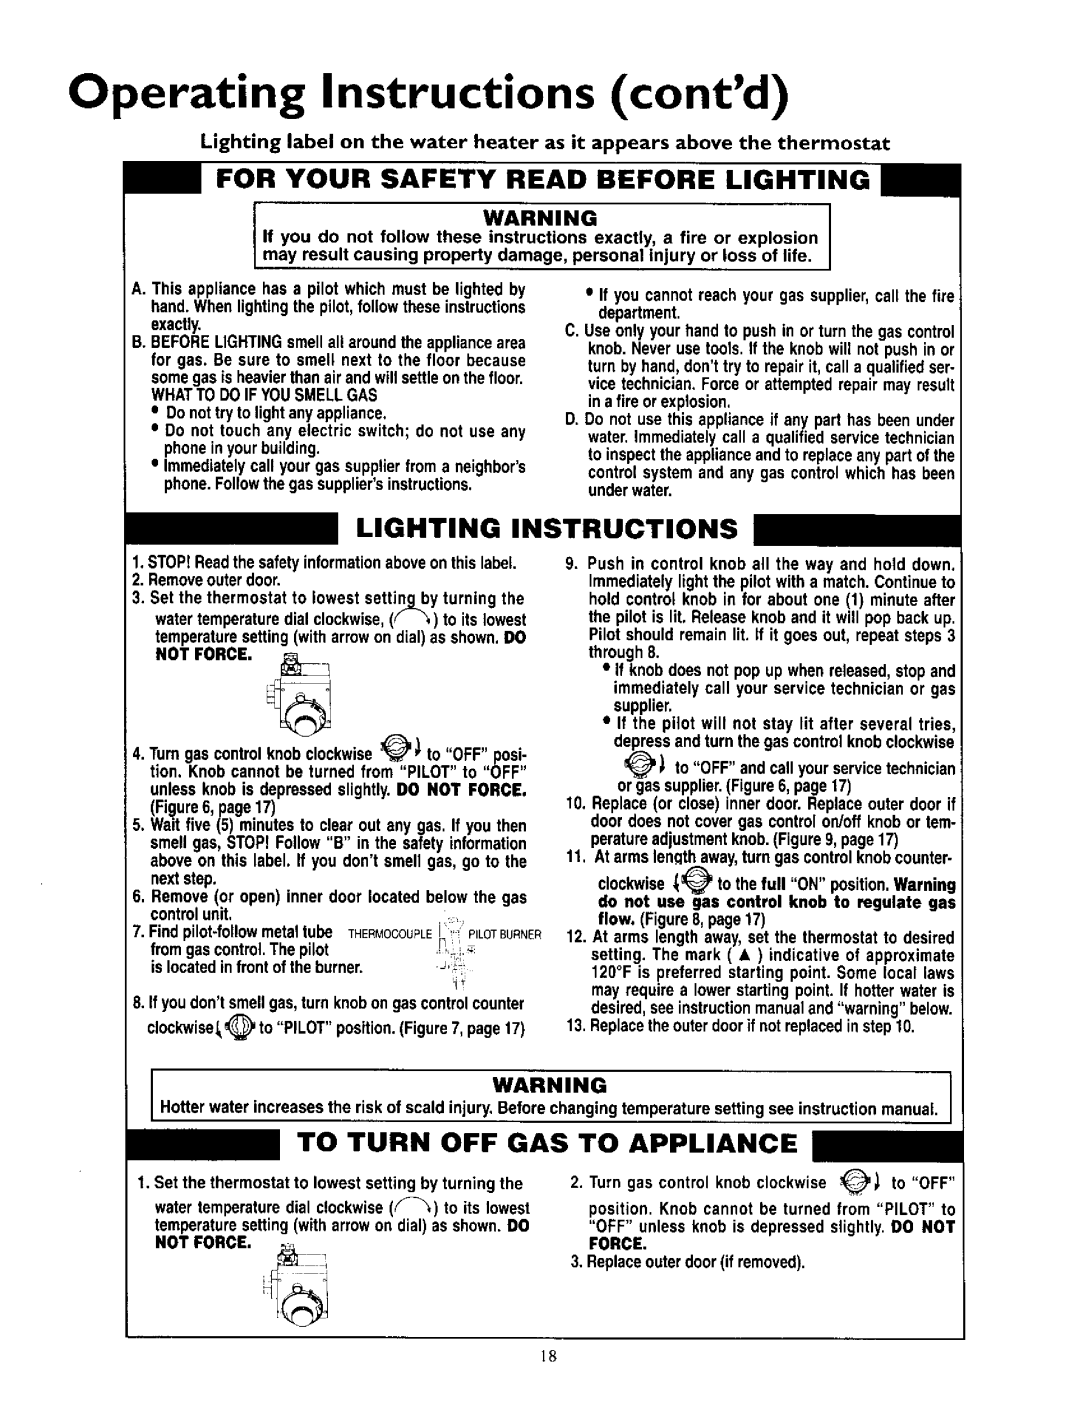
Lighting label on the water heater as it appears above the thermostat
FOR YOUR SAFETY READ BEFORE LIGHTINI
WARNING
If you do not follow these may resu t caus ng property
instructions exactly, a fire or explosion damage, personal injury or loss of life.
A.This appliancehas a pilot whichmust be lighted by hand.Whenlightingthe pilot,follow these instructions exactly.
B.BEFORELIGHTINGsmellall aroundthe appliancearea for gas. Be sure to smell next to the floor because
somegasis heavierthanair and willsettleon thefloor.
WHATTO DOIF YOUSMELLGAS
•Do nottry to lightanyappliance.
•Do not touch any electric switch; do not use any phonein yourbuilding.
•Immediatelycall yourgas supplierfroma neighbor's phone.Followthegassupplier'sinstructions.
•If you cannotreach your gas supplier,call the fire department.
C.Use onlyyourhandto pushin or turn the gas control knob.Neveruse tools.If the knobwill not pushin or turn byhand, don'ttry to repairit, call a qualifiedser- vice technician,Forceor attemptedrepairmay result in a fire or explosion,
D.Do not use this applianceif any part has been under water.Immediatelycall a qualifiedservicetechnician to inspectthe applianceandto replaceanypart of the
controlsystem and any gas controlwhichhas been underwater.
LIGHTING | INSTRUCTIONS |
| ||
1.STOP!Readthe safetyinformationaboveon this label. | 9. Push in control knob all the way and hold down. | |||
2. Removeouterdoor. |
| Immediatelylight the pilot with a match.Continueto | ||
3. Set the thermostat to lowest setting by turning the | hold controlknob in for about one (f) minuteafter | |||
watertemperaturedial clockwise,(( _,)to its lowest | the pilot is lit. Releaseknoband it will pop backup. | |||
temperaturesetting(witharrowon dial)as shown.DO | Pilot shouldremainlit. If it goes out, repeatsteps 3 | |||
NOT FORCE. |
| through8. |
| |
|
| • If knobdoesnot pop up when released,stop and | ||
|
| immediatelycall your service technicianor gas | ||
|
| supplier. |
| |
|
| • If the pilot will not stay lit after several tries, | ||
4. Turngas controlknobclockwise_'V _ to "OFF" posi- | depressand turn the gas controlknobclockwise | |||
_'_ to "OFF" and call yourservicetechnician | ||||
tion. Knob cannot be turned from "PILOT" to "OFF" | ||||
unlessknob is depressedslightly.DO NOT FORCE. | or gassupplier(Figure6,. page17) | |||
(Figure6, page17) |
| 10. Replace(or close) inner door.Replaceouterdoor if | ||
5. Wait five (5) minutesto clear out any gas. If you then | door does not covergas controlon/off knobor tem- | |||
smell gas, STOP!Follow"B" in the safety information | peratureadjustmentknob.(Figure9, page17) | |||
aboveon this label. If you don'tsmell gas, go to the | 11. At armslenqthaway,turn gascontro knobcounter- | |||
nextstep. |
| clockwise_ | to thefull "ON" position.Warning | |
6. Remove(or open) inner door located belowthe gas | do not use gas control knob to regulate gas | |
controlunit. | ||
flow. (Figure8, page17) | ||
|
7. Findpilot-followmetal tube THERMOCOUPLE I'l!,PILOTBURNER12. At arms length away,set the thermostatto desired
fromgascontrol.The pilot | _F__.,. | setting. The mark ( • ) indicative of approximate | |
is locatedin front of the burner. | - | ||
120°F is preferred starting point. Some local laws | |||
|
| ||
8. If youdon'tsmellgas,turn knobon gascontrolcounter | may requirea lowerstarting point.If hotterwateris | ||
desired,see instructionmanualand"warning" below. | |||
|
| ||
clockwiseL,@ to "PILOT" position.(Figure7, page17) | 13. Replacetheouterdoorif not replacedin step10. | ||
WARNING
Hotterwater increasesthe risk of scald injury,Before changingtemperature settingsee instructionmanual.
TO TURN OFF GAS TO APPLIANCE
1.Set the thermostat to lowest settingby turning the watertemperaturedial clockwise(F_) to its lowest
temperaturesetting(witharrowon dial)as shown.DO
NOT FORCE.
2. Turn gas control knob clockwise _t to "OFF"
position. Knob cannot be turned from "PILOT" to
"OFF" unless knob is depressedslightly. DO NOT
FORCE.
3. Replaceouterdoor(if removed).
]8