Before Setting Surface Controls
Cooktop display windows
The cooktop controls provide a digital display for each of the surface elements located on the cooktop. Power levels and messages are easily monitored and adjusted using the corresponding control keypads in combination with the window displays.
Available power level settings
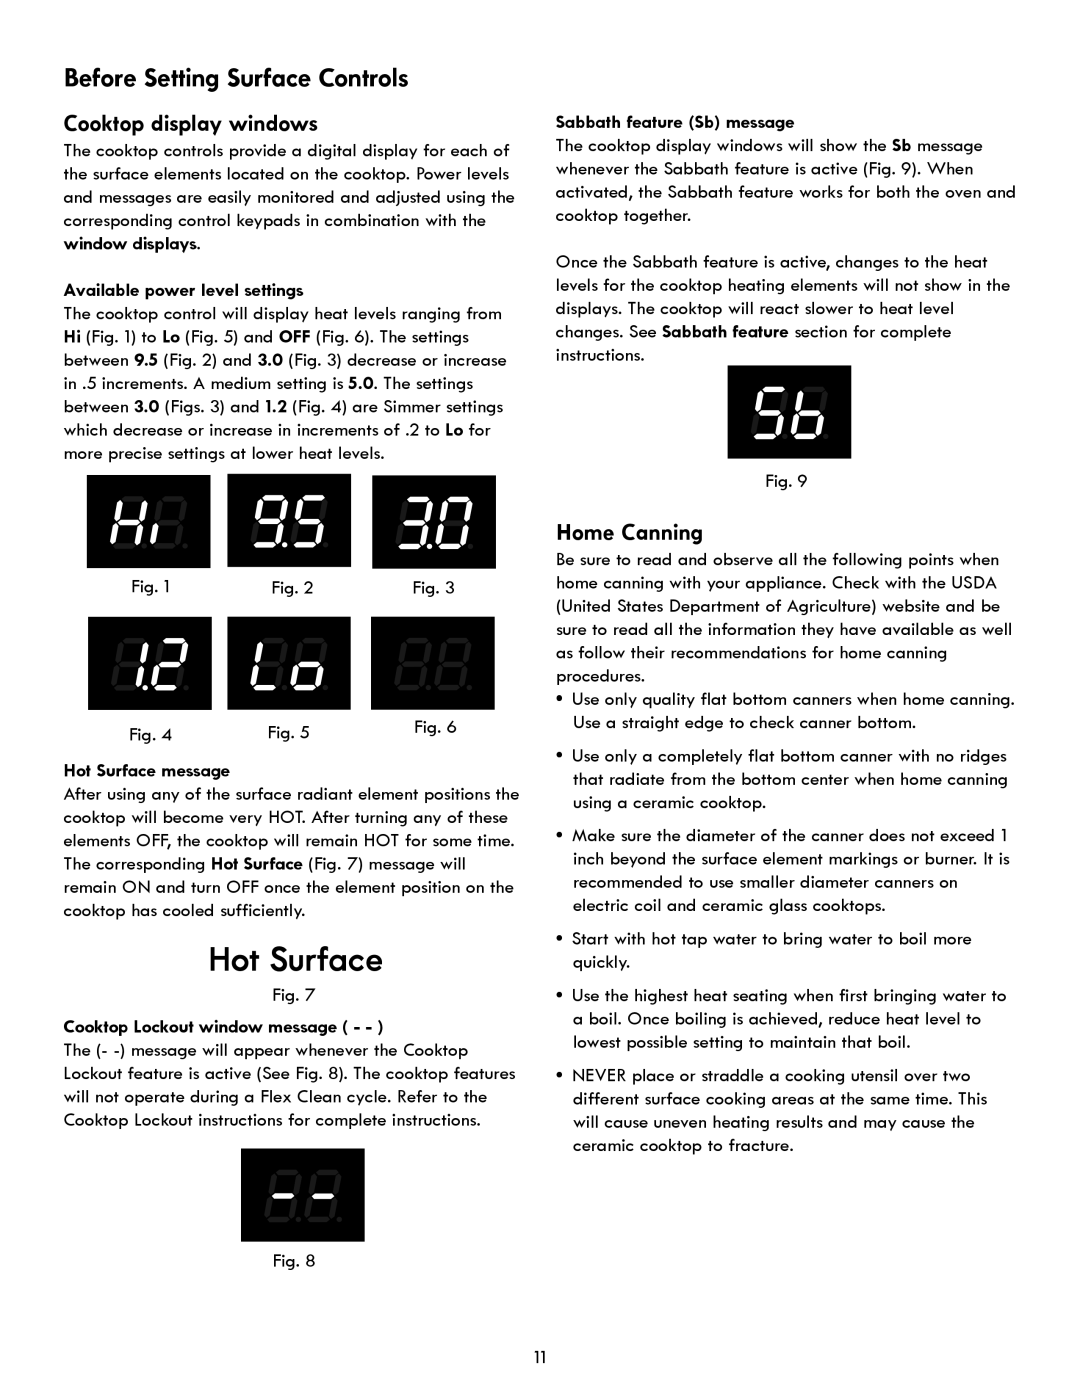
The cooktop control will display heat levels ranging from Hi (Fig. 1) to Lo (Fig. 5) and OFF (Fig. 6). The settings between 9.5 (Fig. 2) and 3.0 (Fig. 3) decrease or increase in .5 increments. A medium setting is 5.0. The settings between 3.0 (Figs. 3) and 1.2 (Fig. 4) are Simmer settings which decrease or increase in increments of .2 to Lo for more precise settings at lower heat levels.
Fig. 1 | Fig. 2 | Fig. 3 |
Fig. 4 | Fig. 5 | Fig. 6 |
|
Hot Surface message
After using any of the surface radiant element positions the cooktop will become very HOT. After turning any of these elements OFF, the cooktop will remain HOT for some time. The corresponding Hot Surface (Fig. 7) message will remain ON and turn OFF once the element position on the cooktop has cooled sufficiently.
Fig. 7
Cooktop Lockout window message ( - - )
The (-
Fig. 8
Sabbath feature (Sb) message
The cooktop display windows will show the Sb message whenever the Sabbath feature is active (Fig. 9). When activated, the Sabbath feature works for both the oven and cooktop together.
Once the Sabbath feature is active, changes to the heat levels for the cooktop heating elements will not show in the displays. The cooktop will react slower to heat level changes. See Sabbath feature section for complete instructions.
Fig. 9
Home Canning
Be sure to read and observe all the following points when home canning with your appliance. Check with the USDA (United States Department of Agriculture) website and be sure to read all the information they have available as well as follow their recommendations for home canning procedures.
•Use only quality flat bottom canners when home canning. Use a straight edge to check canner bottom.
•Use only a completely flat bottom canner with no ridges that radiate from the bottom center when home canning using a ceramic cooktop.
•Make sure the diameter of the canner does not exceed 1 inch beyond the surface element markings or burner. It is recommended to use smaller diameter canners on electric coil and ceramic glass cooktops.
•Start with hot tap water to bring water to boil more quickly.
•Use the highest heat seating when first bringing water to a boil. Once boiling is achieved, reduce heat level to lowest possible setting to maintain that boil.
•NEVER place or straddle a cooking utensil over two different surface cooking areas at the same time. This will cause uneven heating results and may cause the ceramic cooktop to fracture.
11