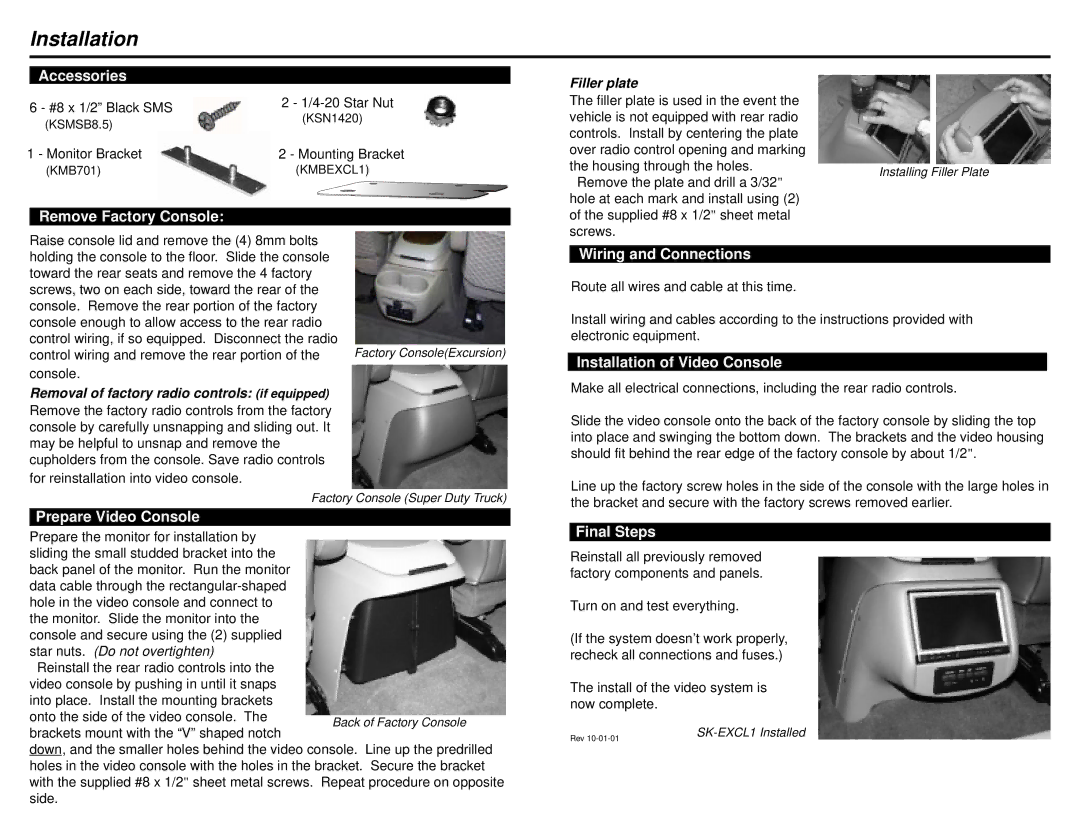
Factory Console (Super Duty Truck)
Back of Factory Console

Installation

Accessories

6 - #8 x 1/2” Black SMS

2 - 1/4-20 Star Nut

(KSN1420)

(KSMSB8.5)


1 - Monitor Bracket

2 - Mounting Bracket

(KMB701)

(KMBEXCL1)

Remove Factory Console:

Raise console lid and remove the (4) 8mm bolts


holding the console to the floor. Slide the console


toward the rear seats and remove the 4 factory


screws, two on each side, toward the rear of the


console. Remove the rear portion of the factory


console enough to allow access to the rear radio


control wiring, if so equipped. Disconnect the radio

Factory Console(Excursion)

control wiring and remove the rear portion of the

console.


Removal of factory radio controls: (if equipped)

Remove the factory radio controls from the factory console by carefully unsnapping and sliding out. It may be helpful to unsnap and remove the cupholders from the console. Save radio controls for reinstallation into video console.

Prepare Video Console

Prepare the monitor for installation by sliding the small studded bracket into the back panel of the monitor. Run the monitor data cable through the rectangular-shaped hole in the video console and connect to the monitor. Slide the monitor into the console and secure using the (2) supplied star nuts. (Do not overtighten)

Reinstall the rear radio controls into the video console by pushing in until it snaps into place. Install the mounting brackets onto the side of the video console. The

Filler plate

The filler plate is used in the event the vehicle is not equipped with rear radio controls. Install by centering the plate over radio control opening and marking

the housing through the holes.Installing Filler Plate Remove the plate and drill a 3/32"

hole at each mark and install using (2) of the supplied #8 x 1/2" sheet metal screws.

Wiring and Connections

Route all wires and cable at this time.

Install wiring and cables according to the instructions provided with electronic equipment.

Installation of Video Console

Make all electrical connections, including the rear radio controls.

Slide the video console onto the back of the factory console by sliding the top into place and swinging the bottom down. The brackets and the video housing should fit behind the rear edge of the factory console by about 1/2".

Line up the factory screw holes in the side of the console with the large holes in the bracket and secure with the factory screws removed earlier.

Final Steps

Reinstall all previously removed factory components and panels.

Turn on and test everything.

(If the system doesn’t work properly, recheck all connections and fuses.)

The install of the video system is now complete.

brackets mount with the “V” shaped notch

down, and the smaller holes behind the video console. Line up the predrilled holes in the video console with the holes in the bracket. Secure the bracket with the supplied #8 x 1/2" sheet metal screws. Repeat procedure on opposite side.

Rev 10-01-01

SK-EXCL1 Installed

Page 2
Image 2
Kenwood SK-EXCL1 Accessories, Remove Factory Console, Prepare Video Console, Wiring and Connections, Final Steps

SK-EXCL1 specifications

The Kenwood SK-EXCL1 is a state-of-the-art kitchen appliance designed to enhance culinary experiences with remarkable precision and ease. This multifunctional kitchen machine is not only a mixer but also an all-in-one solution for various cooking tasks, making it an essential addition to any modern kitchen.

One of the standout features of the SK-EXCL1 is its powerful motor that delivers exceptional mixing performance. With variable speed settings, users can easily adjust the speed according to their needs, whether they are kneading dough, whipping cream, or mixing batter. This versatility allows for precise control, ensuring the best results for a wide variety of recipes.

Another notable characteristic of the SK-EXCL1 is its large mixing bowl capacity, which accommodates large batches of ingredients. This is particularly useful for families or those who enjoy entertaining guests, as it allows for efficient preparation of meals and treats. The bowl is also crafted from high-quality stainless steel, ensuring durability and ease of cleaning.

Incorporating advanced technology, the Kenwood SK-EXCL1 comes with a patented planetary mixing action, which ensures that all ingredients are thoroughly mixed without leaving any dry spots. This innovative mixing technique mimics the action of hand mixing while saving time and effort.

Additionally, the SK-EXCL1 includes various attachments designed for specific tasks. These attachments, such as the dough hook, whisk, and flat beater, are easily interchangeable, allowing users to switch between tasks with minimal effort. The machine is compatible with a range of optional accessories, further expanding its capabilities for food preparation, including food processors, strains, and pasta makers.

Safety is also a priority in the design of the SK-EXCL1, featuring a safety lock system that prevents operation unless the bowl and attachments are securely in place. This thoughtful design helps minimize the risk of accidents in the kitchen.

In summary, the Kenwood SK-EXCL1 stands out as a multifunctional kitchen mixer that combines power, versatility, and safety. With its robust motor, advanced mixing technology, and a range of attachments, it is an invaluable tool for both novice cooks and experienced chefs alike. Whether you're preparing a simple meal or an elaborate feast, the SK-EXCL1 simplifies the cooking process, making it a must-have for anyone looking to elevate their culinary skills.