Operation

Please read all instructions before using this appliance.

To make Toasted Sandwiches

1.Close the lid of the snack maker.

2.Plug the appliance into the power supply. The red light will glow indicating that the snack maker is heating, whilst the green light remains off. Once the correct temperature for use has been reached the red light will go off and the green light will come on.

3.Whilst the snack maker is heating prepare the bread and filling.

4.For golden toasted sandwiches, spread butter on the outside of the bread. Beware of some spreads which are not suitable for toasting. Always select bread of a suitable size to fit the plates. Place the filling between the unbuttered sides of the bread. Ensure the sandwiches are evenly filled to assist with even browning.

5.Open the snack maker by pulling the handle latch outwards and lifting the lid (see fig. 1).

6.Place the sandwiches into the appliance (see fig. 2).

7.Close the lid, using a wooden spoon to hold the bread in place if necessary, until the handle latch locks. Do not force the lid closed. If the lid is difficult to close you may have too much filling or the bread slices may be too thick.

8.Allow the sandwich to toast for 3-8 minutes according to taste and ensuring that raw ingredients (eg bacon) are thoroughly cooked, alternatively, pre-cook them before toasting. Beware of steam which may escape from the front of the appliance.

9.Open the snack maker in one swift movement and remove the toasted sandwiches. Do not use a metal implement for this as it may damage the toasting plates.

10.After use, unplug the appliance and allow to cool.

To make Pastry Snacks

Ready made pastry sheets such as filo or puff pastry are ideal for making quick and easy snacks.

1.Place a suitably sized piece of pastry sheet onto the pre-heated cooking plate of your snack maker.

2.Form hollows in the pastry and spoon on the filling such as apple, ricotta cheese or vegetables.

3.Top with another piece of pastry sheet and close the lid.

4.Cook until the pastry is golden brown and the filling cooked

IMPORTANT

Be careful when biting into anything cooked in the snack maker, as some fillings such as cheese and jam can be extremely hot and will burn if eaten too quickly.

Cleaning

Remove the plug from the power supply before cleaning.

Do not clean the snack maker under running water and do not immerse in water.

To clean, allow the toasting plates to cool then wipe the appliance with a damp cloth plus a little washing up liquid if necessary. Dry carefully afterwards.

Storage

When the appliance is cool, the cord can be wrapped around the appliance.

Service

If the supply cord of this appliance is damaged, it must for safety reasons be replaced by Kenwood or an authorised Kenwood repairer.

UK

For any repairs in or out of guarantee, servicing or selected spare parts, contact your Kenwood Authorised Repairer in the Yellow Pages under Electrical Appliance Repairs or telephone 023 92392333 and ask for Customer Care.

EIRE

Contact local repairer from advertisement in the Golden Pages.

ALL OTHER MARKETS

Contact the dealer from whom you purchased your appliance.


LIMITED


New Lane • Havant • Hants • PO9 2NH


www.kenwood.co.uk

10006/2

SM400 series

Page 2
Image 2
Kenwood Snack Maker manual Limited

Snack Maker specifications

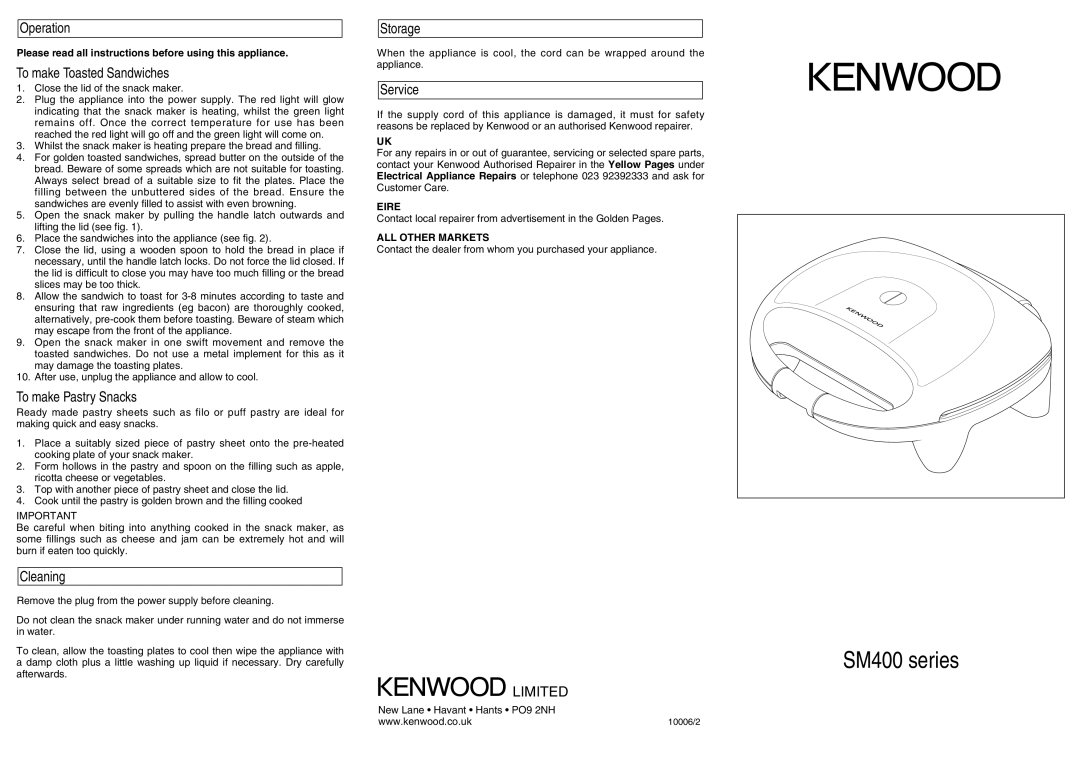
The Kenwood Snack Maker is a versatile kitchen appliance designed to enhance your culinary experience by providing a convenient way to make a variety of snacks. This innovative device is perfect for those who love to entertain, as well as for families looking for quick and easy meal solutions.

One of the standout features of the Kenwood Snack Maker is its multifunctionality. It is designed to prepare a wide range of snacks, from sandwiches and waffles to pancakes and wraps. This means you can enjoy a plethora of delicious options while minimizing your appliance count in the kitchen.

The Snack Maker employs advanced heating technology that ensures even cooking and consistent results every time. The non-stick cooking plates allow for easy food release and simple cleanup, making it a practical choice for busy cooks. With a power output that allows for quick preheating, you won't have to wait long to satisfy your cravings.

Another key characteristic of the Kenwood Snack Maker is its compact design. It fits easily into any kitchen setting, whether you have ample counter space or a cozy apartment. Additionally, its lightweight build makes it portable, so you can take it with you for picnics, camping, or even barbecues.

Safety is also a priority with the Snack Maker. It comes equipped with cool-touch handles, which prevent accidental burns while cooking. A built-in safety lock keeps the lid securely closed during the cooking process, ensuring food is cooked thoroughly and safely.

Customization is made easy due to the various cooking plates available. Depending on your culinary preferences, you can swap out the plates to create different dishes. The ability to make grilled sandwiches or fluffy waffles gives you the freedom to explore new recipes, catering to different tastes.

Lastly, the aesthetic appeal of the Kenwood Snack Maker cannot be overlooked. Its sleek design and modern finish will complement any kitchen decor, making it an attractive addition to your countertop.

In summary, the Kenwood Snack Maker is a feature-rich kitchen appliance that delivers versatility, efficiency, and safety. Whether you're a seasoned chef or a novice cook, this snack maker makes it easy to whip up treats that will delight your family and friends. Enjoy the convenience and innovation that this appliance brings to your cooking routine.