B70 specifications
The Keurig B70 represents a significant leap in the world of single-serve coffee makers, combining ease of use with advanced brewing technology. Targeted towards coffee lovers who appreciate convenience and customizability, this machine is a perfect companion for both home and office settings.One of the standout features of the Keurig B70 is its versatility. It is compatible with an extensive range of K-Cup pods, allowing users to brew various coffee flavors, teas, and even hot cocoa. Whether you prefer a bold coffee, a mild tea, or a rich chocolate drink, the B70 caters to all tastes. This flexibility makes it an ideal choice for households with varying preferences.
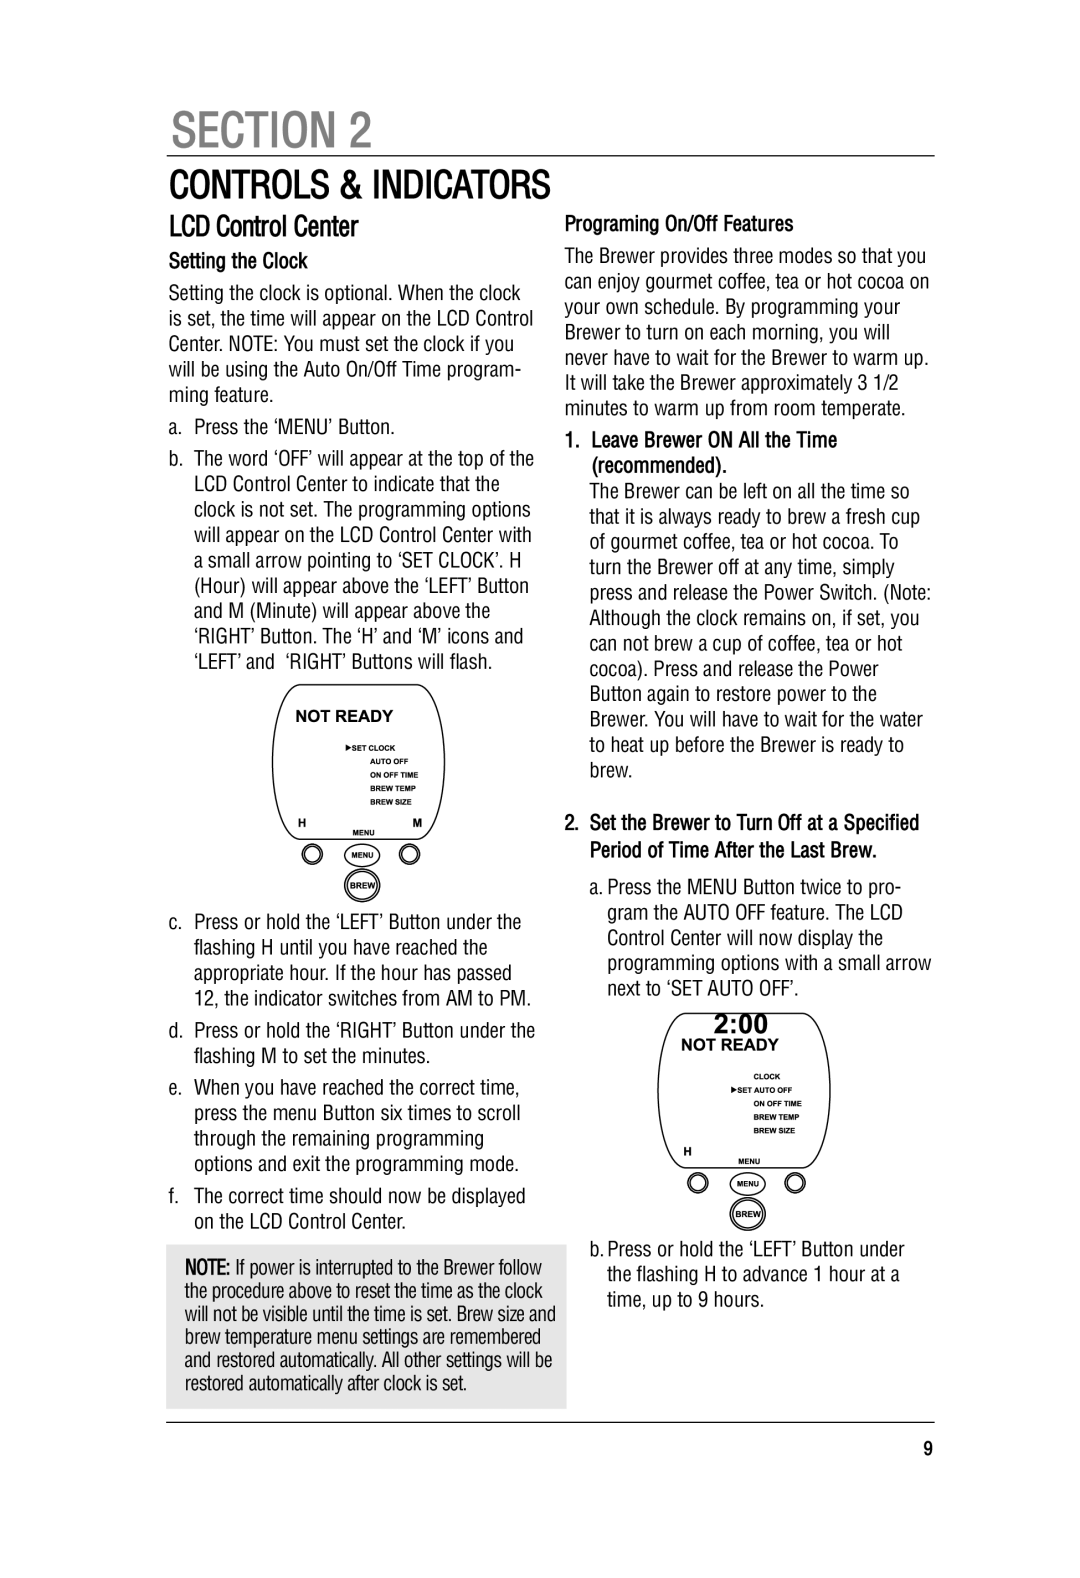
The B70 is equipped with a user-friendly control panel that simplifies the brewing process. Users can easily select their desired cup size, choosing from options such as 6, 8, or 10 oz. This feature ensures that everyone can enjoy their preferred strength of coffee or beverage. The machine also boasts a large water reservoir, reducing the need for frequent refilling and enhancing user convenience.
Another critical characteristic of the Keurig B70 is its brewing technology. The machine utilizes a patented brewing system that allows for a quick brew time of under a minute. This speed ensures that you can have a cup of your favorite beverage ready in moments, perfect for busy mornings or office breaks.
Additionally, the B70 comes with an adjustable temperature control, enabling users to customize the brewing temperature according to their preferences. This technology not only enhances the flavor extraction of the coffee but also ensures that the drink is served at the ideal drinking temperature.
In terms of design, the Keurig B70 features a sleek and modern look that fits seamlessly into any kitchen or workspace. Its compact size ensures it doesn’t occupy too much counter space, while its intuitive interface appeals to tech-savvy users.
Moreover, the B70 offers a programmable auto-off feature, promoting energy efficiency by turning the machine off after a certain period of inactivity. This is not only eco-friendly but also adds a layer of safety, particularly in households with children.
In summary, the Keurig B70 stands out with its combination of versatility, user-friendly design, and advanced brewing technologies. Whether you're a coffee connoisseur or a casual drinker, this machine promises a satisfying, quick, and customizable beverage experience, making it a valuable addition to any kitchen or office.

