Brewing
1. | Press the Power button. |
2. | Press the Brew button. Add Water and |
| |
3. | Lift the reservoir lid. |
4. | Pour water into the |
| reservoir until it reaches the rim of your |
4. Place the charcoal water filter in the | desired fill level on the water level guide |
(minimum 6 ounces.) Close the lid. | |
holder and snap the holder cover |
|
closed. Be careful – improper placement |
|
can tear the filter skin (see figure). |
|
5. Flush the filter and holder by running |
|
fresh water through the hole in bottom |
|
of compartment for 10 seconds. |
|
6. Allow the filter to drain completely. |
|
9.Wait until all the water has drained into the brewer before lowering the brewer handle completely.
10.The Brew button LED will remain on, indicating the water is heating.
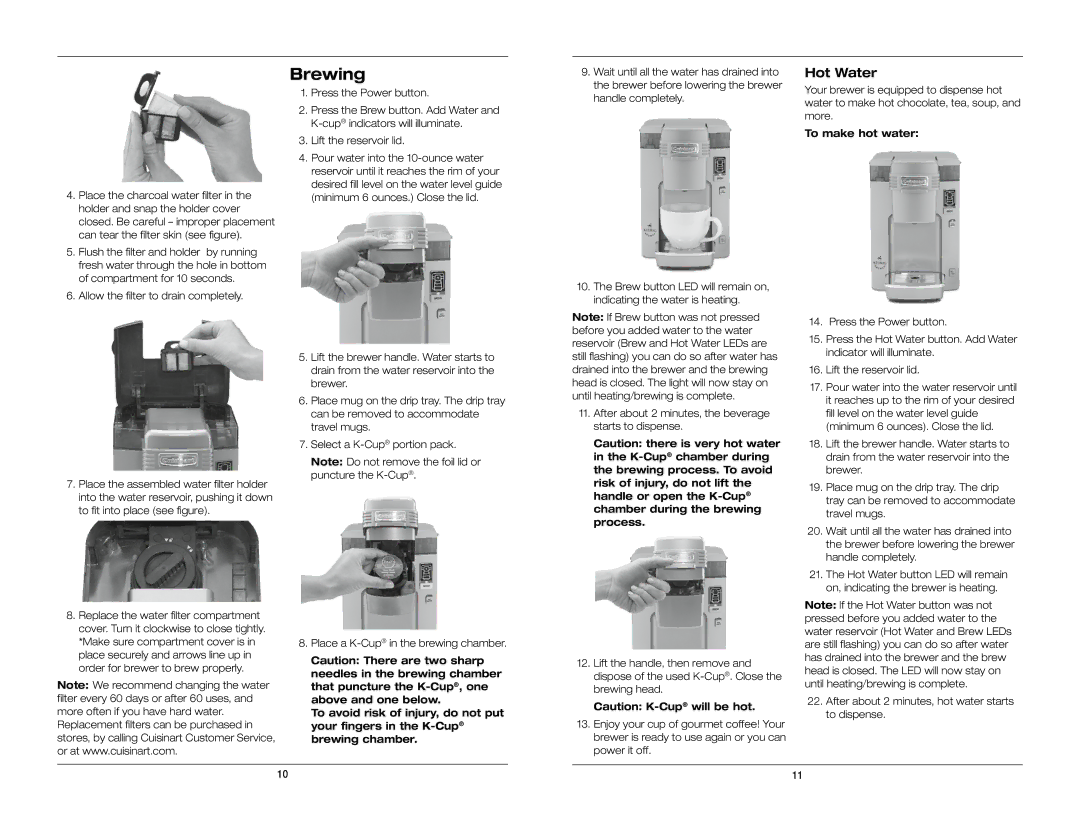
Hot Water
Your brewer is equipped to dispense hot water to make hot chocolate, tea, soup, and more.
To make hot water:
| 5. | Lift the brewer handle. Water starts to |
|
| drain from the water reservoir into the |
|
| brewer. |
| 6. | Place mug on the drip tray. The drip tray |
|
| can be removed to accommodate |
|
| travel mugs. |
| 7. | Select a |
|
| Note: Do not remove the foil lid or |
7. Place the assembled water filter holder |
| puncture the |
|
| |
into the water reservoir, pushing it down |
|
|
to fit into place (see figure). |
|
|
8. Replace the water filter compartment |
|
|
cover. Turn it clockwise to close tightly. |
|
|
*Make sure compartment cover is in | 8. | Place a |
place securely and arrows line up in |
| Caution: There are two sharp |
order for brewer to brew properly. |
| |
| needles in the brewing chamber | |
Note: We recommend changing the water |
| |
| that puncture the | |
filter every 60 days or after 60 uses, and |
| above and one below. |
more often if you have hard water. |
| To avoid risk of injury, do not put |
Replacement filters can be purchased in |
| your fingers in the |
stores, by calling Cuisinart Customer Service, |
| brewing chamber. |
or at www.cuisinart.com. |
|
|
|
|
|
| 10 |
|
Note: If Brew button was not pressed | 14. Press the Power button. | ||
before you added water to the water | |||
15. | Press the Hot Water button. Add Water | ||
reservoir (Brew and Hot Water LEDs are | |||
| indicator will illuminate. | ||
still flashing) you can do so after water has |
| ||
|
| ||
drained into the brewer and the brewing | 16. | Lift the reservoir lid. | |
head is closed. The light will now stay on | 17. | Pour water into the water reservoir until | |
until heating/brewing is complete. | |||
| it reaches up to the rim of your desired | ||
|
| ||
11. After about 2 minutes, the beverage |
| fill level on the water level guide | |
starts to dispense. |
| (minimum 6 ounces). Close the lid. | |
Caution: there is very hot water | 18. | Lift the brewer handle. Water starts to | |
in the |
| drain from the water reservoir into the | |
the brewing process. To avoid |
| brewer. | |
risk of injury, do not lift the | 19. | Place mug on the drip tray. The drip | |
handle or open the | |||
| tray can be removed to accommodate | ||
chamber during the brewing |
| ||
| travel mugs. | ||
process. |
| ||
20. | Wait until all the water has drained into | ||
| |||
|
| the brewer before lowering the brewer | |
|
| handle completely. | |
| 21. | The Hot Water button LED will remain | |
|
| on, indicating the brewer is heating. | |
| Note: If the Hot Water button was not | ||
| pressed before you added water to the | ||
| water reservoir (Hot Water and Brew LEDs | ||
| are still flashing) you can do so after water | ||
12. Lift the handle, then remove and | has drained into the brewer and the brew | ||
head is closed. The LED will now stay on | |||
dispose of the used | |||
brewing head. | until heating/brewing is complete. | ||
22. | After about 2 minutes, hot water starts | ||
Caution: | |||
13. Enjoy your cup of gourmet coffee! Your |
| to dispense. | |
|
| ||
brewer is ready to use again or you can power it off.
11