SECTION 6
Recycling the Vue® Pack’s Plastic Cup
Recycle your Vue® pack’s plastic cup wherever #5 plastic is accepted. #5 plastic may not be recyclable in your community today, so please check locally with your municipality or waste hauler, or visit www.vuerecycling.com for more information about recycling your Vue® pack’s plastic cup.
Simply follow these simple steps:
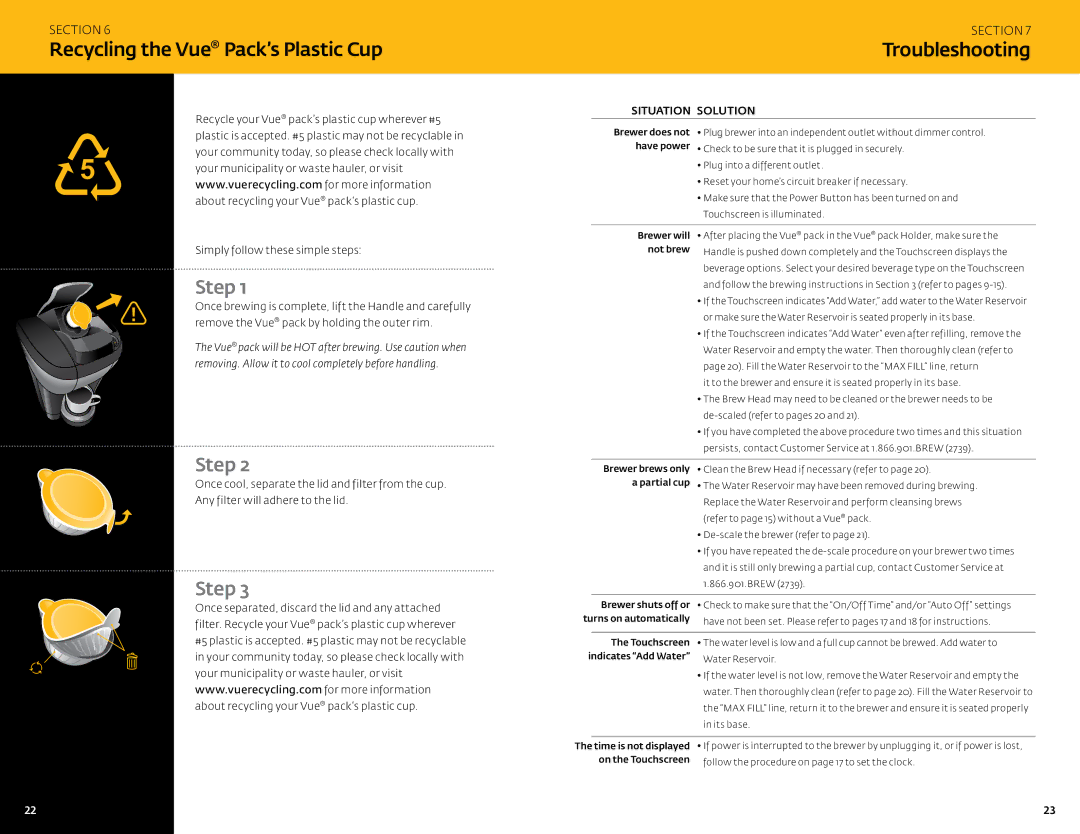
Step 1
Once brewing is complete, lift the Handle and carefully remove the Vue® pack by holding the outer rim.
The Vue® pack will be hot after brewing. Use caution when removing. Allow it to cool completely before handling.
Step 2
Once cool, separate the lid and filter from the cup.
Any filter will adhere to the lid.
Step 3
Once separated, discard the lid and any attached filter. Recycle your Vue® pack’s plastic cup wherever #5 plastic is accepted. #5 plastic may not be recyclable in your community today, so please check locally with your municipality or waste hauler, or visit www.vuerecycling.com for more information about recycling your Vue® pack’s plastic cup.
SECTION 7
Troubleshooting
SITUATION SOLUTION
Brewer does not • Plug brewer into an independent outlet without dimmer control.
| have power | • Check to be sure that it is plugged in securely. |
|
| • Plug into a different outlet. |
|
| • Reset your home’s circuit breaker if necessary. |
|
| • Make sure that the Power Button has been turned on and |
|
| Touchscreen is illuminated. |
|
| |
| Brewer will • After placing the Vue® pack in the Vue® pack Holder, make sure the | |
| not brew | Handle is pushed down completely and the Touchscreen displays the |
|
| beverage options. Select your desired beverage type on the Touchscreen |
|
| and follow the brewing instructions in Section 3 (refer to pages |
|
| • If the Touchscreen indicates “Add Water,” add water to the Water Reservoir |
|
| or make sure the Water Reservoir is seated properly in its base. |
|
| • If the Touchscreen indicates “Add Water” even after refilling, remove the |
|
| Water Reservoir and empty the water. Then thoroughly clean (refer to |
|
| page 20). Fill the Water Reservoir to the “MAX FILL” line, return |
|
| it to the brewer and ensure it is seated properly in its base. |
|
| • The Brew Head may need to be cleaned or the brewer needs to be |
|
| |
|
| • If you have completed the above procedure two times and this situation |
|
| persists, contact Customer Service at 1.866.901.BREW (2739). |
|
| |
| Brewer brews only • Clean the Brew Head if necessary (refer to page 20). | |
| a partial cup | • The Water Reservoir may have been removed during brewing. |
|
| Replace the Water Reservoir and perform cleansing brews |
|
| (refer to page 15) without a Vue® pack. |
|
| • |
|
| • If you have repeated the |
|
| and it is still only brewing a partial cup, contact Customer Service at |
|
| 1.866.901.BREW (2739). |
|
| |
| Brewer shuts off or • Check to make sure that the “On/Off Time” and/or “Auto Off” settings | |
turns on automatically | have not been set. Please refer to pages 17 and 18 for instructions. | |
|
| |
|
| |
| The Touchscreen • The water level is low and a full cup cannot be brewed. Add water to | |
indicates “Add Water” | Water Reservoir. | |
|
| • If the water level is not low, remove the Water Reservoir and empty the |
|
| water. Then thoroughly clean (refer to page 20). Fill the Water Reservoir to |
|
| the “MAX FILL” line, return it to the brewer and ensure it is seated properly |
|
| in its base. |
The time is not displayed | • If power is interrupted to the brewer by unplugging it, or if power is lost, |
on the Touchscreen | follow the procedure on page 17 to set the clock. |
22 | 23 |
