kn-cop-ic, kn-cobic specifications
The Kidde KN-COP-IC and KN-COB-IC are advanced carbon monoxide (CO) and explosive gas detectors designed to enhance home safety through state-of-the-art technology. These devices serve as a crucial line of defense against the dangers posed by carbon monoxide, a colorless, odorless gas that can lead to serious health risks or even fatality if undetected.One of the main features of the Kidde KN-COP-IC is its electrochemical CO sensor, which provides accurate readings while also minimizing the chances of false alarms. This sensor technology allows the device to detect the presence of carbon monoxide at lower concentrations, making it effective in a variety of environments, including homes, garages, and other enclosed spaces. The KN-COB-IC model, focusing on explosive gases, utilizes a sophisticated catalytic bead sensor that can precisely identify the presence of combustible gases, such as natural gas and propane.
Both models are equipped with a digital display that provides real-time readings, making it easy for users to monitor CO levels and other hazardous gases present in their environment. The KN-COP-IC offers a peak level memory feature, which stores the highest levels of CO detected since the last reset. This helps users understand previous exposure levels, potentially informing safety and health decisions.
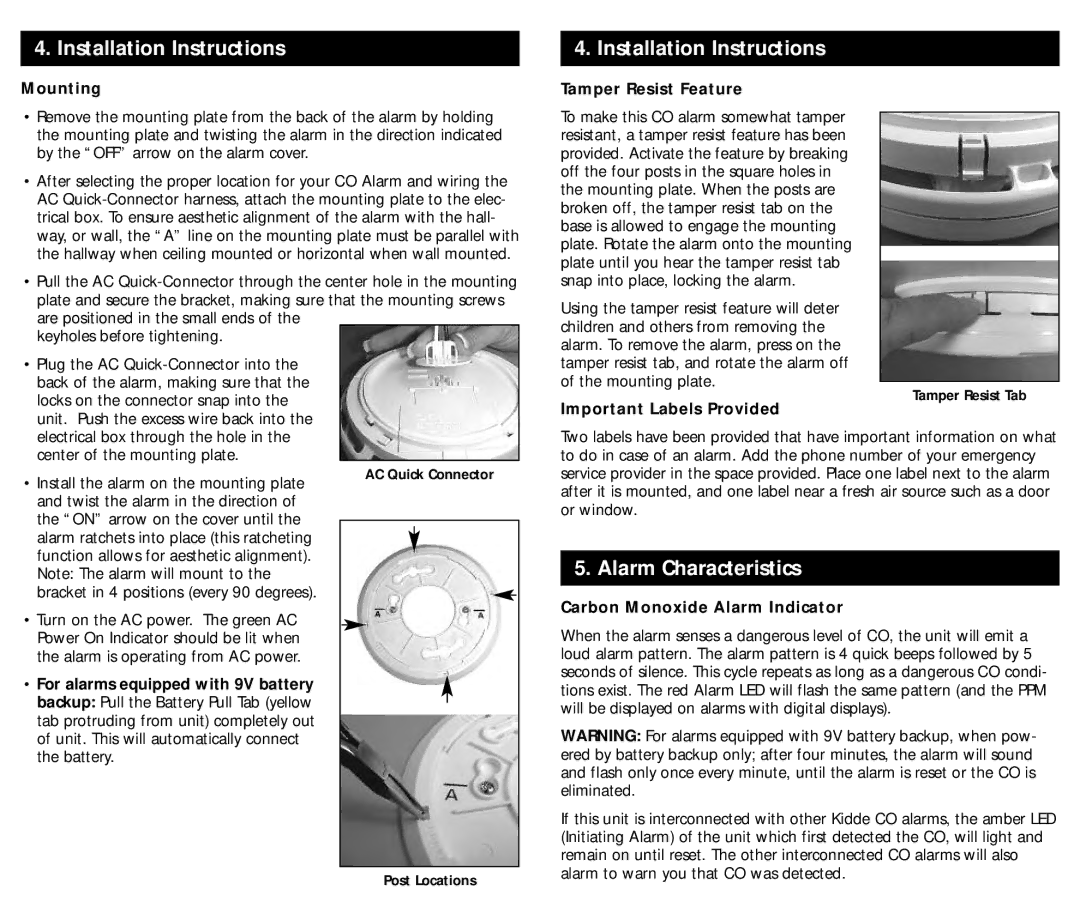
In terms of installation and usability, the Kidde detectors come with a battery backup to ensure continuous operation, even during power outages. They are designed for easy mounting, whether on walls or ceilings, and are compact enough to blend seamlessly into home decor. Furthermore, the integrated test/silence button allows users to check the functionality of the alarm and silence it during false alarms or maintenance checks.
Both the KN-COP-IC and KN-COB-IC models meet stringent safety standards and certifications, ensuring they provide reliable protection. Regular maintenance is simplified with clear instructions included in the user manual, along with the recommendation to replace the units after a specified period, usually around 7 years for CO detectors.
In conclusion, the Kidde KN-COP-IC and KN-COB-IC are essential tools in modern home safety. With their advanced sensor technology, user-friendly features, and reliable performance, these detectors not only safeguard families from carbon monoxide and explosive gases but also promote peace of mind in everyday living. By investing in these reliable detectors, homeowners can ensure the safety and well-being of their loved ones.

