9 Hard Disk
english
The VR-558 has a built-in Hard Disk. This storage place enable it to store your recordings as we have seen it in the previous chapters, but it also enable you to save audio, video and picture files.
Accessing the Hard Disk
Press MENU from your remote, and go to the HARD DISK section. Choose between Audio Files, Video Files or Picture Files, if you have copied anything on your Hard Disk, you will be able to view the list of its content. Recordings are not available from this menu, only elements that have been copies from your PC or from a CD. Once you get to the list of copied elements, select the file to be played and press ENTER to start it.
Copying and deleting files to the Hard Disk
Copying from KiSS PC-Link:Start KiSS PC-Link and make sure your player and your PC are connected together (See PC TO DVD CONNECTION chapter). Press MENU on your player's remote, then go to the PC-Link section. Go to SEARCH FOR PC-LINK HOST, your server name should appear, select it. Choose either AUDIO/VIDEO or PICTURE FILE to view the list of item from your PC. Select the file(s) to be copies by pressing MARK on your remote. When you have finished selecting the file(s), press ENTER. Copy will start immediately. Go to the HARD DISK section, select either AUDIO/VIDEO or PICTURE FILES to view the list of copied items. Select the file and press ENTER to play/view it.
Copying from a CD: Insert a CD in the drive, the player will automatically open the DISC section of the MAIN MENU. Open AUDIO/VIDEO or PICTURE FILE to view the list of item to copy. Select the file(s) to be copies by pressing MARK on your remote. When you have finished selecting the file(s), press ENTER. Copy will start immediately. Go to the HARD DISK section, select either AUDIO/VIDEO or PICTURE FILES to view the list of copied items. Select the file and press ENTER to play/view it.
Deleting: Press MENU on your remote, go to HARD DISK and select either AUDIO/VIDEO or PICTURE FILES. Pick the file(s) to delete by pressing MARK, then press DELETE. The selected file(s) will be immediately deleted. To delete the entire Hard Disk, go to HARD DISK OPTIONS and select FORMAT HARD DISK.
Setting up the FTP on the player
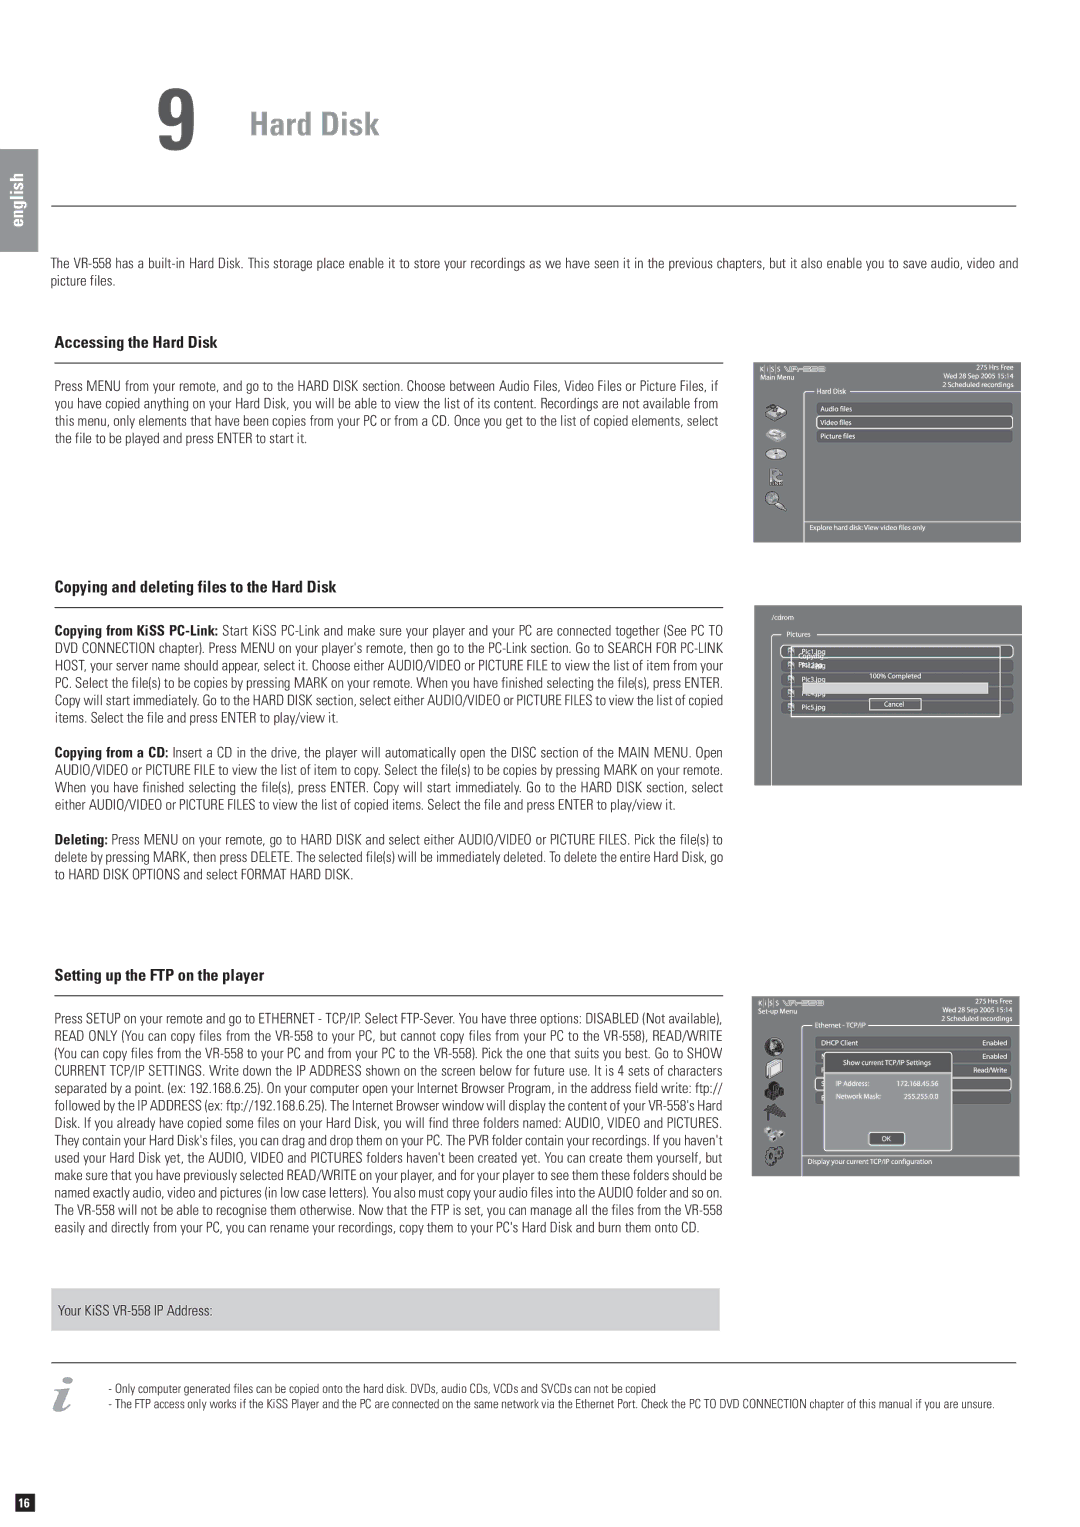
Press SETUP on your remote and go to ETHERNET - TCP/IP. Select FTP-Sever. You have three options: DISABLED (Not available), READ ONLY (You can copy files from the VR-558 to your PC, but cannot copy files from your PC to the VR-558), READ/WRITE (You can copy files from the VR-558 to your PC and from your PC to the VR-558). Pick the one that suits you best. Go to SHOW CURRENT TCP/IP SETTINGS. Write down the IP ADDRESS shown on the screen below for future use. It is 4 sets of characters separated by a point. (ex: 192.168.6.25). On your computer open your Internet Browser Program, in the address field write: ftp:// followed by the IP ADDRESS (ex: ftp://192.168.6.25). The Internet Browser window will display the content of your VR-558's Hard Disk. If you already have copied some files on your Hard Disk, you will find three folders named: AUDIO, VIDEO and PICTURES. They contain your Hard Disk's files, you can drag and drop them on your PC. The PVR folder contain your recordings. If you haven't used your Hard Disk yet, the AUDIO, VIDEO and PICTURES folders haven't been created yet. You can create them yourself, but make sure that you have previously selected READ/WRITE on your player, and for your player to see them these folders should be named exactly audio, video and pictures (in low case letters). You also must copy your audio files into the AUDIO folder and so on. The VR-558 will not be able to recognise them otherwise. Now that the FTP is set, you can manage all the files from the VR-558 easily and directly from your PC, you can rename your recordings, copy them to your PC's Hard Disk and burn them onto CD.
Your KiSS VR-558 IP Address:
-Only computer generated files can be copied onto the hard disk. DVDs, audio CDs, VCDs and SVCDs can not be copied
-The FTP access only works if the KiSS Player and the PC are connected on the same network via the Ethernet Port. Check the PC TO DVD CONNECTION chapter of this manual if you are unsure.

