6.Push the filter into the base grille. The eject button will pop back out when the filter is fully engaged.

7.Flush the water system. See “Flushing the Water System After Replacing Filter.”

Flushing the Water System After Replacing Filter

Use a sturdy container to depress the water dispenser bar until the water begins to flow. Flush the water system by dispensing and discarding 2 to 3 gal. (8 to 12 L) of water. Cleaning the system will take approximately 6 to 7 minutes and will help clear air from the line. Additional flushing may be required in some households.

NOTE: As air is cleared from the system, water may spurt out of the dispenser.

Ice Maker and Storage Bin

(on some models -Accessory)

Style 1

To Turn the Ice Maker On/Off:

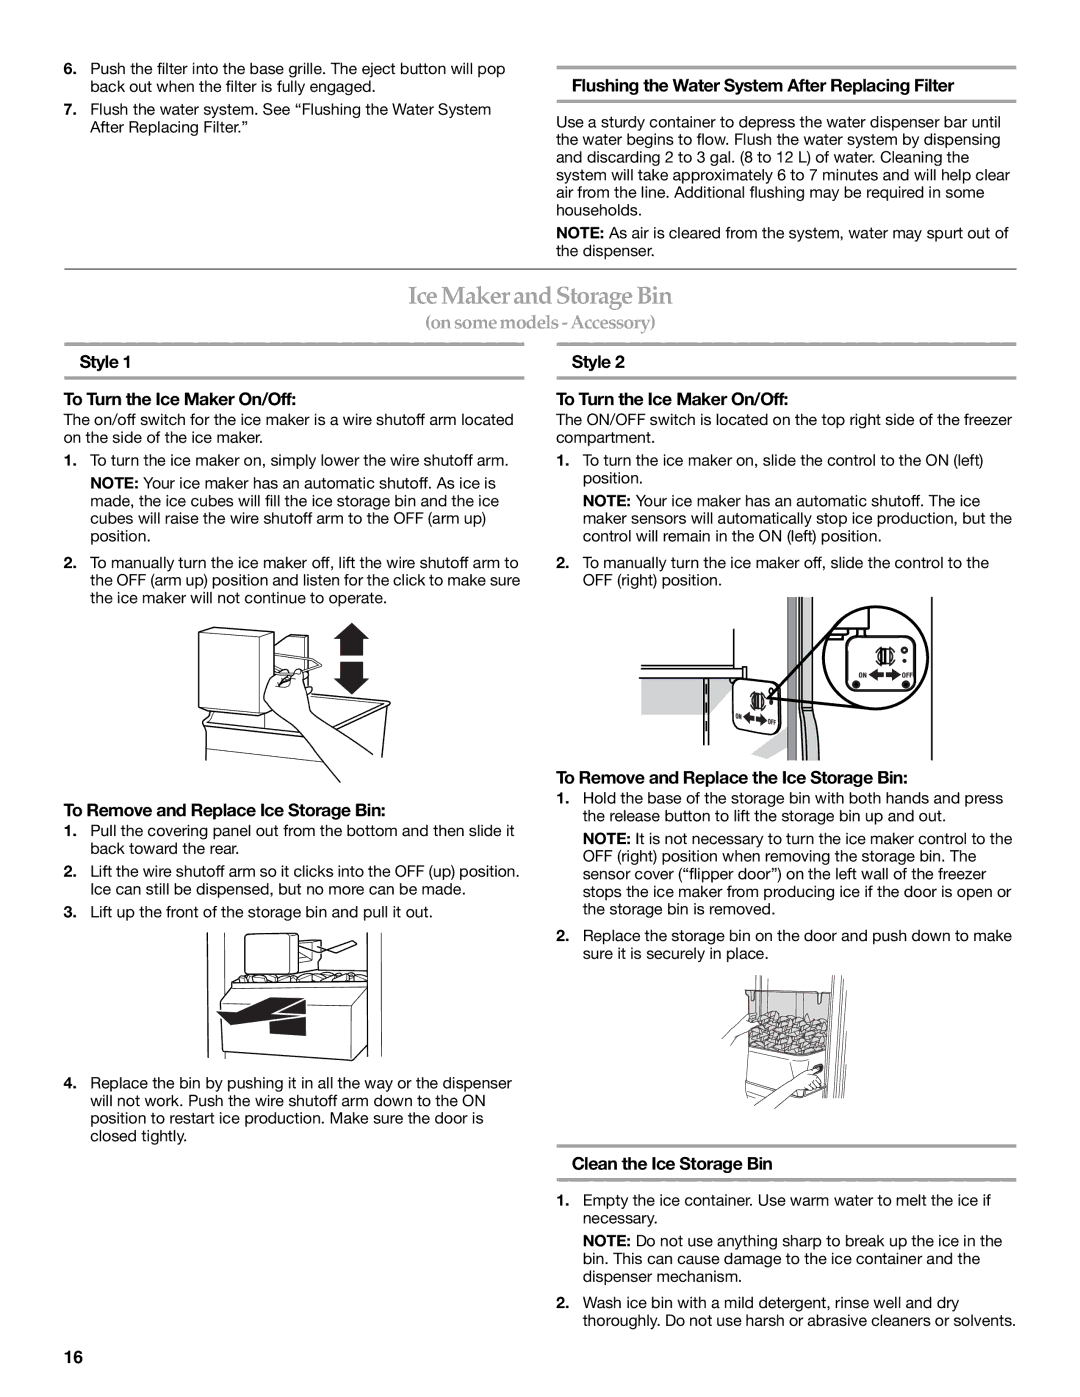
The on/off switch for the ice maker is a wire shutoff arm located on the side of the ice maker.

1.To turn the ice maker on, simply lower the wire shutoff arm.

NOTE: Your ice maker has an automatic shutoff. As ice is made, the ice cubes will fill the ice storage bin and the ice cubes will raise the wire shutoff arm to the OFF (arm up) position.

2.To manually turn the ice maker off, lift the wire shutoff arm to the OFF (arm up) position and listen for the click to make sure the ice maker will not continue to operate.

Style 2

To Turn the Ice Maker On/Off:

The ON/OFF switch is located on the top right side of the freezer compartment.

1.To turn the ice maker on, slide the control to the ON (left) position.

NOTE: Your ice maker has an automatic shutoff. The ice maker sensors will automatically stop ice production, but the control will remain in the ON (left) position.

2.To manually turn the ice maker off, slide the control to the OFF (right) position.

To Remove and Replace Ice Storage Bin:

1.Pull the covering panel out from the bottom and then slide it back toward the rear.

2.Lift the wire shutoff arm so it clicks into the OFF (up) position. Ice can still be dispensed, but no more can be made.

3.Lift up the front of the storage bin and pull it out.

4.Replace the bin by pushing it in all the way or the dispenser will not work. Push the wire shutoff arm down to the ON position to restart ice production. Make sure the door is closed tightly.

To Remove and Replace the Ice Storage Bin:

1.Hold the base of the storage bin with both hands and press the release button to lift the storage bin up and out.

NOTE: It is not necessary to turn the ice maker control to the OFF (right) position when removing the storage bin. The sensor cover (“flipper door”) on the left wall of the freezer stops the ice maker from producing ice if the door is open or the storage bin is removed.

2.Replace the storage bin on the door and push down to make sure it is securely in place.

Clean the Ice Storage Bin

1.Empty the ice container. Use warm water to melt the ice if necessary.

NOTE: Do not use anything sharp to break up the ice in the bin. This can cause damage to the ice container and the dispenser mechanism.

2.Wash ice bin with a mild detergent, rinse well and dry thoroughly. Do not use harsh or abrasive cleaners or solvents.

16

Page 16
Image 16
KitchenAid 2308307 manual Ice Maker and Storage Bin, On some models -Accessory

2308307 specifications

The KitchenAid 2308307 is an innovative and versatile stand mixer that has captured the hearts of home bakers and culinary enthusiasts around the world. Known for its durability and performance, this model stands out with an impressive blend of features and technologies designed to enhance the home cooking experience.

One of the standout characteristics of the KitchenAid 2308307 is its powerful 300-watt motor. This robust motor allows the mixer to handle a wide variety of tasks, from mixing light batters to kneading heavy dough, making it an ideal companion for all baking endeavors. The motor is also designed to operate quietly, providing a more pleasant kitchen experience.

The mixer boasts a unique tilt-head design, which offers easy access to the mixing bowl. This feature allows users to easily add ingredients and scrape the sides of the bowl without any hassle, leading to more efficient baking. The included 4.5-quart stainless steel mixing bowl is both durable and resistant to rust, ensuring long-lasting performance.

This model comes with three essential attachments: a flat beater, a dough hook, and a wire whip. Each attachment is designed to tackle specific tasks, whether it’s mixing ingredients, kneading dough, or whipping cream. The versatility of these attachments expands the mixer's functionality, allowing users to create a wide range of recipes with ease.

In terms of technology, the KitchenAid 2308307 features a 10-speed slide control, enabling precision mixing. Users can select the perfect speed for their specific task, whether it’s folding in delicate ingredients or achieving a robust mix. This range of speeds allows for complete control over the mixing process, catering to both novice cooks and seasoned bakers.

Another important characteristic is the dishwasher-safe bowl and attachments, which makes cleanup quick and effortless. The sleek design and variety of color options also ensure that the KitchenAid mixer fits beautifully into any kitchen decor.

In conclusion, the KitchenAid 2308307 combines functionality, durability, and user-friendly features to create a stand mixer that is not only effective but also aesthetically pleasing. Ideal for a diverse range of culinary tasks, this stand mixer is a worthwhile investment for anyone looking to elevate their baking game. Whether preparing simple dessert mixtures or complex bread recipes, this mixer is equipped to handle it all with style and efficiency.