4. Align and replace the top left hinge as shown in Graphic 3.

Remove the Doors

Tighten screws.


WARNING

Electrical Shock Hazard

Disconnect power before removing doors.

Failure to do so can result in death or electrical shock.

1.Unplug refrigerator or disconnect power.

2.Open both refrigerator doors. Remove the base grille by pulling up on the bottom outside corners. See Graphic 1.

3.Close both doors and keep them closed until you are ready to lift them free from the cabinet.

4.If you have a dispenser (ice or water), disconnect the water dispenser tubing located behind the base grille on the freezer door side. See Graphic 2.

Press the red outer ring against the face of fitting and pull the dispenser tubing free.

On some models, remove tubing from hose clip.

5.Remove top left hinge screw and cover as shown in Graphic 3.

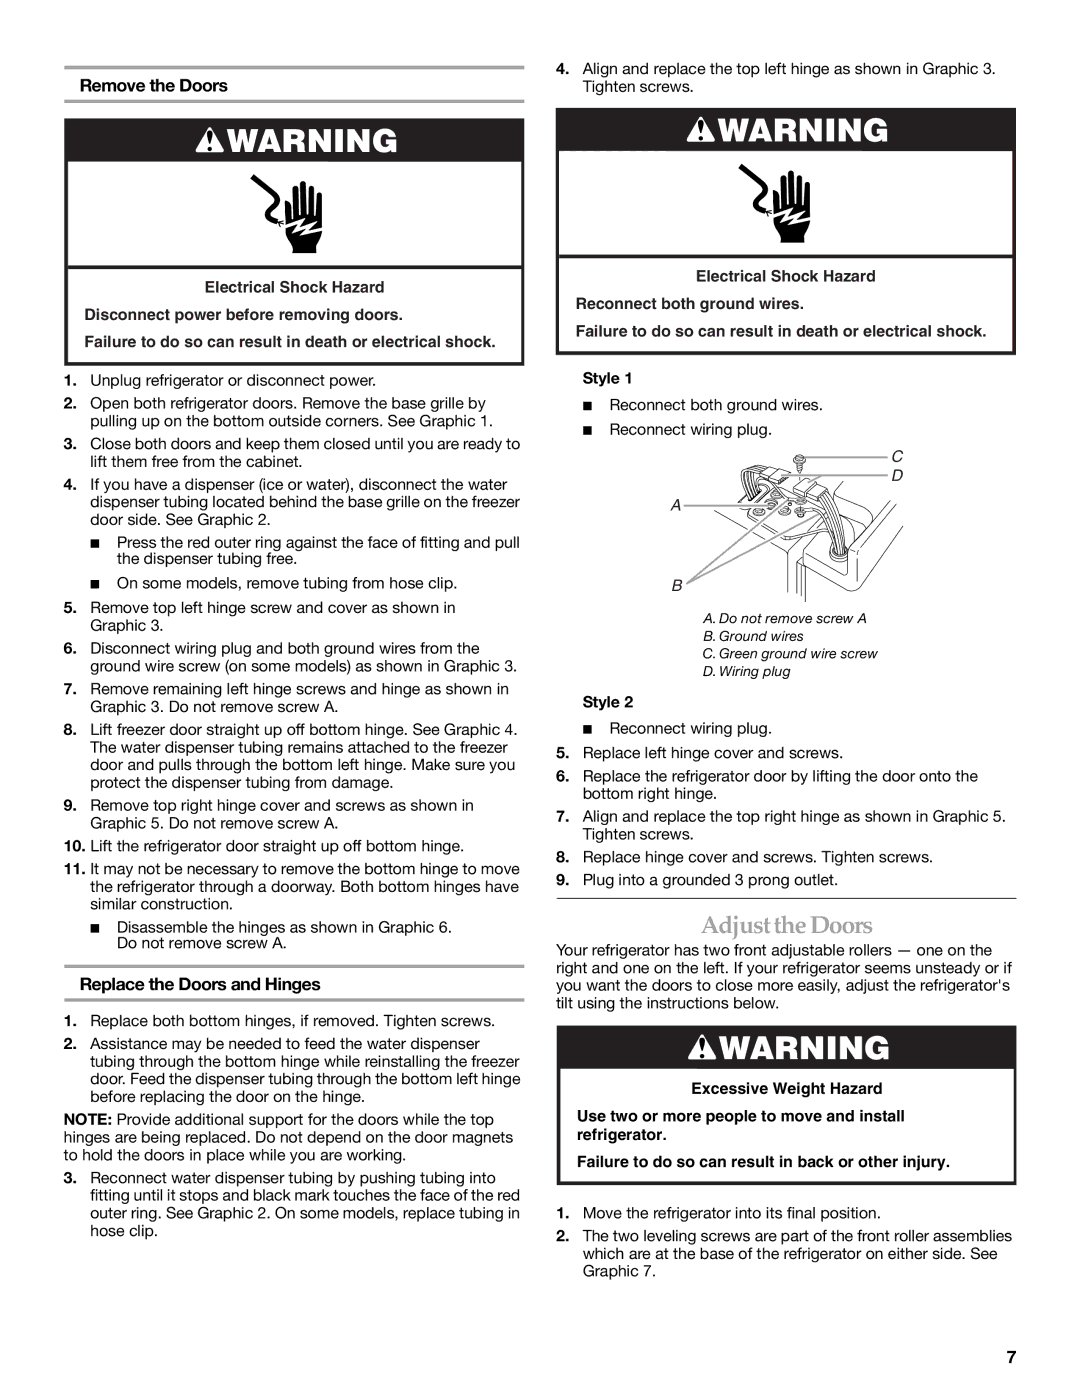
6.Disconnect wiring plug and both ground wires from the ground wire screw (on some models) as shown in Graphic 3.

7.Remove remaining left hinge screws and hinge as shown in Graphic 3. Do not remove screw A.

8.Lift freezer door straight up off bottom hinge. See Graphic 4. The water dispenser tubing remains attached to the freezer door and pulls through the bottom left hinge. Make sure you protect the dispenser tubing from damage.

9.Remove top right hinge cover and screws as shown in Graphic 5. Do not remove screw A.

10.Lift the refrigerator door straight up off bottom hinge.

11.It may not be necessary to remove the bottom hinge to move the refrigerator through a doorway. Both bottom hinges have similar construction.

Disassemble the hinges as shown in Graphic 6. Do not remove screw A.

Replace the Doors and Hinges

1.Replace both bottom hinges, if removed. Tighten screws.

2.Assistance may be needed to feed the water dispenser tubing through the bottom hinge while reinstalling the freezer door. Feed the dispenser tubing through the bottom left hinge before replacing the door on the hinge.

NOTE: Provide additional support for the doors while the top hinges are being replaced. Do not depend on the door magnets to hold the doors in place while you are working.

3.Reconnect water dispenser tubing by pushing tubing into fitting until it stops and black mark touches the face of the red outer ring. See Graphic 2. On some models, replace tubing in hose clip.

WARNING

Electrical Shock Hazard

Reconnect both ground wires.

Failure to do so can result in death or electrical shock.

Style 1

Reconnect both ground wires.

Reconnect wiring plug.

C

D

A

B

A. Do not remove screw A

B. Ground wires

C. Green ground wire screw

D. Wiring plug

Style 2

Reconnect wiring plug.

5.Replace left hinge cover and screws.

6.Replace the refrigerator door by lifting the door onto the bottom right hinge.

7.Align and replace the top right hinge as shown in Graphic 5. Tighten screws.

8.Replace hinge cover and screws. Tighten screws.

9.Plug into a grounded 3 prong outlet.

Adjustthe Doors

Your refrigerator has two front adjustable rollers — one on the right and one on the left. If your refrigerator seems unsteady or if you want the doors to close more easily, adjust the refrigerator's tilt using the instructions below.

WARNING

Excessive Weight Hazard

Use two or more people to move and install refrigerator.

Failure to do so can result in back or other injury.

1.Move the refrigerator into its final position.

2.The two leveling screws are part of the front roller assemblies which are at the base of the refrigerator on either side. See Graphic 7.

7

Page 7
Image 7
KitchenAid 2308307 manual Adjustthe Doors, Remove the Doors, Replace the Doors and Hinges

2308307 specifications

The KitchenAid 2308307 is an innovative and versatile stand mixer that has captured the hearts of home bakers and culinary enthusiasts around the world. Known for its durability and performance, this model stands out with an impressive blend of features and technologies designed to enhance the home cooking experience.

One of the standout characteristics of the KitchenAid 2308307 is its powerful 300-watt motor. This robust motor allows the mixer to handle a wide variety of tasks, from mixing light batters to kneading heavy dough, making it an ideal companion for all baking endeavors. The motor is also designed to operate quietly, providing a more pleasant kitchen experience.

The mixer boasts a unique tilt-head design, which offers easy access to the mixing bowl. This feature allows users to easily add ingredients and scrape the sides of the bowl without any hassle, leading to more efficient baking. The included 4.5-quart stainless steel mixing bowl is both durable and resistant to rust, ensuring long-lasting performance.

This model comes with three essential attachments: a flat beater, a dough hook, and a wire whip. Each attachment is designed to tackle specific tasks, whether it’s mixing ingredients, kneading dough, or whipping cream. The versatility of these attachments expands the mixer's functionality, allowing users to create a wide range of recipes with ease.

In terms of technology, the KitchenAid 2308307 features a 10-speed slide control, enabling precision mixing. Users can select the perfect speed for their specific task, whether it’s folding in delicate ingredients or achieving a robust mix. This range of speeds allows for complete control over the mixing process, catering to both novice cooks and seasoned bakers.

Another important characteristic is the dishwasher-safe bowl and attachments, which makes cleanup quick and effortless. The sleek design and variety of color options also ensure that the KitchenAid mixer fits beautifully into any kitchen decor.

In conclusion, the KitchenAid 2308307 combines functionality, durability, and user-friendly features to create a stand mixer that is not only effective but also aesthetically pleasing. Ideal for a diverse range of culinary tasks, this stand mixer is a worthwhile investment for anyone looking to elevate their baking game. Whether preparing simple dessert mixtures or complex bread recipes, this mixer is equipped to handle it all with style and efficiency.