CERAMIC GLASS (on some models)


CONTROL PANEL

Do not use steel wool, abrasive powder cleansers, chlorine bleach, rust remover or ammonia because damage may occur.

Always wipe with a clean, wet cloth or sponge and dry thoroughly to prevent streaking and staining.

Cooktop Polishing Creme (sample included) is recommended for regular use to help prevent scratches, pitting and abrasions, and to condition the cooktop. It may be ordered as an accessory. See “Assistance or Service” to order.

A Cooktop Scraper is also recommended for stubborn soils, and can be ordered as an accessory. See “Assistance or Service” to order. The Cooktop Scraper uses razor blades. Store razor blades out of the reach of children.

Light to moderate soil

Paper towels or clean damp sponge: Clean while the cooktop is still warm. You may want to wear oven mitts while doing so.

Sugary spills (jellies, candy, syrup)

Cooktop Scraper: Clean while the cooktop is still warm. You may want to wear oven mitts while doing so.

Cooktop Polishing Creme and clean damp paper towel: Clean as soon as cooktop has cooled down. Rub creme into surface with a damp paper towel or soft cloth. Continue rubbing until white film disappears.

Heavy soil, dark streaks, specks and discoloration

Cooktop Polishing Creme or nonabrasive cleanser: Rub product into soil with a damp paper towel or soft cloth. Continue rubbing until white film disappears.

Burned-on soil

Cooktop Polishing Creme and Cooktop Scraper: Rub creme into soil with damp paper towel. Hold scraper as flat as possible on surface and scrape. Repeat for stubborn spots. Polish entire cooktop with creme and paper towel.

Metal marks from aluminum and copper

Cooktop Polishing Creme: Clean as soon as cooktop has cooled down. Rub creme into surface with a damp paper towel or soft cloth. Continue rubbing until white film disappears. The marks will not totally disappear but after many cleanings become less noticeable.

Tiny scratches and abrasions

Cooktop Polishing Creme: Rub creme into surface with a damp paper towel or soft cloth. Continue rubbing until white film disappears. Scratches and abrasions do not affect cooking performance and after many cleanings become less noticeable.

COOKTOP CONTROLS

Do not use steel wool, abrasive cleansers or oven cleaner.

Do not soak knobs.

When replacing knobs, make sure knobs are in the Off position.

On some models, do not remove seals under knobs.

Soap and water or dishwasher: Pull knobs straight away from control panel to remove.

OVEN DOOR EXTERIOR

Glass cleaner and paper towels or nonabrasive plastic scrubbing pad: Apply glass cleaner to soft cloth or sponge, not directly on panel.

Do not use abrasive cleaners, steel-wool pads, gritty washcloths or some paper towels. Damage may occur.

Glass cleaner and soft cloth or sponge: Apply glass cleaner to soft cloth or sponge, not directly on panel.

OVEN CAVITY

Do not use oven cleaners.

Food spills should be cleaned when oven cools. At high temperatures, foods react with porcelain and staining, etching, pitting or faint white spots can result.

Self-Cleaning cycle: See “Self-Cleaning Cycle” first.

OVEN RACKS AND ROASTING RACKS

Self-Cleaning cycle: See “Self-Cleaning Cycle” first. Remove racks or they will discolor and become harder to slide. If this happens, a light coating of vegetable oil applied to the rack guides will help them slide.

Steel-wool pad

BROILER PAN AND GRID

Do not clean in the Self-Cleaning cycle (on some models).

Mildly abrasive cleanser: Scrub with wet scouring pad.

Solution of ¹₂ cup (125 mL) ammonia to 1 gal. (3.75 L) water: Soak for 20 minutes, then scrub with scouring or steel-wool pad.

Oven cleaner: Follow product label instructions.

Porcelain enamel only, not chrome

Dishwasher

Oven Light(s)

The oven light(s) is a 15-watt appliance bulb. The light(s) will come on when the oven door is opened. The light(s) will not work during the Self-Cleaning cycle. When the oven door is closed, press OVEN LIGHT to turn the light(s) on or off.

To Replace:

Before replacing, make sure the oven is off and cool.

1.Unplug range or disconnect power.

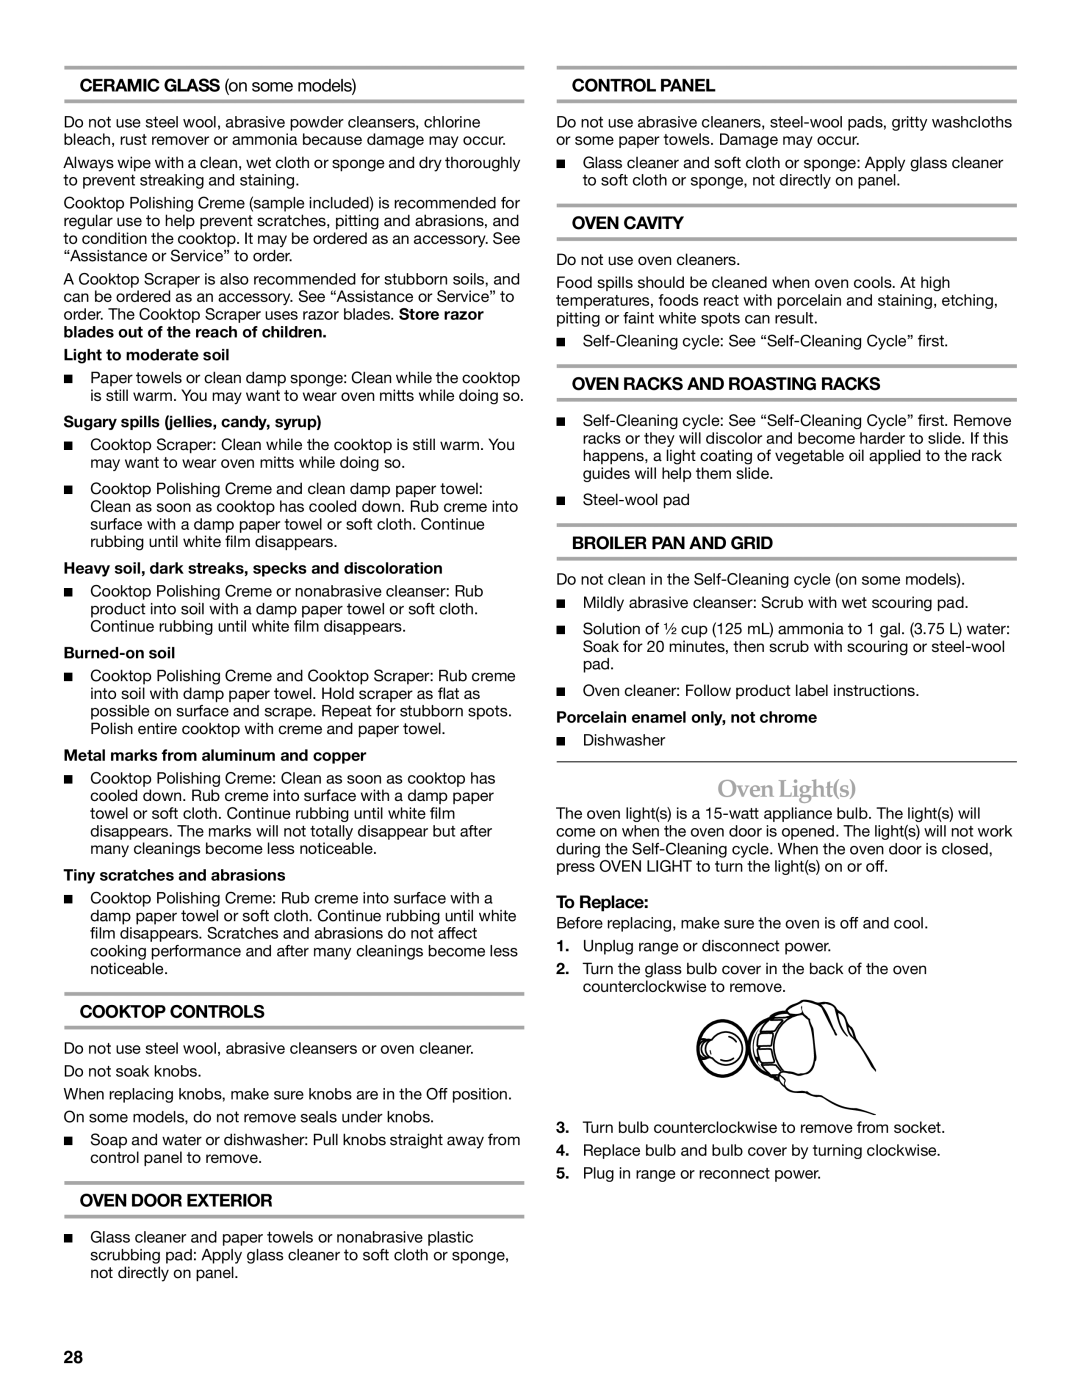
2.Turn the glass bulb cover in the back of the oven counterclockwise to remove.

3.Turn bulb counterclockwise to remove from socket.

4.Replace bulb and bulb cover by turning clockwise.

5.Plug in range or reconnect power.

28

Page 28
Image 28
KitchenAid 9762265, KERA807 manual Oven Lights, Ceramic Glass on some models, To Replace

KERA807, 9762265 specifications

The KitchenAid 9762265, KERA807 is a sophisticated kitchen appliance designed to elevate the culinary experience in any home. This range is a perfect blend of style, functionality, and advanced technology, catering to both amateur cooks and seasoned chefs. One of its standout features is its sleek, modern design that seamlessly integrates into any kitchen decor, enhancing aesthetic appeal while providing practical use.

At the heart of the KERA807 is its powerful four-element cooking system that ensures even heat distribution for precise cooking. The elements are designed to accommodate various cooking methods, from simmering delicate sauces to searing meats. The range also includes a large capacity oven, allowing for the preparation of multiple dishes at once, which is particularly advantageous during gatherings and festive occasions.

The convection oven technology within the KERA807 is another significant highlight. This feature circulates hot air around the food, promoting even cooking results and reducing cooking times. It is particularly valuable for baking, where consistent temperature is crucial for achieving the perfect rise and texture in breads and pastries. The oven also boasts multiple cooking modes, including bake, broil, and pizza, providing versatility for a wide range of recipes.

In addition to its cooking capabilities, the KitchenAid KERA807 is equipped with a user-friendly digital control panel. This intuitive interface allows cooks to set precise temperatures and cooking times with ease. The oven also includes a self-cleaning feature, saving time and effort in maintaining its pristine condition.

Safety is a priority with the KERA807, which incorporates features such as an automatic shut-off system and a cool touch oven door. These elements provide peace of mind during use, especially in bustling kitchen environments.

Overall, the KitchenAid 9762265, KERA807 stands out due to its robust cooking performance, innovative features, and stylish design. Whether you're baking, broiling, or simmering, this range is sure to meet the demands of any culinary endeavor, making it a valuable addition to any kitchen. With its combination of beauty and functionality, the KERA807 is an investment for those who appreciate quality and efficiency in their cooking appliances.