
Bottom-Mount Built-In Refrigerator specifications
The KitchenAid Bottom-Mount Built-In Refrigerator epitomizes modern kitchen design, merging style and functionality to elevate your culinary experience. With its sophisticated appearance and advanced features, this refrigerator promises not only to meet your storage needs but also enhance the overall aesthetic of your kitchen.One of the standout features of the KitchenAid Bottom-Mount Refrigerator is its bottom-mount design, which places fresh foods at eye level, making them easily accessible. This layout encourages users to choose healthier options, as fruits and vegetables are within reach. The freezer compartment located at the bottom provides ample storage with pull-out bins, allowing efficient organization of frozen goods.
This refrigerator boasts a generous capacity, providing ample space for groceries and leftovers. Advanced cooling technologies, such as the ExtendFresh Plus Temperature Management System, maintain optimal temperatures to ensure food stays fresh longer. This system employs sensors that continually monitor temperatures and defrost cycles, promoting the preservation of flavors and nutrients.
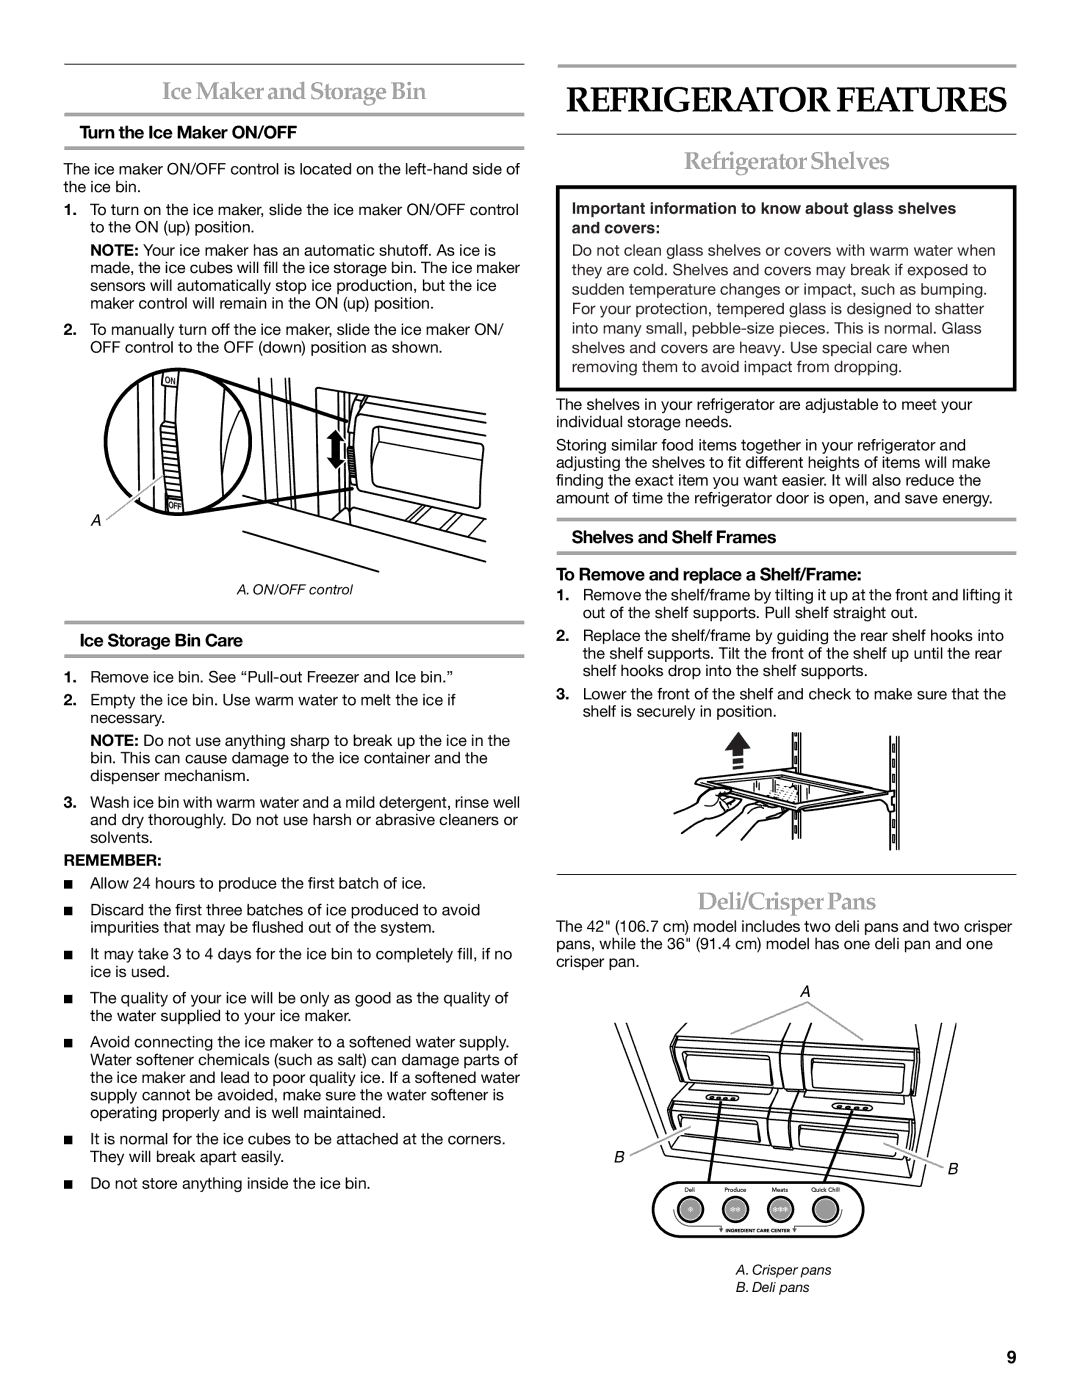
Another remarkable feature of this model is its adjustable shelves, designed for versatility. The glass shelves can be repositioned to accommodate tall items, while the clear bins help keep small goods visible and organized. Integrated LED lighting illuminates the interior, ensuring every corner is well-lit, making it easy to find what you need even in low light conditions.
The KitchenAid Bottom-Mount Refrigerator is also equipped with a FreshSeal crisper drawer that provides a controlled environment for fruits and vegetables, extending their shelf life. The crisper drawer includes humidity controls, allowing users to customize settings based on what they store.
In terms of aesthetics, the refrigerator is designed to blend seamlessly into cabinet spaces with a panel-ready option, allowing for a cohesive look in any kitchen. The stainless steel finish not only conveys elegance but is also fingerprint-resistant, ensuring the surface remains clean and pristine.
In conclusion, the KitchenAid Bottom-Mount Built-In Refrigerator combines cutting-edge technology, innovative design, and user-friendly features, making it an excellent choice for any modern kitchen. Its focus on freshness, accessibility, and style is sure to cater to culinary enthusiasts and busy households alike, ensuring that this appliance is more than just a refrigerator—it’s a kitchen essential.