INSTALLATION INSTRUCTIONS
Toolsand Parts
Gather the required tools and parts before starting installation. Read and follow the instructions provided with any tools listed here.
■For
■
■#3 Phillips screwdriver
■8" or 10" pipe wrench
■8" or 10" adjustable wrench (for gas connections)
■⁹⁄₁₆" (14 mm)
■Level
■Vent clamps
■Caulking gun and compound (for installing new exhaust vent)
■Tin snips (new vent installations)
■¹⁄₄" nut driver or socket wrench (recommended)
■
■Pliers
■Tape measure
![]()
![]() 38"
38" ![]()
![]() (96.5 cm)
(96.5 cm)
Mobile home installations require metal exhaust system hardware available for purchase from the dealer from whom you purchased your dryer. For further information, please refer to the “Assistance or Service” section of this manual.
■Mobile Home Installation Kit. Ask for Part Number 346764.
■Metal exhaust system hardware.
Parts Supplied
Remove parts packages from dryer drum. Check that all parts are included.
A
B![]() C
C
A. Door handle
B. Plastic washers (2)
C. Screws (2)
Remove Decorative Mat
Remove the optional decorative mat (included) from the top of the dryer and set aside.
Attach Door Handle
1.Insert the 2 screws through the holes in the door.
2.Place the plastic washers onto the screws.
3.Attach the handle by hand tightening the screws, first the top then the bottom.
Options
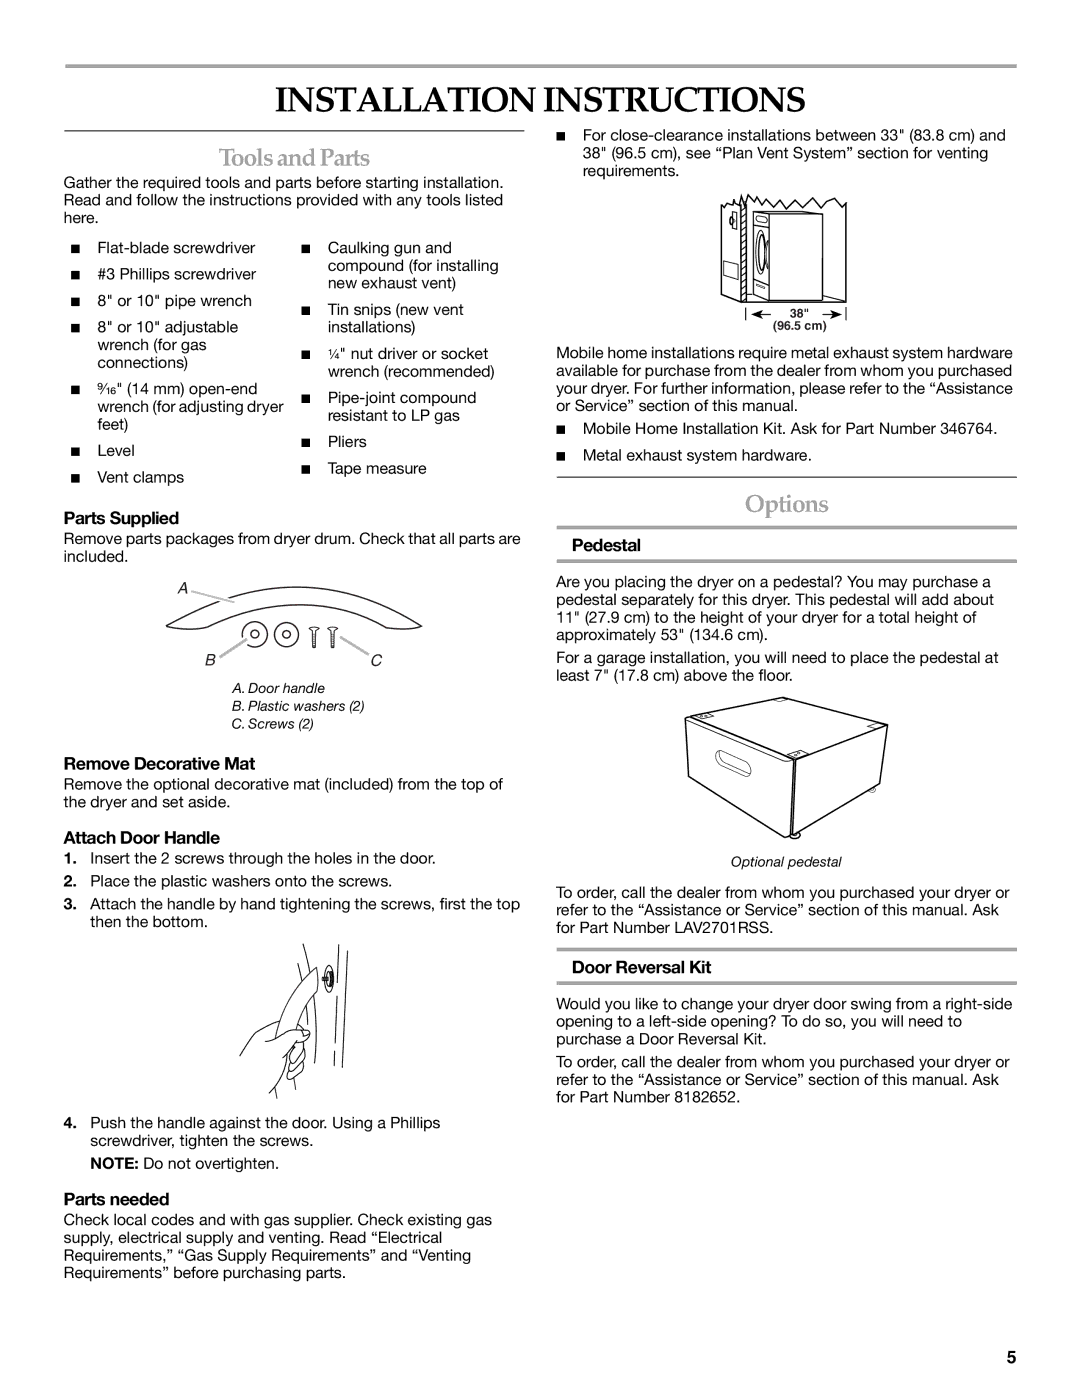
Pedestal
Are you placing the dryer on a pedestal? You may purchase a pedestal separately for this dryer. This pedestal will add about 11" (27.9 cm) to the height of your dryer for a total height of approximately 53" (134.6 cm).
For a garage installation, you will need to place the pedestal at least 7" (17.8 cm) above the floor.
Optional pedestal
To order, call the dealer from whom you purchased your dryer or refer to the “Assistance or Service” section of this manual. Ask for Part Number LAV2701RSS.
4.Push the handle against the door. Using a Phillips screwdriver, tighten the screws.
NOTE: Do not overtighten.
Parts needed
Check local codes and with gas supplier. Check existing gas supply, electrical supply and venting. Read “Electrical Requirements,” “Gas Supply Requirements” and “Venting Requirements” before purchasing parts.
Door Reversal Kit
Would you like to change your dryer door swing from a
To order, call the dealer from whom you purchased your dryer or refer to the “Assistance or Service” section of this manual. Ask for Part Number 8182652.
5