Use and Care of your Side Burner
Using your Side Burner
![]() WARNING
WARNING
Burn Hazard
Do not let the burner flame extend beyond the edge of the pan.
Doing so can result in burns.
![]() WARNING
WARNING
Food Poisoning Hazard
Do not let food sit for more than one hour before or after cooking.
Doing so can result in food poisoning or sickness.
1.Remove side burner cover. Do not light burners with the cover on.
2.Make sure control knobs are turned to OFF.
3.Turn the gas supply on:
Natural gas or L.P. gas from a local supply.
•Using gas supply source other than L.P. gas cylinder:
Turn the shutoff valve to open position from the front of gas supply line.
L.P. gas cylinder, if converted (see "Gas Supply Requirements").
• Using an L.P./ propane gas cylinder: |
Slowly open the cylinder valve; do not |
“snap” open. |
NOTE: When using an L.P. gas |
cylinder, the flow limiting device may |
Lighting the side burner
IMPORTANT: Light only one burner at a time.
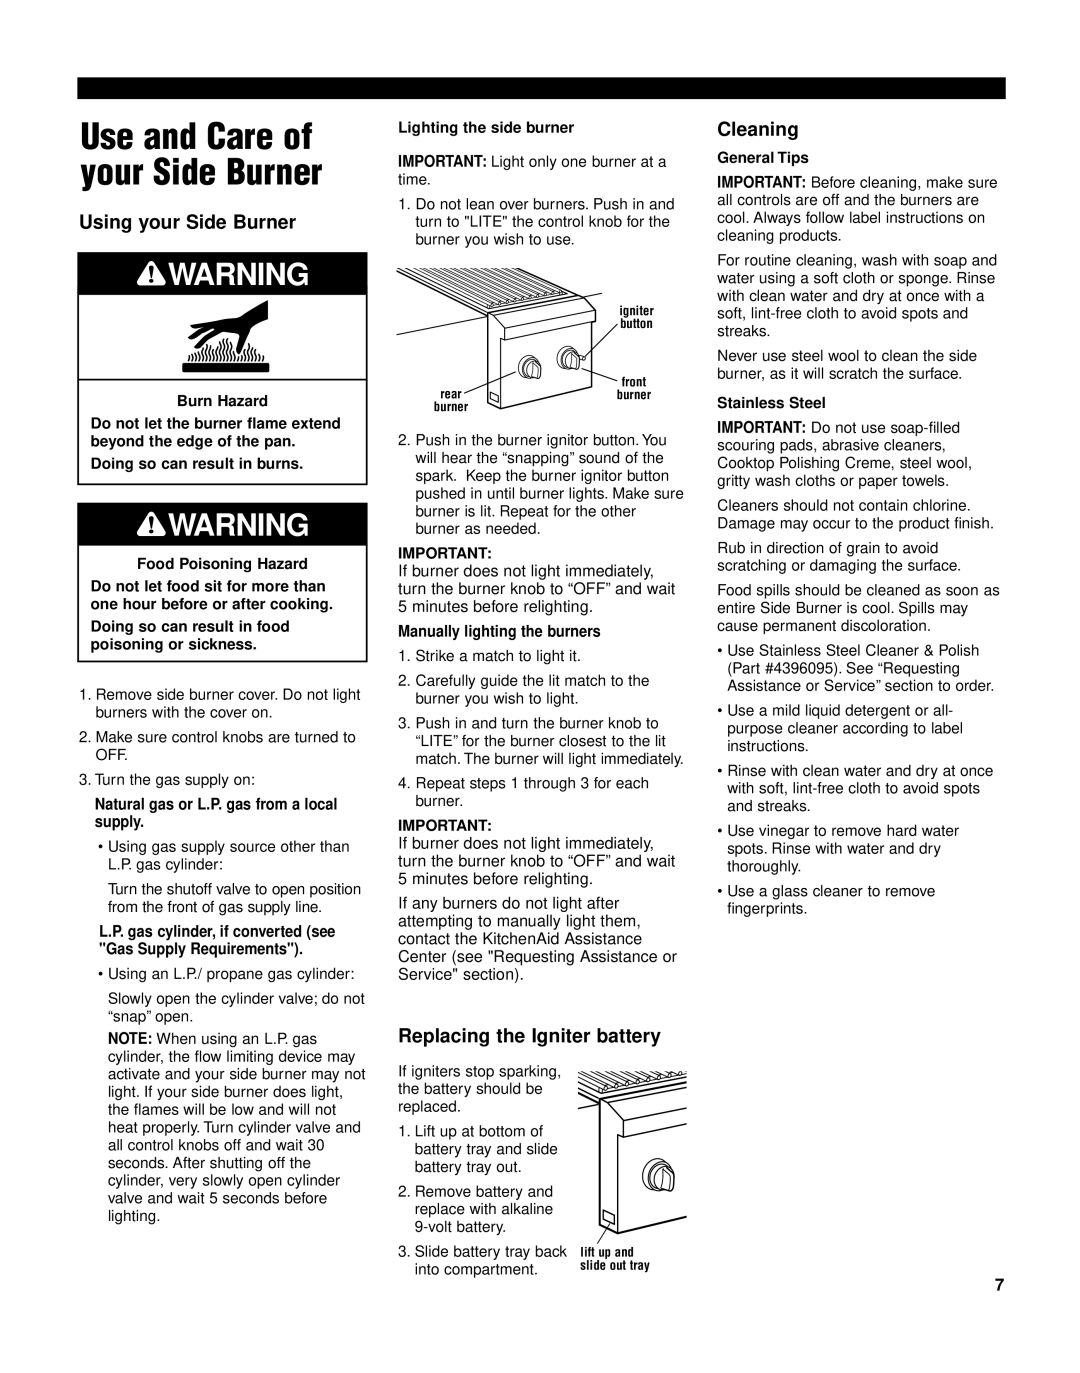
1.Do not lean over burners. Push in and turn to "LITE" the control knob for the burner you wish to use.
igniter button
front
rearburner burner
2.Push in the burner ignitor button. You will hear the “snapping” sound of the spark. Keep the burner ignitor button pushed in until burner lights. Make sure burner is lit. Repeat for the other burner as needed.
IMPORTANT:
If burner does not light immediately, turn the burner knob to “OFF” and wait 5 minutes before relighting.
Manually lighting the burners
1.Strike a match to light it.
2.Carefully guide the lit match to the burner you wish to light.
3.Push in and turn the burner knob to “LITE” for the burner closest to the lit match. The burner will light immediately.
4.Repeat steps 1 through 3 for each burner.
IMPORTANT:
If burner does not light immediately, turn the burner knob to “OFF” and wait 5 minutes before relighting.
If any burners do not light after attempting to manually light them, contact the KitchenAid Assistance Center (see "Requesting Assistance or Service" section).
Replacing the Igniter battery
Cleaning
General Tips
IMPORTANT: Before cleaning, make sure all controls are off and the burners are cool. Always follow label instructions on cleaning products.
For routine cleaning, wash with soap and water using a soft cloth or sponge. Rinse with clean water and dry at once with a soft,
Never use steel wool to clean the side burner, as it will scratch the surface.
Stainless Steel
IMPORTANT: Do not use
Cleaners should not contain chlorine. Damage may occur to the product finish.
Rub in direction of grain to avoid scratching or damaging the surface.
Food spills should be cleaned as soon as entire Side Burner is cool. Spills may cause permanent discoloration.
•Use Stainless Steel Cleaner & Polish (Part #4396095). See “Requesting Assistance or Service” section to order.
•Use a mild liquid detergent or all- purpose cleaner according to label instructions.
•Rinse with clean water and dry at once with soft,
•Use vinegar to remove hard water spots. Rinse with water and dry thoroughly.
•Use a glass cleaner to remove fingerprints.
activate and your side burner may not |
light. If your side burner does light, |
the flames will be low and will not |
heat properly. Turn cylinder valve and |
all control knobs off and wait 30 |
seconds. After shutting off the |
cylinder, very slowly open cylinder |
valve and wait 5 seconds before |
lighting. |
If igniters stop sparking, the battery should be replaced.
1.Lift up at bottom of battery tray and slide battery tray out.
2.Remove battery and replace with alkaline
3.Slide battery tray back into compartment.
lift up and slide out tray
7