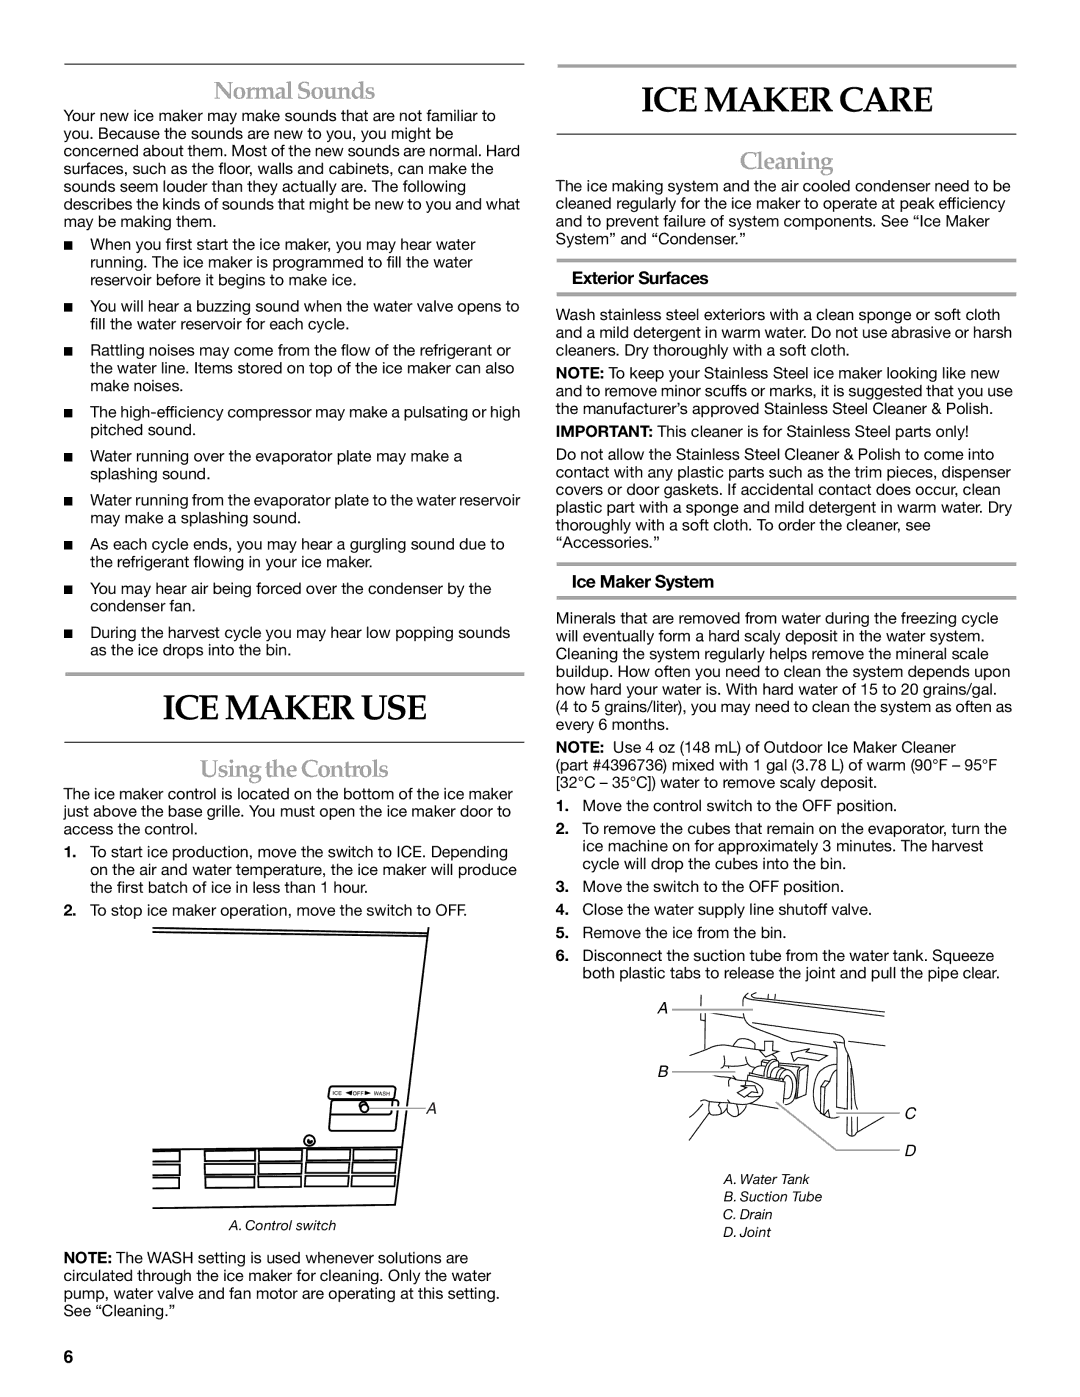
OUTDOOR ICE MAKER specifications
The KitchenAid Outdoor Ice Maker is a perfect blend of style, functionality, and durability, making it an essential addition for outdoor kitchens and patios. Designed for those who love entertaining outdoor, this appliance ensures you never run out of ice during your gatherings.One of the standout features of this ice maker is its ability to produce up to 50 pounds of ice per day, meaning you can keep your drinks cool without constant refills. It features a large-capacity storage bin that holds about 25 pounds of clear, elegant ice, ensuring that you have a steady supply on hand. The unit's compact design allows it to fit seamlessly into any outdoor kitchen setup, making it both practical and aesthetically pleasing.
The KitchenAid Outdoor Ice Maker uses advanced technology to deliver clear ice that melts slowly and maintains the quality of your beverages. The unit employs a commercial-grade compressor that ensures efficient ice production, even in varying outdoor temperatures. With a built-in drain pump, it automatically manages wastewater, making installation easy in various outdoor settings.
In terms of design, this ice maker is crafted from stainless steel, which not only enhances its visual appeal but also provides resistance to rust and corrosion. The sleek finish complements outdoor grills, refrigerators, and other appliances, creating a cohesive look for your culinary space. The front-facing venting design allows for easy installation flush against cabinetry, maximizing your outdoor area while maintaining functionality.
Moreover, the user-friendly control panel allows you to select ice production settings effortlessly. LED lighting within the storage bin makes it easy to see the ice level, ensuring you never run low unexpectedly. The exterior also features a reversible door, providing flexibility in terms of installation orientation.
In summary, the KitchenAid Outdoor Ice Maker combines superior ice-making capacity with advanced features, durable design, and practical technology to enhance any outdoor entertaining experience. Whether hosting a summer barbecue or enjoying a cozy evening by the fire, this ice maker ensures that you are always prepared with fresh, high-quality ice at your fingertips.