Verify Anti-Tip BracketLocation

IMPORTANT:

On models with a warming drawer, the rear range foot must be viewed from the front and slightly to one side of the range.

On models with a storage drawer, the drawer may be removed to better view the rear range foot.

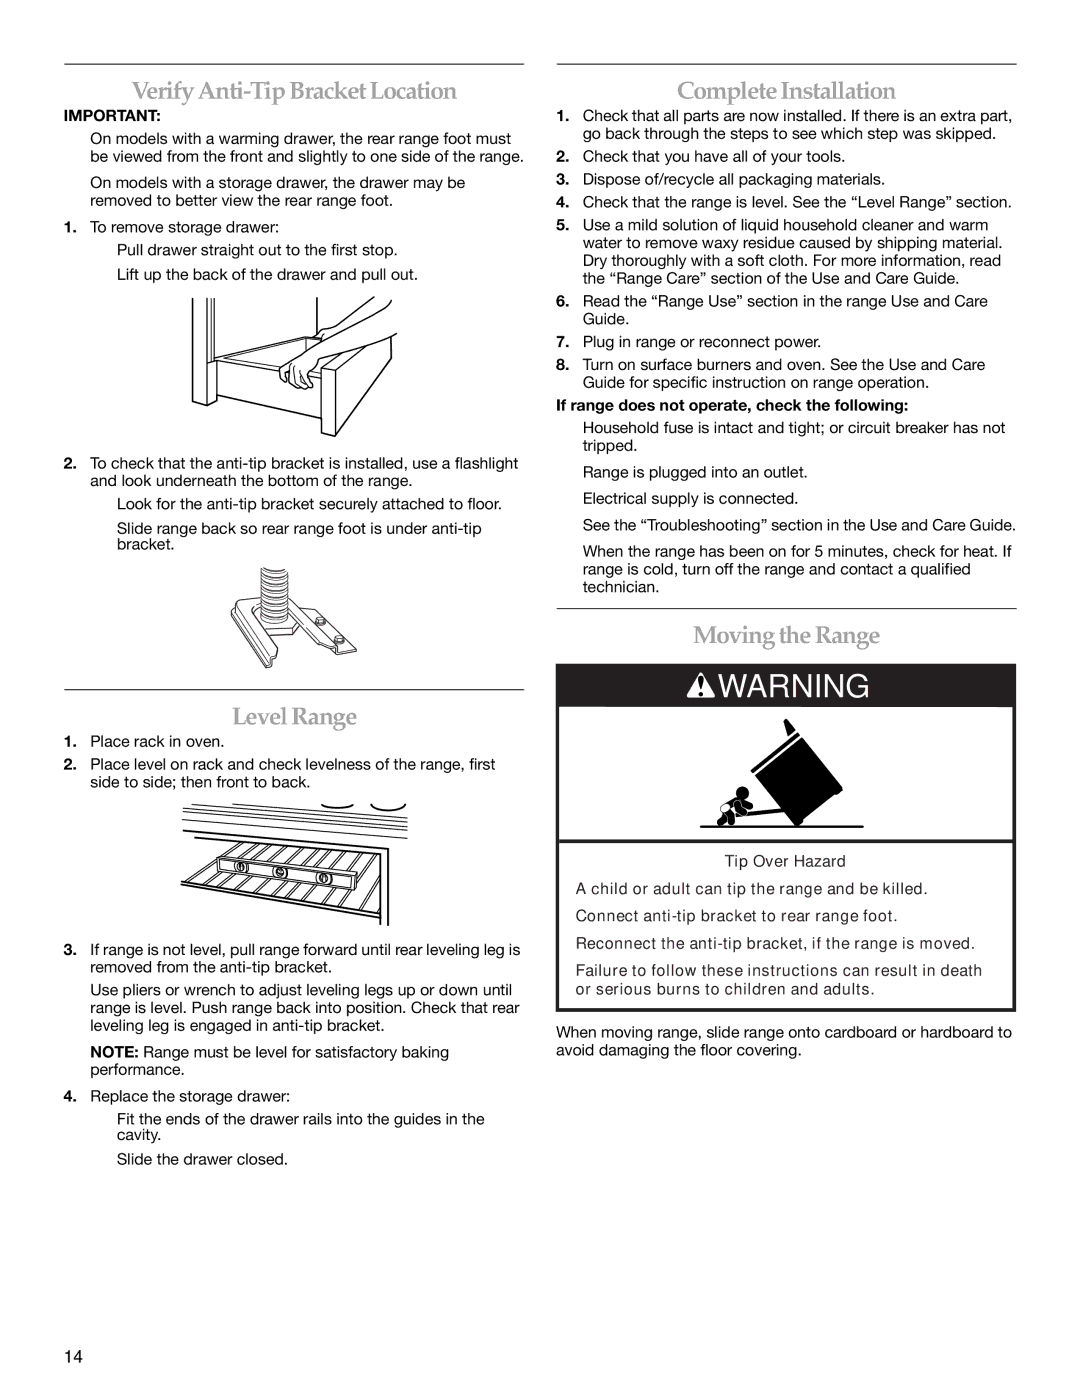
1.To remove storage drawer:

Pull drawer straight out to the first stop.

Lift up the back of the drawer and pull out.

2.To check that the anti-tip bracket is installed, use a flashlight and look underneath the bottom of the range.

Look for the anti-tip bracket securely attached to floor.

Slide range back so rear range foot is under anti-tip bracket.

Complete Installation

1.Check that all parts are now installed. If there is an extra part, go back through the steps to see which step was skipped.

2.Check that you have all of your tools.

3.Dispose of/recycle all packaging materials.

4.Check that the range is level. See the “Level Range” section.

5.Use a mild solution of liquid household cleaner and warm water to remove waxy residue caused by shipping material. Dry thoroughly with a soft cloth. For more information, read the “Range Care” section of the Use and Care Guide.

6.Read the “Range Use” section in the range Use and Care Guide.

7.Plug in range or reconnect power.

8.Turn on surface burners and oven. See the Use and Care Guide for specific instruction on range operation.

If range does not operate, check the following:

Household fuse is intact and tight; or circuit breaker has not tripped.

Range is plugged into an outlet.

Electrical supply is connected.

See the “Troubleshooting” section in the Use and Care Guide.

When the range has been on for 5 minutes, check for heat. If range is cold, turn off the range and contact a qualified technician.

Level Range

1.Place rack in oven.

2.Place level on rack and check levelness of the range, first side to side; then front to back.

3.If range is not level, pull range forward until rear leveling leg is removed from the anti-tip bracket.

Use pliers or wrench to adjust leveling legs up or down until range is level. Push range back into position. Check that rear leveling leg is engaged in anti-tip bracket.

NOTE: Range must be level for satisfactory baking performance.

4.Replace the storage drawer:

Fit the ends of the drawer rails into the guides in the cavity.

Slide the drawer closed.

Movingthe Range

WARNING

Tip Over Hazard

A child or adult can tip the range and be killed.

Connect anti-tip bracket to rear range foot.

Reconnect the anti-tip bracket, if the range is moved.

Failure to follow these instructions can result in death or serious burns to children and adults.

When moving range, slide range onto cardboard or hardboard to avoid damaging the floor covering.

14

Page 14
Image 14
KitchenAid W10246119C Verify Anti-Tip BracketLocation, Complete Installation, Level Range, Movingthe Range

W10246119C specifications

The KitchenAid W10246119C is a versatile and essential kitchen appliance designed to enhance culinary experiences. This model focuses on providing efficiency and convenience for both amateur cooks and seasoned chefs.

One of its standout features is its powerful motor, which delivers optimum performance across a wide range of tasks. This motor is designed for durability and longevity, ensuring that users can rely on it for years to come. Coupled with a variety of attachments, the W10246119C allows users to tackle everything from mixing and blending to kneading and whipping, making it an invaluable addition to any kitchen.

The appliance typically incorporates several speed settings, allowing for precise control over mixing. This feature is crucial for achieving the perfect texture when preparing ingredients, be it for baking or cooking. Whether you need a slow stir for delicate mixtures or high-speed whipping for cream and egg whites, the W10246119C offers the flexibility required.

Technologically, the KitchenAid W10246119C often includes a user-friendly interface, featuring simple controls that make operation straightforward. The design is elegant, usually available in various colors to complement any kitchen décor. Additionally, its compact build ensures that it can fit comfortably on any countertop without taking up excessive space.

Another noteworthy characteristic is the appliance’s ease of cleaning. Many components are dishwasher-safe, simplifying the post-cooking cleanup process. The robust construction of the attachments also means they are built to withstand regular use, ensuring that the appliance remains a staple in the kitchen.

Furthermore, this model is often equipped with safety features, such as a locking mechanism, to prevent accidental operation. This is particularly beneficial when handling large quantities of ingredients or when using higher speeds.

In conclusion, the KitchenAid W10246119C combines power, versatility, and ease of use, making it an excellent tool for anyone looking to elevate their culinary skills. With its robust motor, multiple speed options, and range of attachments, it has become a trusted appliance in kitchens around the world, promising consistent results and effortless operation. Whether you are preparing a holiday feast or a simple weeknight dinner, the W10246119C stands ready to assist in creating delicious meals.