STEP 1:
STEP 2:
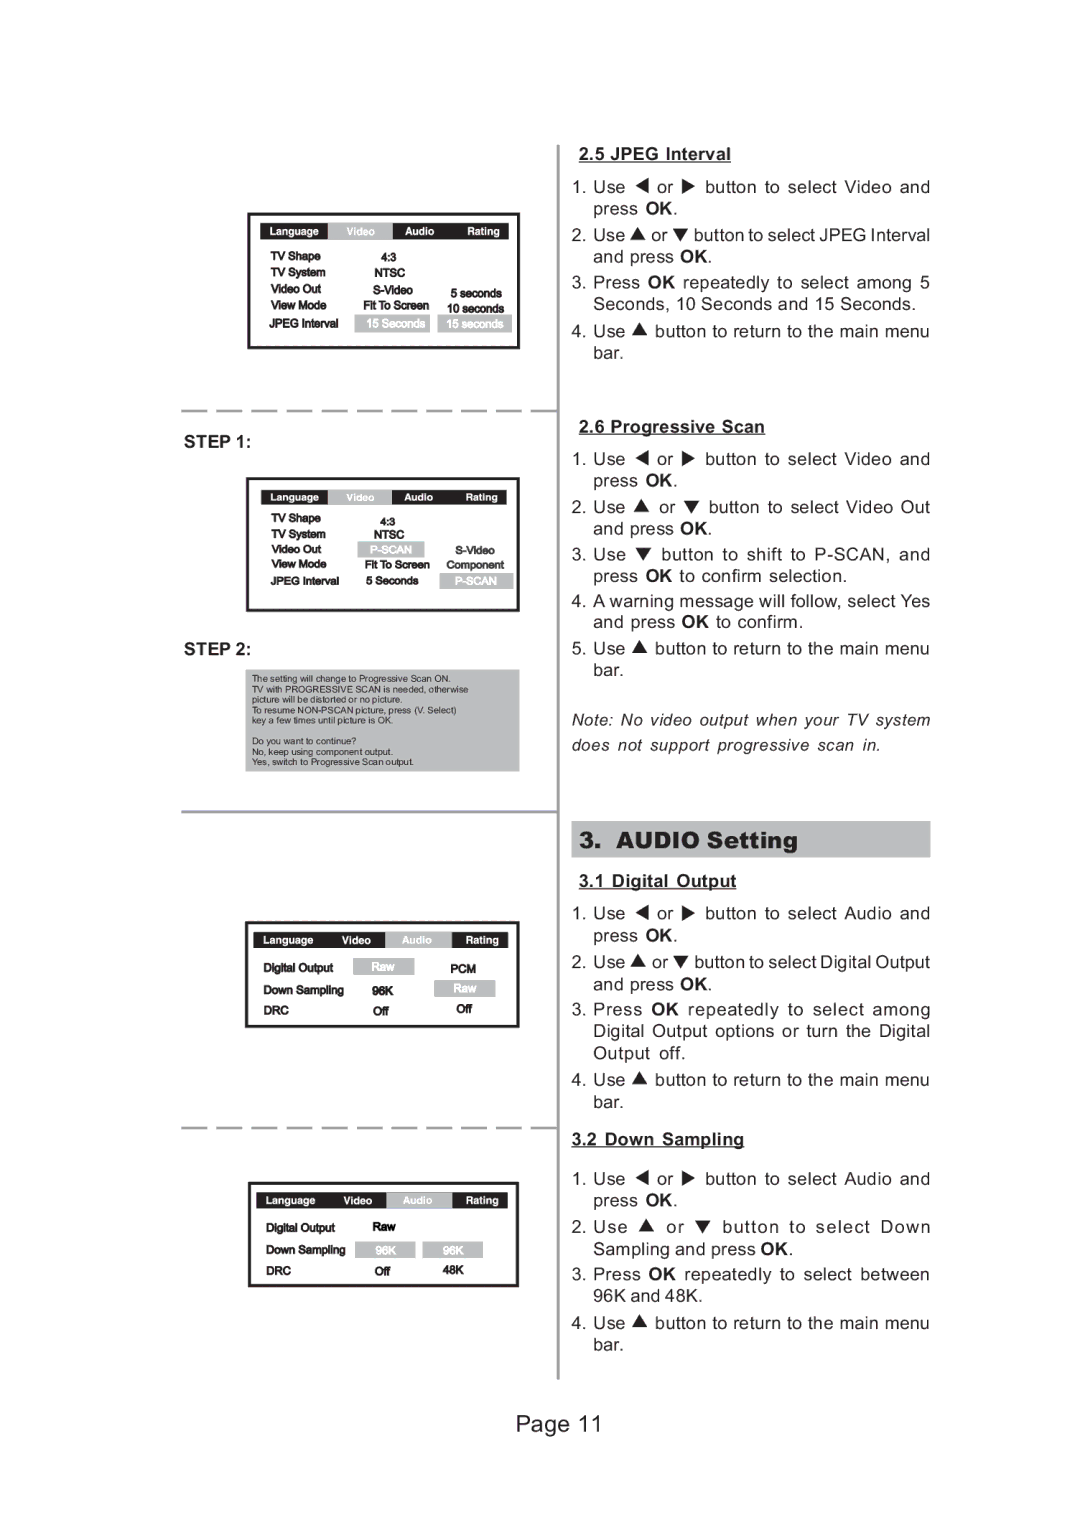
The setting will change to Progressive Scan ON.
TV with PROGRESSIVE SCAN is needed, otherwise picture will be distorted or no picture.
To resume
Do you want to continue?
No, keep using component output.
Yes, switch to Progressive Scan output.
2.5JPEG Interval
1.Use ![]() or
or ![]() button to select Video and press OK.
button to select Video and press OK.
2.Use ![]() or
or ![]() button to select JPEG Interval and press OK.
button to select JPEG Interval and press OK.
3.Press OK repeatedly to select among 5 Seconds, 10 Seconds and 15 Seconds.
4.Use ![]() button to return to the main menu bar.
button to return to the main menu bar.
2.6Progressive Scan
1.Use ![]() or
or ![]() button to select Video and press OK.
button to select Video and press OK.
2.Use ![]() or
or ![]() button to select Video Out and press OK.
button to select Video Out and press OK.
3.Use ![]() button to shift to
button to shift to
4.A warning message will follow, select Yes and press OK to confirm.
5.Use ![]() button to return to the main menu bar.
button to return to the main menu bar.
Note: No video output when your TV system
does not support progressive scan in.
3. AUDIO Setting
3.1Digital Output
1.Use ![]() or
or ![]() button to select Audio and press OK.
button to select Audio and press OK.
2.Use ![]() or
or ![]() button to select Digital Output and press OK.
button to select Digital Output and press OK.
3.Press OK repeatedly to select among Digital Output options or turn the Digital Output off.
4.Use ![]() button to return to the main menu bar.
button to return to the main menu bar.
3.2 Down Sampling
1.Use ![]() or
or ![]() button to select Audio and press OK.
button to select Audio and press OK.
2.Use ![]() or
or ![]() button to select Down Sampling and press OK.
button to select Down Sampling and press OK.
3.Press OK repeatedly to select between 96K and 48K.
4.Use ![]() button to return to the main menu bar.
button to return to the main menu bar.
Page 11