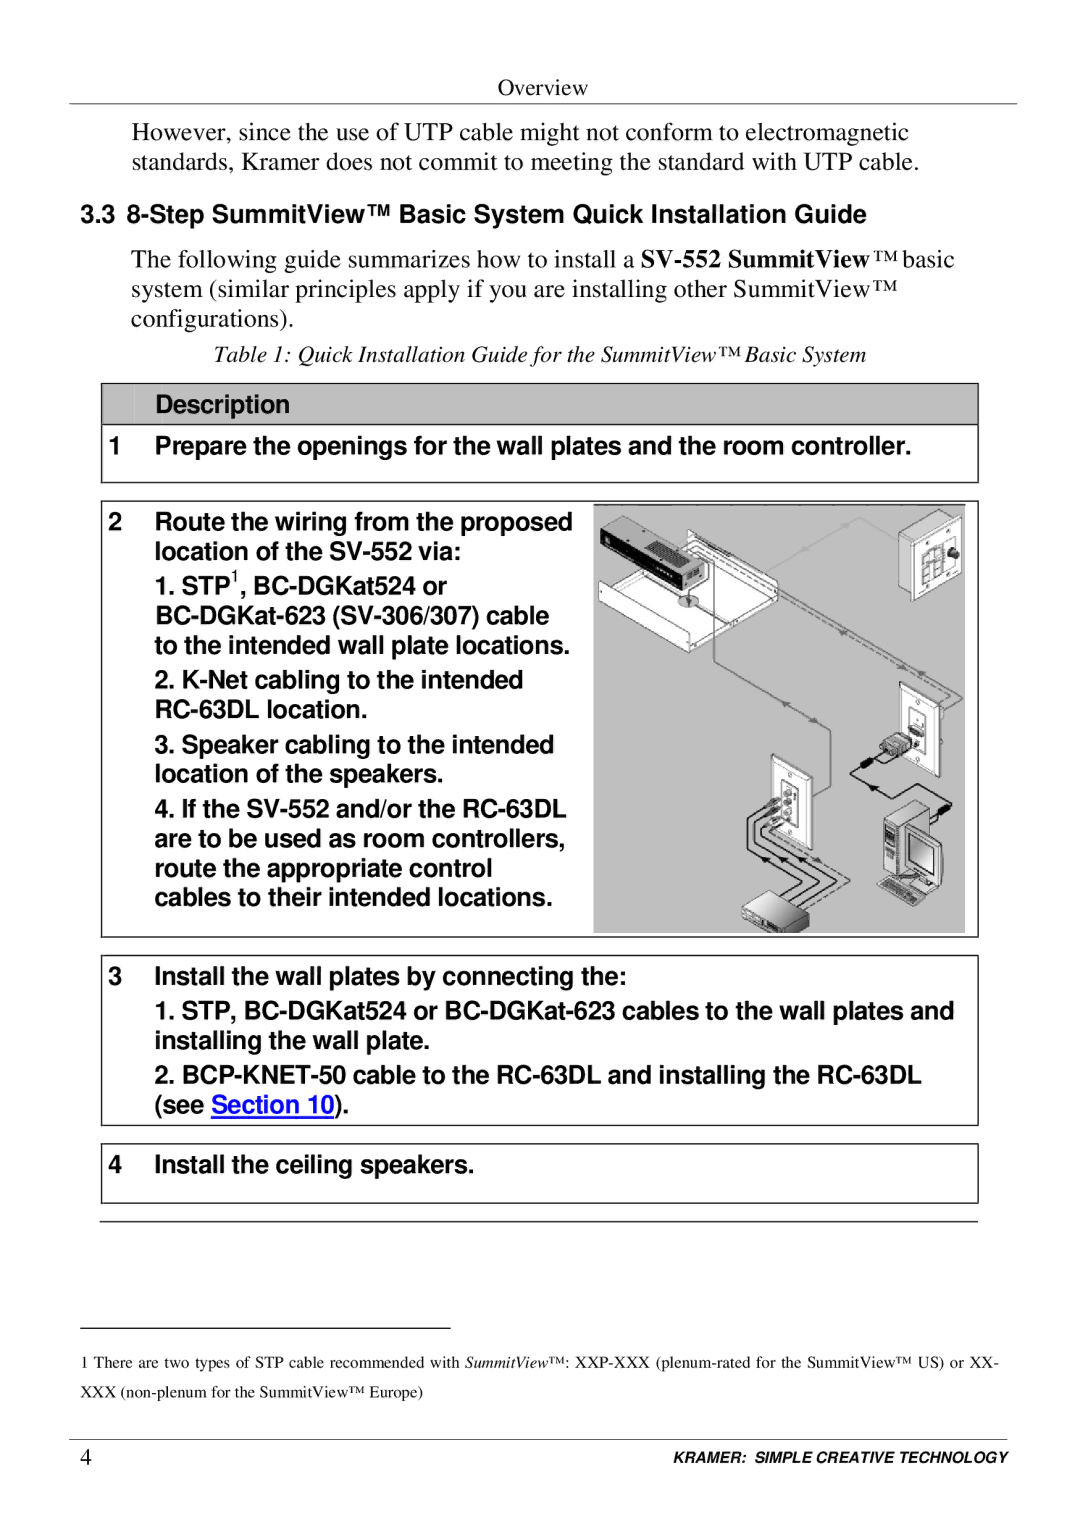
SV-552 specifications
Kramer Electronics SV-552 is a high-performance video and multimedia switcher that provides a versatile solution for various audio-visual applications. Designed for both professional and commercial uses, the SV-552 is particularly well-suited for environments such as conference rooms, lecture halls, and control centers, where reliable and seamless multimedia presentations are crucial.One of the main features of the SV-552 is its ability to switch between multiple input sources effortlessly. It supports a variety of input formats, including HDMI, VGA, and composite video, making it a flexible choice for users with different hardware setups. This versatility means that whether you're connecting a laptop, projector, or video playback device, the SV-552 can handle it all.
The switcher's output resolution capabilities are impressive, supporting resolutions up to 4K at 60Hz, ensuring that even high-definition content can be delivered without loss of quality. This feature is essential for users who rely on crystal-clear visuals during presentations.
Another significant technology incorporated into the SV-552 is the use of advanced scaling capabilities. This built-in scaler allows users to adjust the output resolution to match the requirements of their display devices, whether it’s a large screen, digital signage, or a smaller monitor. The result is an optimized viewing experience without any distortion or lag.
In addition to its video switching capabilities, the SV-552 includes integrated audio management features, enabling users to route audio signals along with video. This eliminates the need for separate audio switches, streamlining the overall setup while ensuring synchronized audio and video playback.
The device also boasts robust control options. Users can manage the SV-552 via an intuitive front-panel interface or by using remote control through RS-232 or IP protocols. This flexibility allows for easy integration into existing control systems, enhancing the overall user experience.
Furthermore, the rugged design of the SV-552 ensures durability and reliability, making it a long-lasting investment for any professional audiovisual setup. With advanced features, versatile connectivity, and user-friendly controls, Kramer Electronics SV-552 stands out as an essential tool for anyone looking to deliver high-quality multimedia experiences.

