Using the
5.2 Setting the PRIORITY Dipswitches
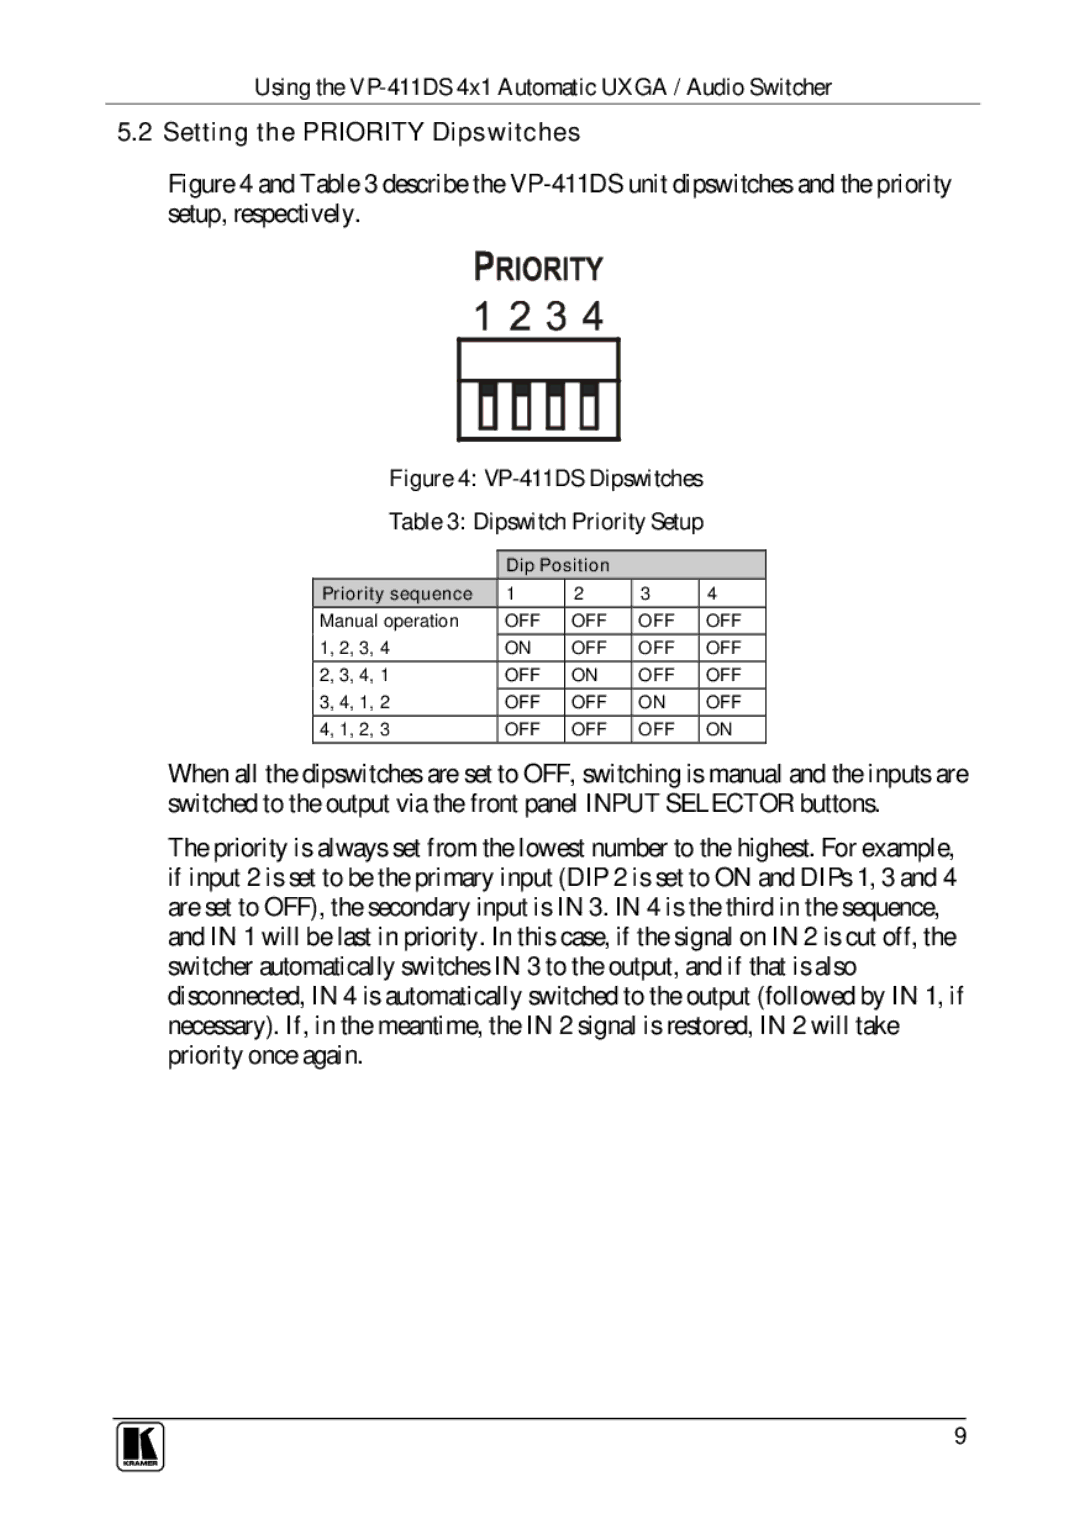
Figure 4 and Table 3 describe the VP-411DS unit dipswitches and the priority setup, respectively.
Figure 4: VP-411DS Dipswitches
Table 3: Dipswitch Priority Setup
| Dip Position |
|
| |
Priority sequence | 1 | 2 | 3 | 4 |
Manual operation | OFF | OFF | OFF | OFF |
1, 2, 3, 4 | ON | OFF | OFF | OFF |
2, 3, 4, 1 | OFF | ON | OFF | OFF |
3, 4, 1, 2 | OFF | OFF | ON | OFF |
4, 1, 2, 3 | OFF | OFF | OFF | ON |
When all the dipswitches are set to OFF, switching is manual and the inputs are switched to the output via the front panel INPUT SELECTOR buttons.
The priority is always set from the lowest number to the highest. For example, if input 2 is set to be the primary input (DIP 2 is set to ON and DIPs 1, 3 and 4 are set to OFF), the secondary input is IN 3. IN 4 is the third in the sequence, and IN 1 will be last in priority. In this case, if the signal on IN 2 is cut off, the switcher automatically switches IN 3 to the output, and if that is also disconnected, IN 4 is automatically switched to the output (followed by IN 1, if necessary). If, in the meantime, the IN 2 signal is restored, IN 2 will take priority once again.
9