
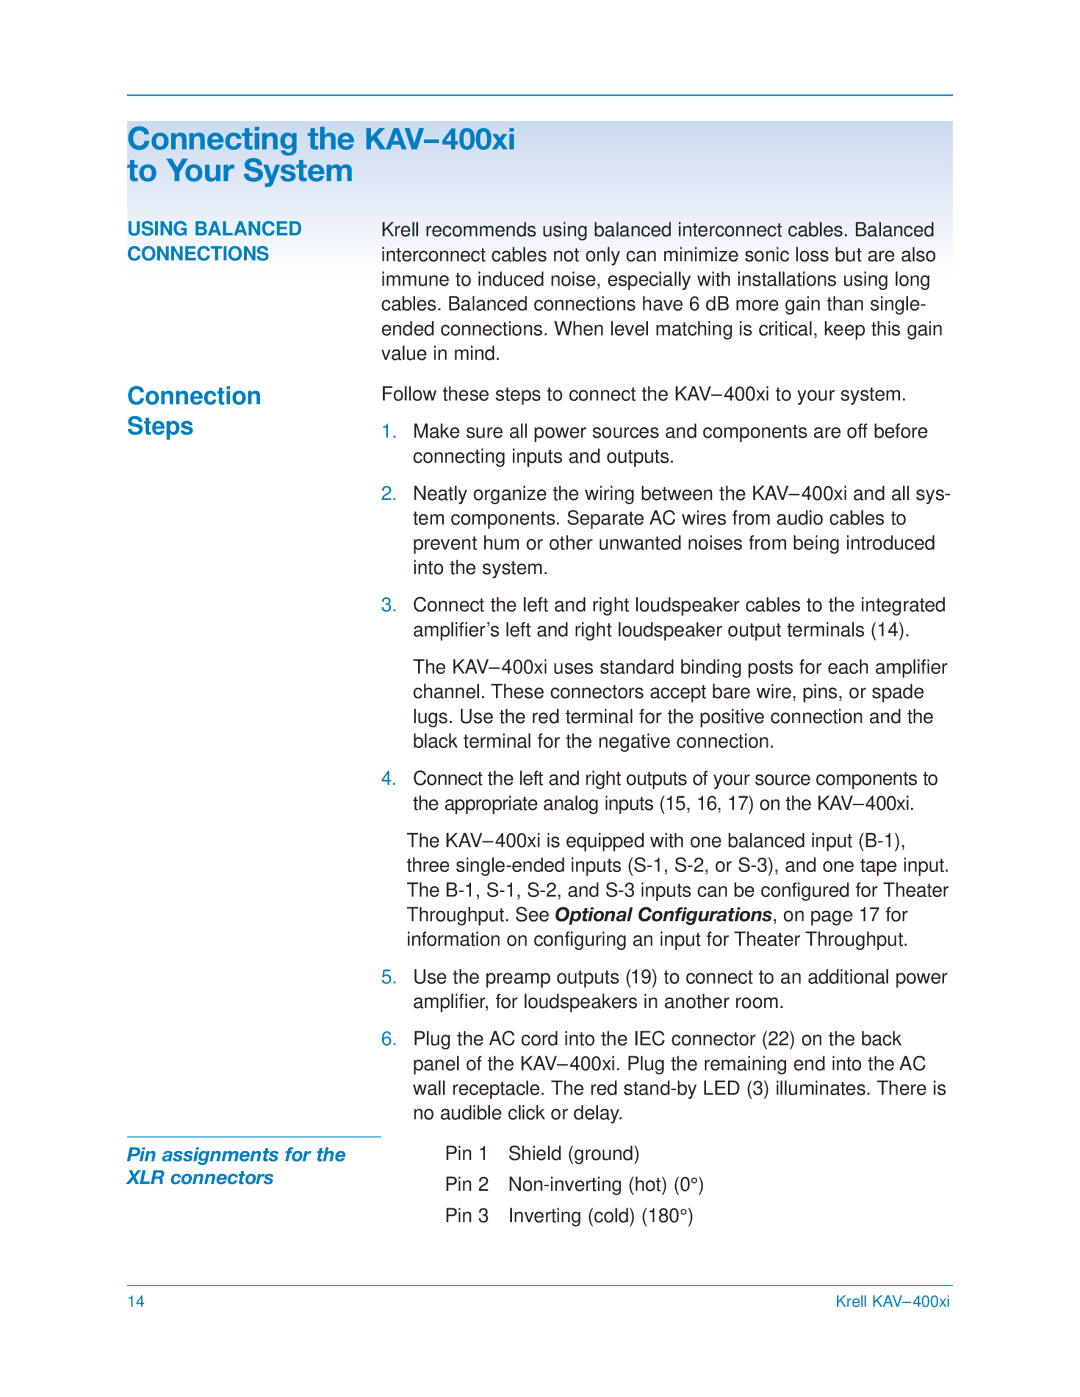
KAV400xi specifications
Krell Industries is renowned for its high-performance audio equipment, and the KAV-400xi integrated amplifier stands as a testament to the company's dedication to sound quality and cutting-edge technology. Weighing in at a hefty 65 pounds, the KAV-400xi is designed with a robust construction that not only ensures durability but also minimizes resonance, helping to deliver pure sound untainted by unwanted vibrations.One of the standout features of the KAV-400xi is its high power output. With an impressive 200 watts per channel into 8 ohms, and even more power available when driving lower impedances, this amplifier is capable of driving a wide range of speakers with ease. This means that whether you are using a modest bookshelf speaker or a more demanding floor-standing model, the KAV-400xi can deliver a dynamic range of sound that will resonate throughout your listening space.
The KAV-400xi also integrates advanced technologies such as Krell's proprietary Current Mode Amplification. This design philosophy enables the amplifier to respond more quickly to changes in the audio signal, resulting in improved transient response and overall clarity. As a result, listeners can expect a more engaging soundstage that captures the subtle nuances of their favorite recordings.
Additionally, the KAV-400xi features a fully balanced design, minimizing the potential for noise interference and ensuring that the sound remains pure and unaffected by external factors. The inclusion of both XLR and RCA inputs allows for versatile connectivity options, accommodating a variety of source components while maintaining high signal integrity.
Another noteworthy characteristic is the integrated digital signal processing (DSP), which optimizes the audio output for different environments. This feature is invaluable for listeners who want to tailor their sound experience based on room acoustics, ensuring the best audio performance regardless of the space.
The build quality of the KAV-400xi is evident through its attention to detail, featuring a sleek front panel, a large volume control knob, and a clear display that showcases operational metrics. In addition, the amplifier is equipped with a high-quality thermal management system to maintain optimal performance without overheating, even during prolonged listening sessions.
In summary, the Krell KAV-400xi integrated amplifier exemplifies high-fidelity audio performance, combining powerful amplification, advanced technologies, and exemplary build quality. This amplifier is an exceptional choice for audiophiles seeking to enhance their sound systems and enjoy a superior listening experience. Whether used in a dedicated home theater or a multi-room audio setup, the KAV-400xi stands ready to meet the demands of discerning music lovers everywhere.