308-807 specifications
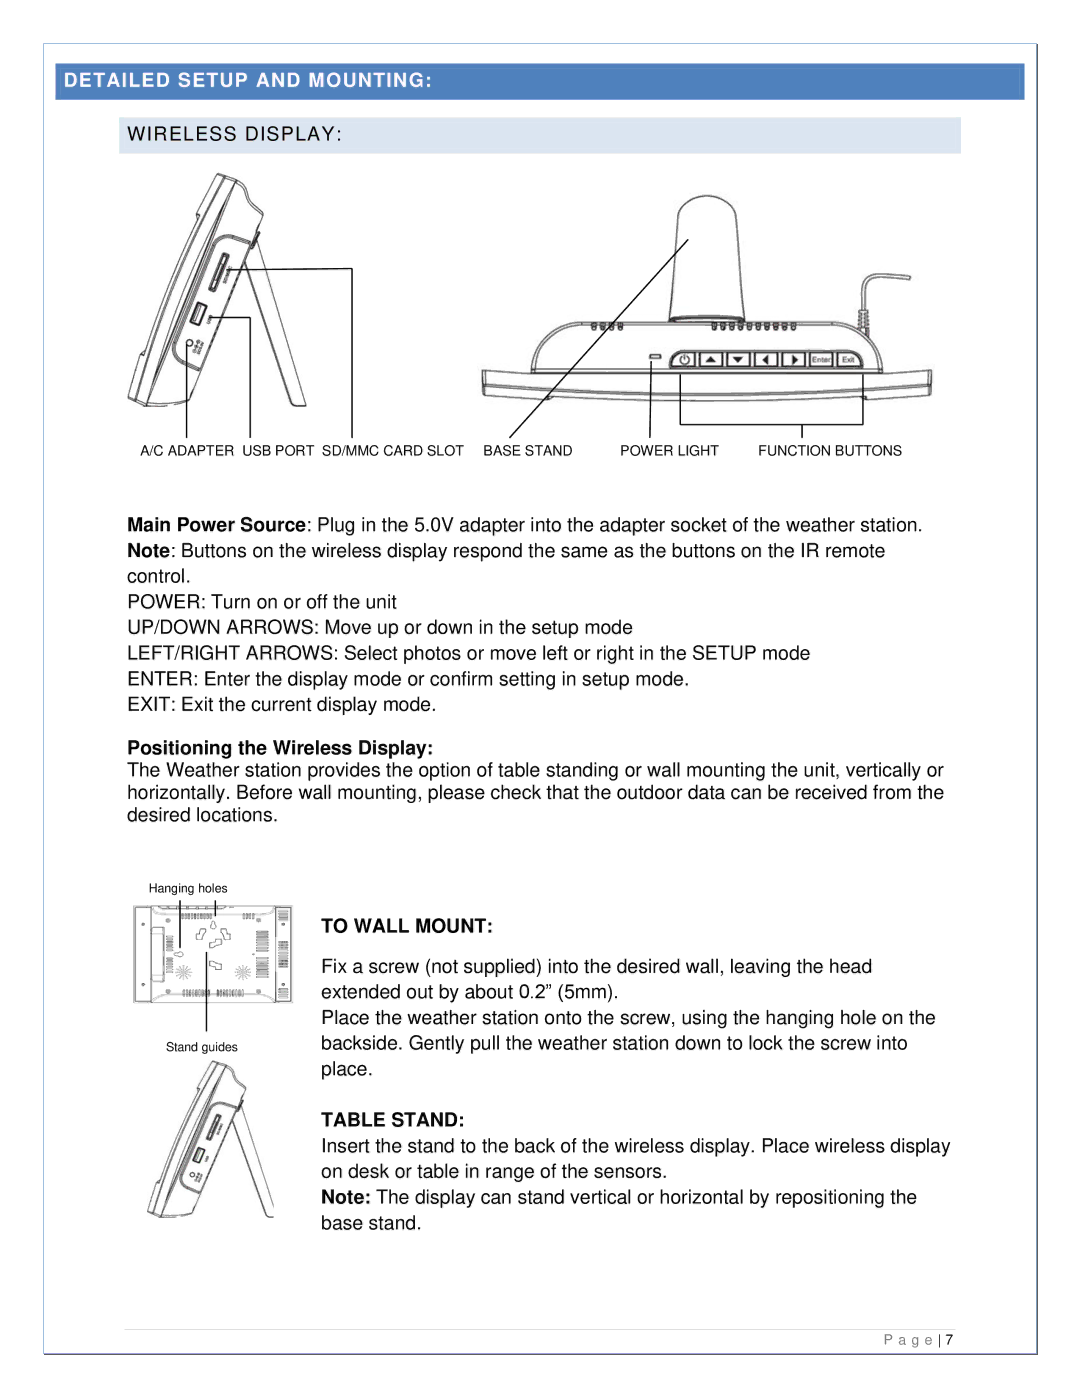
La Crosse Technology 308-807 is an advanced wireless weather station designed for both home and professional use, offering a range of features that enhance its utility and user experience. This device goes beyond basic weather monitoring, providing users with real-time data about various atmospheric conditions.One of the standout features of the La Crosse Technology 308-807 is its large, easy-to-read LCD display. This display showcases current temperature, humidity levels, and barometric pressure, allowing users to monitor their environment effortlessly. The backlight feature ensures that readings can be seen clearly in low-light conditions, enhancing usability during the night or in darker areas.
The weather station is equipped with wireless technology that allows it to receive data from its outdoor sensor unit from a considerable distance. This means that you can place the sensor outside to gather accurate readings while keeping the main unit inside. The wireless range generally extends up to 300 feet, depending on environmental conditions, ensuring that you can monitor the weather from the comfort of your home.
Temperature and humidity measurements are not limited to outdoor conditions; the La Crosse Technology 308-807 also includes the capability to monitor indoor climate, making it a multifunctional device. Users can track temperature fluctuations in different rooms, ensuring optimal comfort levels throughout their living space.
Another key characteristic of the 308-807 is its ability to store historical data. With memory functionality, the device can keep track of the highest and lowest readings over a specified period, allowing users to analyze trends in temperature and humidity. This feature can be especially helpful for those looking to maintain specific environmental conditions for plants, pets, or general climate control.
Additionally, the device offers customizable alarms that notify users when conditions surpass predetermined thresholds. This feature is particularly useful for those with specific needs such as wine collectors, plant enthusiasts, or individuals who need to monitor sensitive living environments.
Moreover, La Crosse Technology has a reputation for durability and reliability, and the 308-807 is no exception. Built with quality materials, it is designed to withstand outdoor conditions while providing consistent and accurate readings.
In conclusion, the La Crosse Technology 308-807 stands out as a versatile weather station equipped with user-friendly features, advanced wireless technology, and robust memory capabilities. Its design caters to both amateur weather-watchers and serious enthusiasts, making it an excellent choice for anyone interested in monitoring their climate accurately and conveniently.

