3)Press and release the “SET” button to confirm the DST setting, and to advance to select the language for the weekday.
IV) LANGUAGE SELECTION FOR THE WEEKDAY
1)Hold down the “SET” button for 2 seconds (the selected time zone will flash), press the “SET” button 2 more times, until the default language “US” flashes in the time LCD.
2)Press and release the “+” button to toggle through and to select the desired language. There are 3 languages to select from:
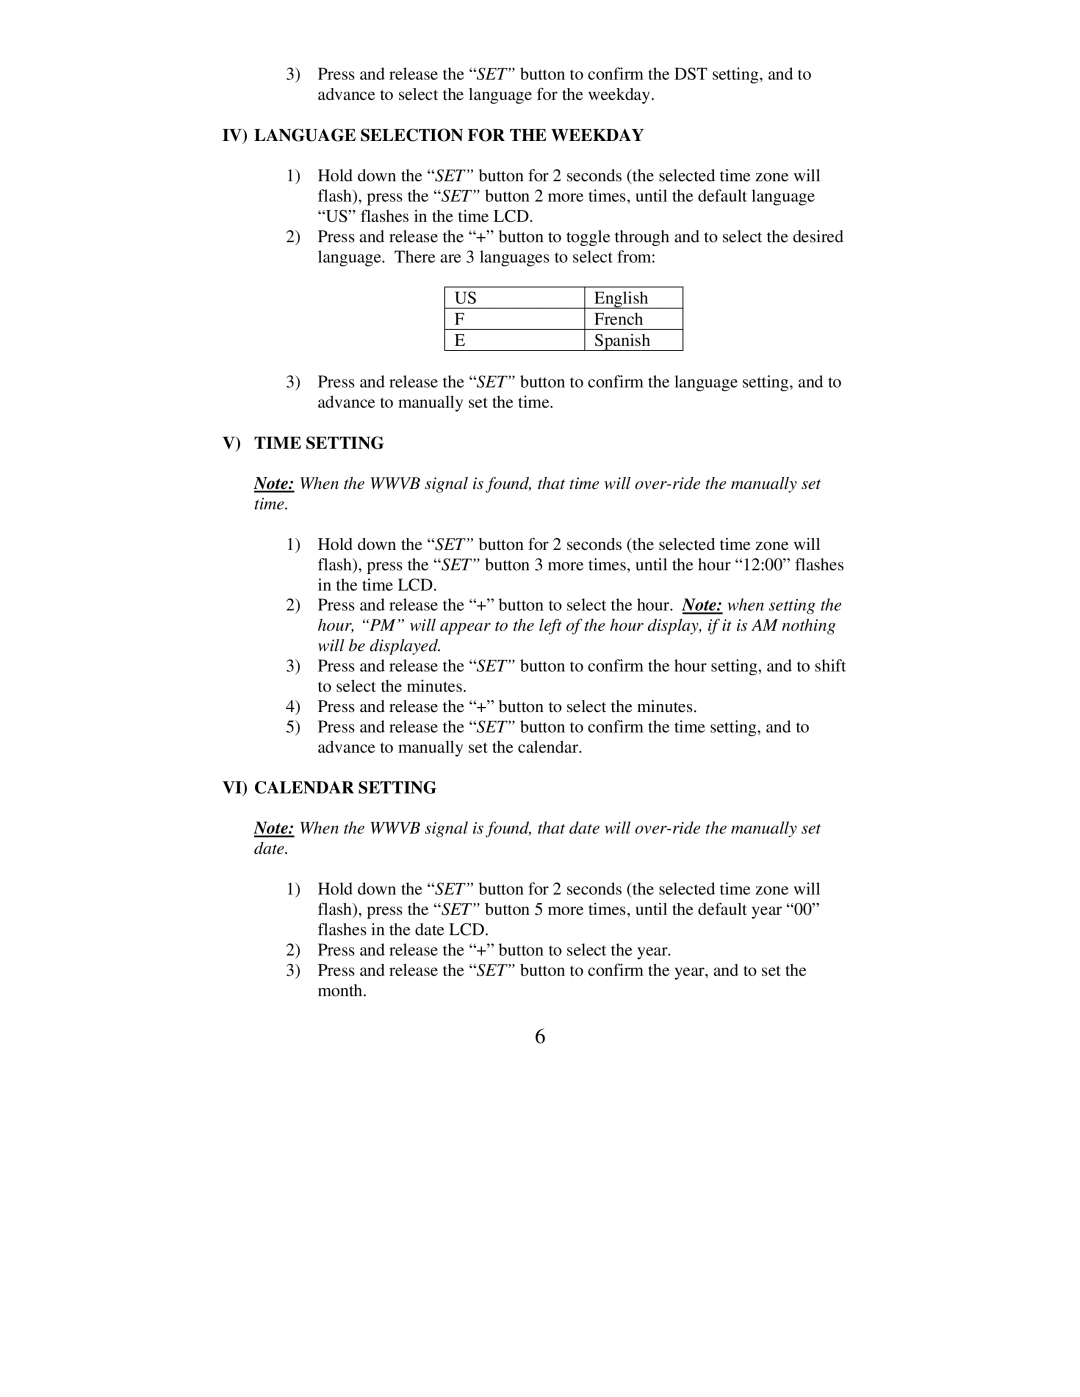
US
F
E
English
French
Spanish
3)Press and release the “SET” button to confirm the language setting, and to advance to manually set the time.
V)TIME SETTING
Note: When the WWVB signal is found, that time will
1)Hold down the “SET” button for 2 seconds (the selected time zone will flash), press the “SET” button 3 more times, until the hour “12:00” flashes in the time LCD.
2)Press and release the “+” button to select the hour. Note: when setting the hour, “PM” will appear to the left of the hour display, if it is AM nothing will be displayed.
3)Press and release the “SET” button to confirm the hour setting, and to shift to select the minutes.
4)Press and release the “+” button to select the minutes.
5)Press and release the “SET” button to confirm the time setting, and to advance to manually set the calendar.
VI) CALENDAR SETTING
Note: When the WWVB signal is found, that date will
1)Hold down the “SET” button for 2 seconds (the selected time zone will flash), press the “SET” button 5 more times, until the default year “00” flashes in the date LCD.
2)Press and release the “+” button to select the year.
3)Press and release the “SET” button to confirm the year, and to set the month.
6