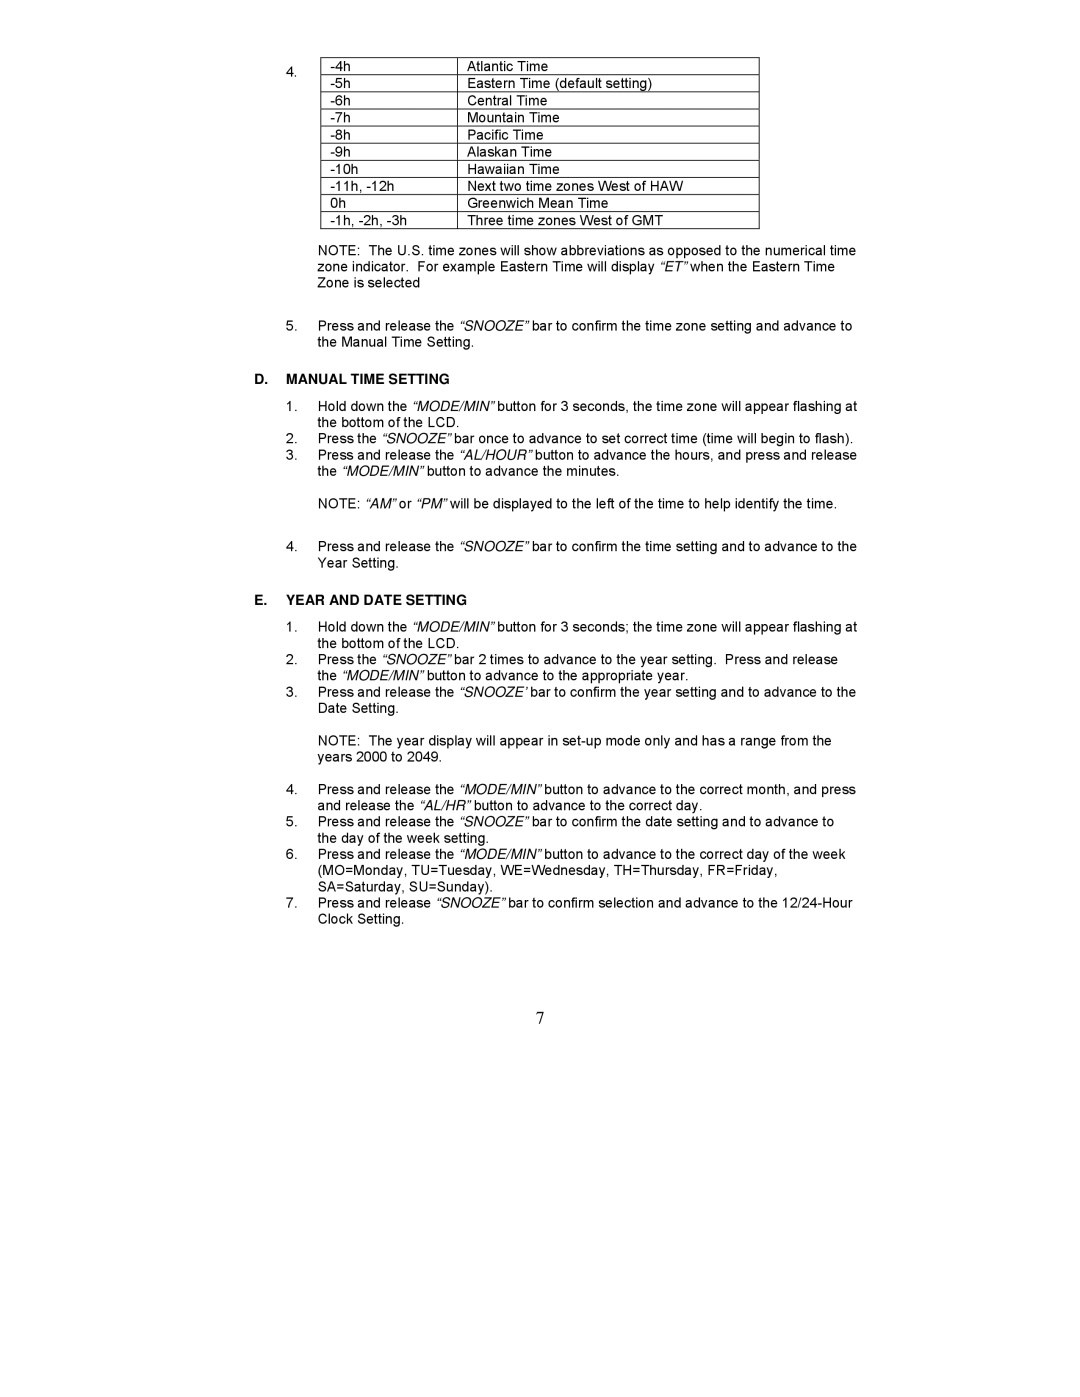
4. | Atlantic Time | ||
Eastern Time (default setting) | |||
| |||
| Central Time | ||
| Mountain Time | ||
| Pacific Time | ||
| Alaskan Time | ||
| Hawaiian Time | ||
| Next two time zones West of HAW | ||
| 0h | Greenwich Mean Time | |
| Three time zones West of GMT |
NOTE: The U.S. time zones will show abbreviations as opposed to the numerical time zone indicator. For example Eastern Time will display “ET” when the Eastern Time Zone is selected
5.Press and release the “SNOOZE” bar to confirm the time zone setting and advance to the Manual Time Setting.
D.MANUAL TIME SETTING
1.Hold down the “MODE/MIN” button for 3 seconds, the time zone will appear flashing at the bottom of the LCD.
2.Press the “SNOOZE” bar once to advance to set correct time (time will begin to flash).
3.Press and release the “AL/HOUR” button to advance the hours, and press and release the “MODE/MIN” button to advance the minutes.
NOTE: “AM” or “PM” will be displayed to the left of the time to help identify the time.
4.Press and release the “SNOOZE” bar to confirm the time setting and to advance to the Year Setting.
E.YEAR AND DATE SETTING
1.Hold down the “MODE/MIN” button for 3 seconds; the time zone will appear flashing at the bottom of the LCD.
2.Press the “SNOOZE” bar 2 times to advance to the year setting. Press and release the “MODE/MIN” button to advance to the appropriate year.
3.Press and release the “SNOOZE’ bar to confirm the year setting and to advance to the Date Setting.
NOTE: The year display will appear in
4.Press and release the “MODE/MIN” button to advance to the correct month, and press and release the “AL/HR” button to advance to the correct day.
5.Press and release the “SNOOZE” bar to confirm the date setting and to advance to the day of the week setting.
6.Press and release the “MODE/MIN” button to advance to the correct day of the week (MO=Monday, TU=Tuesday, WE=Wednesday, TH=Thursday, FR=Friday, SA=Saturday, SU=Sunday).
7.Press and release “SNOOZE” bar to confirm selection and advance to the
7
