•SET THE CLOCK
Press DSP button (9) to change the display to clock display. Press it again to return to previous display. In clock display, press and hold the DSP button (9) for several
seconds until the clock display flashes. Press VOL ![]() (5) to change minutes or VOL
(5) to change minutes or VOL ![]() (4) to change hours.
(4) to change hours.
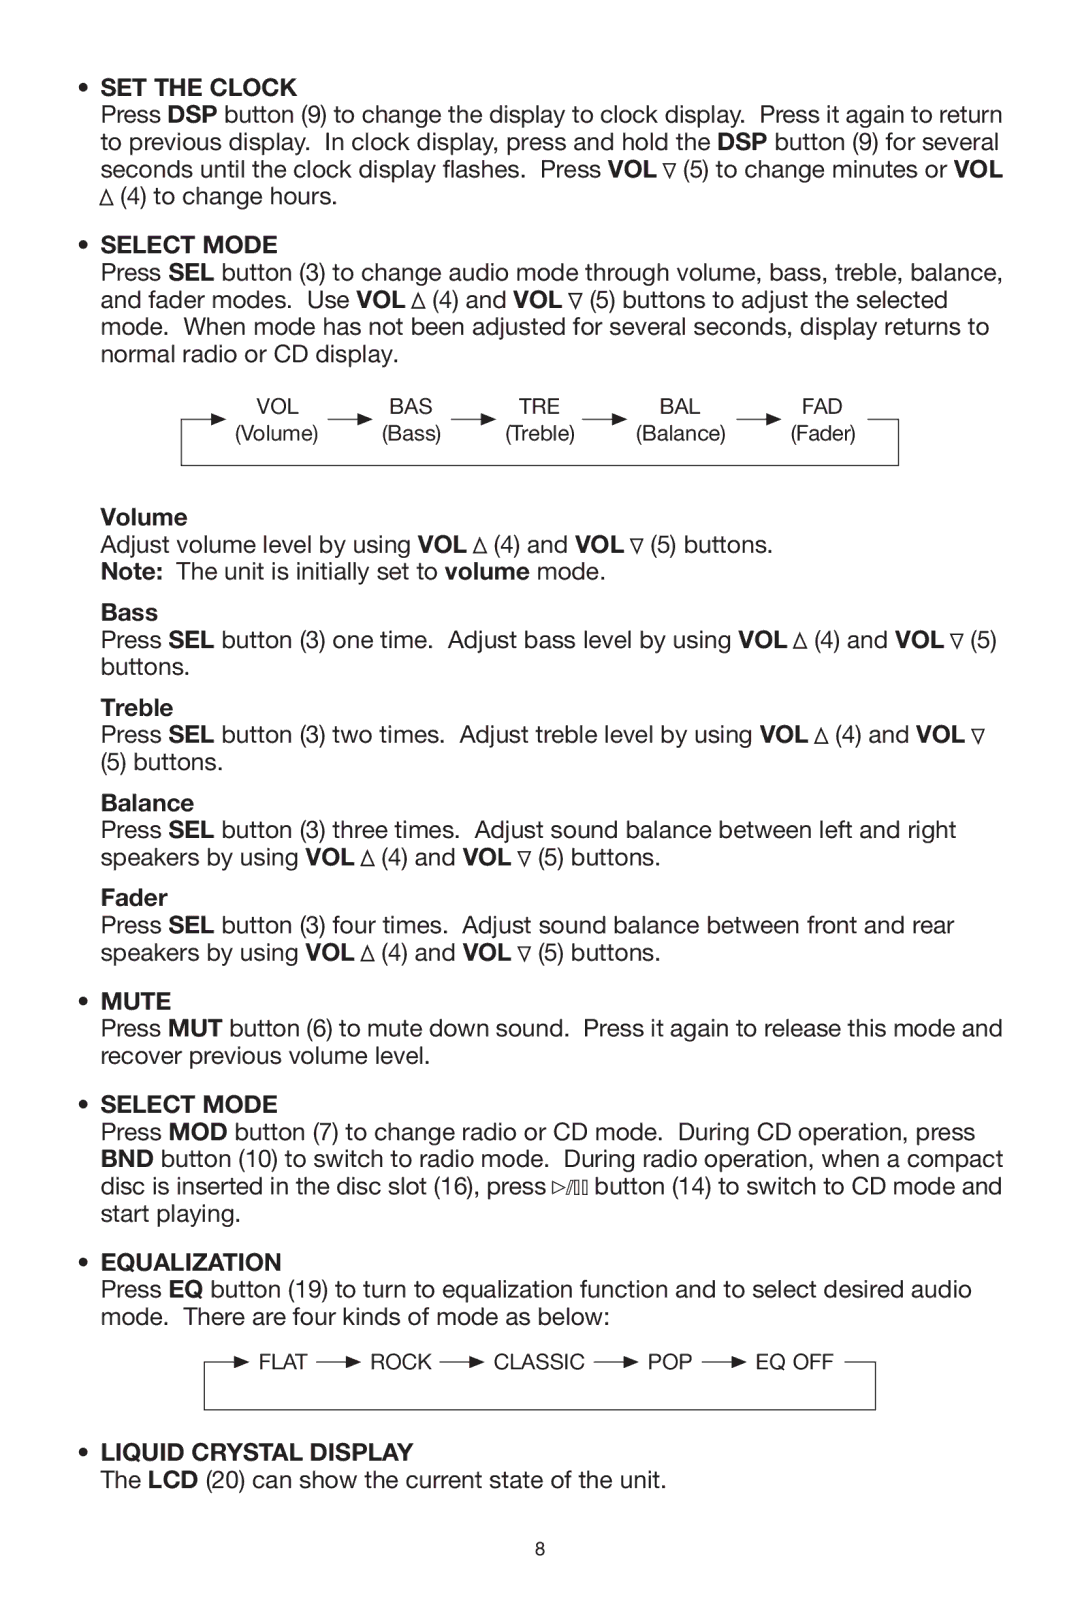
•SELECT MODE
Press SEL button (3) to change audio mode through volume, bass, treble, balance, and fader modes. Use VOL ![]() (4) and VOL
(4) and VOL ![]() (5) buttons to adjust the selected mode. When mode has not been adjusted for several seconds, display returns to normal radio or CD display.
(5) buttons to adjust the selected mode. When mode has not been adjusted for several seconds, display returns to normal radio or CD display.
| VOL |
| BAS |
| TRE |
| BAL |
| FAD |
|
| (Volume) |
| (Bass) |
| (Treble) |
| (Balance) |
| (Fader) | |
|
|
|
|
|
|
|
|
|
|
|
Volume
Adjust volume level by using VOL ![]() (4) and VOL
(4) and VOL ![]() (5) buttons.
(5) buttons.
Note: The unit is initially set to volume mode.
Bass
Press SEL button (3) one time. Adjust bass level by using VOL ![]() (4) and VOL
(4) and VOL ![]() (5) buttons.
(5) buttons.
Treble
Press SEL button (3) two times. Adjust treble level by using VOL ![]() (4) and VOL
(4) and VOL ![]()
(5) buttons.
Balance
Press SEL button (3) three times. Adjust sound balance between left and right speakers by using VOL ![]() (4) and VOL
(4) and VOL ![]() (5) buttons.
(5) buttons.
Fader
Press SEL button (3) four times. Adjust sound balance between front and rear speakers by using VOL ![]() (4) and VOL
(4) and VOL ![]() (5) buttons.
(5) buttons.
•MUTE
Press MUT button (6) to mute down sound. Press it again to release this mode and recover previous volume level.
•SELECT MODE
Press MOD button (7) to change radio or CD mode. During CD operation, press BND button (10) to switch to radio mode. During radio operation, when a compact
disc is inserted in the disc slot (16), press ![]()
![]()
![]() button (14) to switch to CD mode and start playing.
button (14) to switch to CD mode and start playing.
•EQUALIZATION
Press EQ button (19) to turn to equalization function and to select desired audio mode. There are four kinds of mode as below:
![]()
![]() FLAT
FLAT ![]() ROCK
ROCK ![]() CLASSIC
CLASSIC ![]() POP
POP ![]() EQ OFF
EQ OFF
•LIQUID CRYSTAL DISPLAY
The LCD (20) can show the current state of the unit.
8
