16M1851, 16M1960, 16M1847, 16M0409, X654de specifications
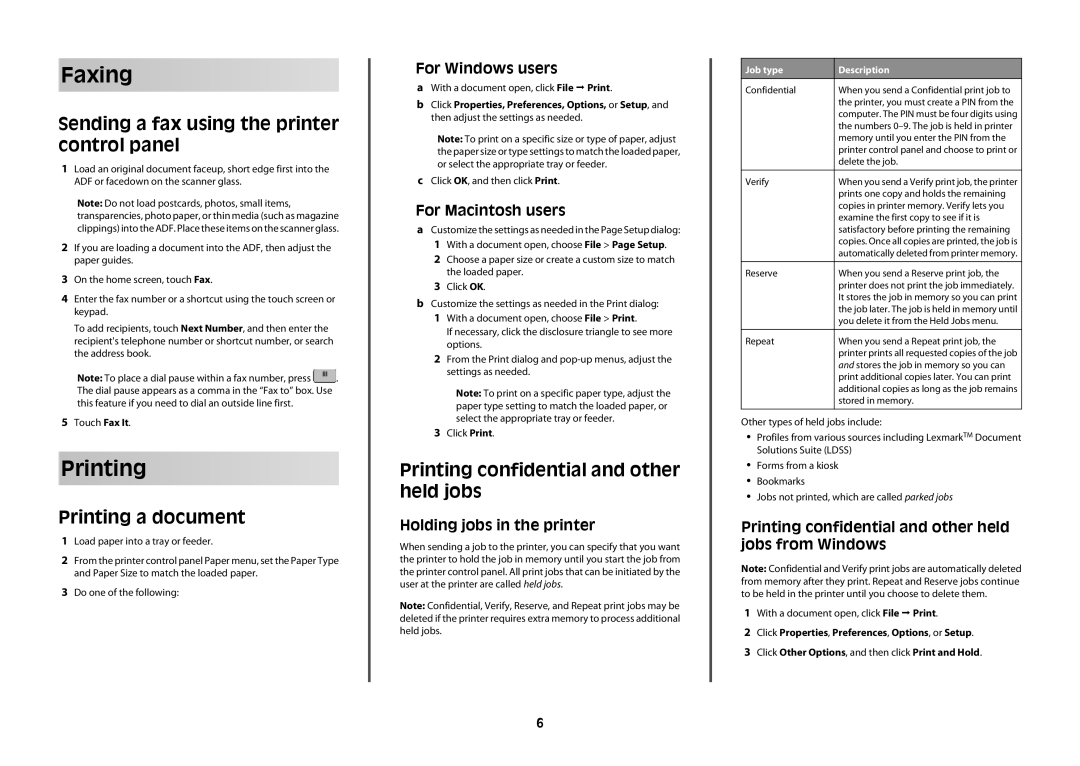
Lexmark has established itself as a robust player in the printer and imaging solutions market, continuously evolving its offerings to meet diverse business needs. Among its notable products are the Lexmark 16M1994 toner cartridge, along with the X658dtfe, X656de, and X654de multifunction printers. Each of these models is known for its reliability, efficiency, and advanced features.The Lexmark 16M1994 toner cartridge is a crucial component designed to deliver sharp, high-quality prints. It has a generous yield, ensuring that users can produce documents with minimal interruptions. This toner is engineered to work seamlessly with various Lexmark printers, resulting in consistent quality and vibrant color reproduction. Its innovative formulation provides a smooth flow of toner, reducing the chances of clogging and enhancing overall print performance.
The X658dtfe model is a high-performance multifunction printer that stands out with its ability to handle demanding workloads. It features a fast print speed of up to 55 pages per minute and supports high-volume printing with a robust paper capacity. The X658dtfe is equipped with advanced scanning capabilities, including duplex scanning, which allows for efficient document handling. The device also offers optional finishing tasks such as stapling and hole punching, making it a versatile choice for offices that require multifunctional capabilities.
Similarly, the X656de and X654de models cater to businesses needing efficient printing, scanning, copying, and faxing solutions. Both models are energy-efficient and come with Lexmark’s eco-friendly technologies, ensuring minimal environmental impact while maintaining high productivity. They feature intuitive touch-screen interfaces, making them user-friendly and easy to navigate.
Key technologies across these devices include Lexmark’s Unison Toner, which enables superior print quality and lower total cost of ownership. The flexible architecture of the X600 series printers supports various media types and sizes, enabling users to produce everything from simple documents to intricate marketing materials.
In conclusion, the Lexmark 16M1994 cartridge and the X658dtfe, X656de, and X654de multifunction printers embody the company’s commitment to quality and efficiency. Their unique features, advanced technologies, and eco-friendly approach make them suitable for any business looking to enhance productivity while maintaining exceptional print quality. These devices not only streamline printing tasks but also adapt to the evolving needs of modern workplaces.