Z65n specifications
The Lexmark Z65n is a versatile inkjet printer that is designed to meet the demanding needs of both home and small office environments. Known for its reliability and quality, the Z65n combines several advanced technologies to deliver exceptional printing performance.At the heart of the Z65n is its impressive print resolution, which reaches up to 4800 x 1200 dpi. This high resolution ensures that the printed output is sharp and vibrant, making it suitable for a variety of tasks, from standard document printing to high-quality photo reproduction. The printer supports a range of media types and sizes, including envelopes, labels, and various paper types, enhancing its versatility in printing applications.
One of the standout features of the Z65n is its fast print speeds. It can produce up to 21 pages per minute (ppm) for black and white documents and up to 17 ppm for color prints. This efficiency is essential for users who require quick turnaround times on print jobs, streamlining workflow and enhancing productivity.
Connectivity options are another key aspect of the Lexmark Z65n. It offers USB connectivity, making it easy to connect to a single computer, while also providing a parallel port for broader compatibility with older systems. The printer is designed with a user-friendly interface, allowing for easy navigation through various functions and settings.
The Z65n makes use of Lexmark's unique Smooth Photo Technology, which ensures that images are printed with rich colors and smooth gradients. This technology minimizes the appearance of banding and improves overall print quality, making it an excellent choice for printing graphics-heavy documents.
In terms of characteristics, the Lexmark Z65n is designed with energy efficiency in mind. It meets Energy Star standards, which means it consumes less power than conventional printers. This not only helps reduce operational costs but also makes it environmentally friendly.
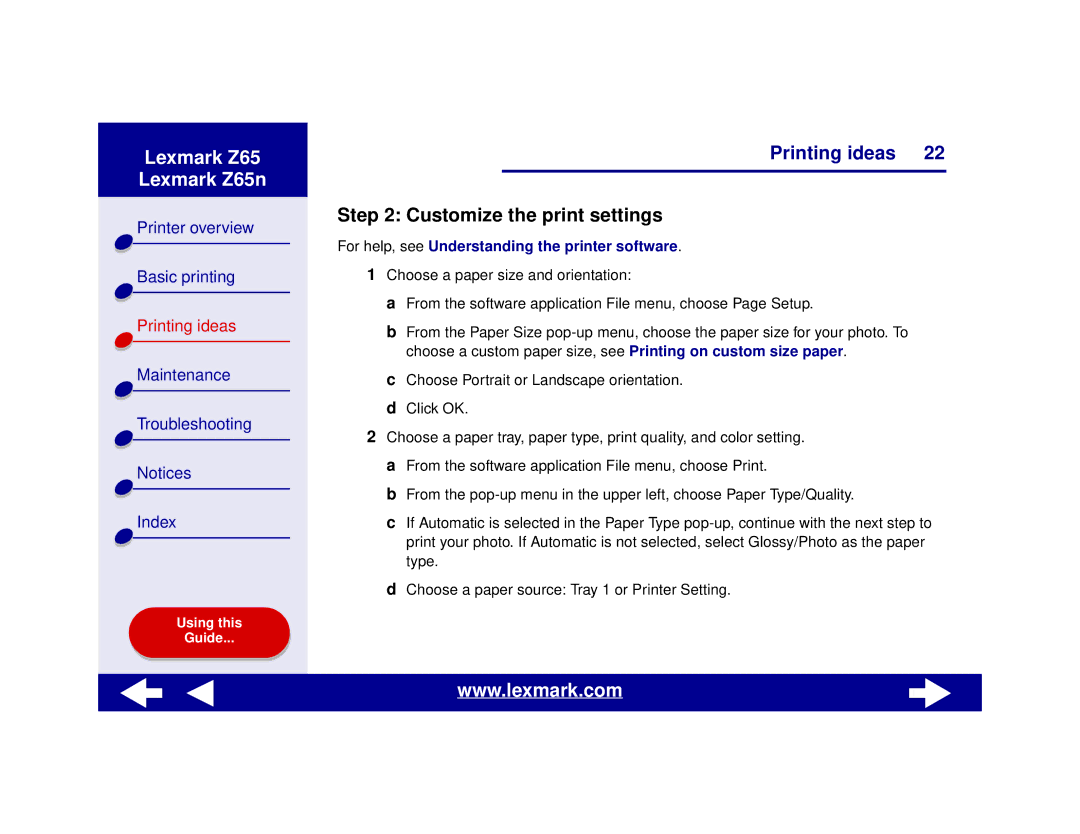
Additionally, the printer features adjustable print settings, allowing users to customize their printing experience based on specific needs. Whether printing on glossy photo paper or standard office paper, the Z65n offers optimal performance across different media types.
In summary, the Lexmark Z65n is a robust, feature-rich inkjet printer that provides impressive print quality, fast speeds, and a variety of connectivity options. Its advanced technologies and energy-efficient design make it an ideal choice for users who seek both performance and sustainability.

