
 Fig. 7
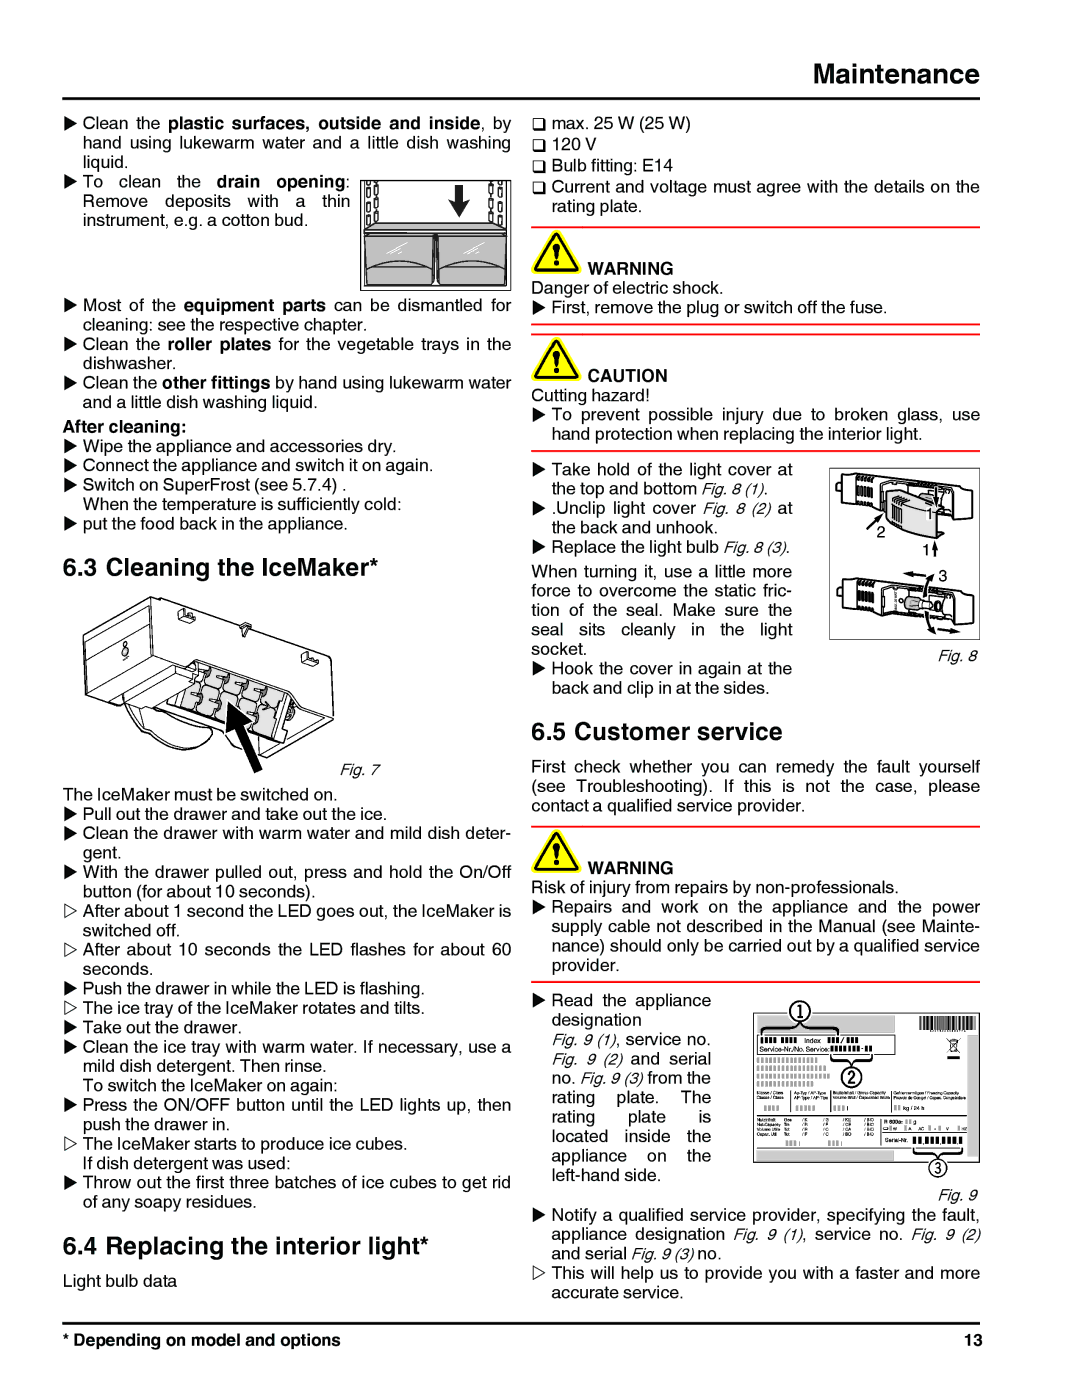
HC 1011/1060 HC 1001/1050 121113 7082698 - 00 specifications
The Liebherr HC 1011/1060 and HC 1001/1050 are part of the esteemed Liebherr line of high-performance hoists and cranes. These models are designed specifically for heavy lifting and material transport in various industrial applications. Liebherr is widely recognized for its commitment to innovation and reliability, and the HC series exemplifies this dedication.One of the main features of the HC 1011/1060 and HC 1001/1050 is their impressive lifting capacity. These cranes can handle significant loads, making them ideal for construction sites and heavy-duty operations. Their robust design ensures they can withstand harsh working conditions while maintaining safety and performance quality.
The HC series incorporates advanced technologies aimed at enhancing efficiency and user experience. For instance, Liebherr has integrated modern control systems that offer precise load management, ensuring optimal performance during operation. These control systems are user-friendly and can be easily navigated, allowing operators to efficiently manage lifting operations with greater confidence.
Safety is paramount in the design of the HC 1011/1060 and HC 1001/1050. The models are equipped with state-of-the-art safety features, including overload protection and advanced monitoring systems that alert operators to potential issues before they become significant problems. This focus on safety not only protects the equipment but also ensures the welfare of the operators and the surrounding workforce.
Durability is another characteristic that sets Liebherr's HC series apart. Constructed with high-quality materials, the HC 1011/1060 and HC 1001/1050 are designed to endure the rigors of continuous use in demanding environments. This durability translates to reduced maintenance costs and extended lifespans for the equipment, providing significant value to users.
In terms of versatility, these cranes can be adapted for various applications. Whether used in construction, shipping, or industrial manufacturing, the HC series can be configured to meet the specific needs of any project. Their compact design allows for easy maneuverability in tight spaces, enhancing their functionality across different sites.
The Liebherr HC 1011/1060 and HC 1001/1050 cranes are not just machines; they embody the company's ethos of quality, innovation, and reliability. Their cutting-edge technologies, robust safety features, and exceptional lifting capabilities make them essential equipment for any heavy-duty lifting task. As industries continue to evolve, Liebherr remains at the forefront, providing solutions that meet the demands of modern construction and heavy lifting.