D-4

MAINTENANCE

D-4


KOHLER ENGINE

Air Precleaner Service

1.Loosen the cover retaining knob and remove the cover.

2.Remove the precleaner from the paper element.

3.Wash the precleaner in warm water with detergent. Rinse the precleaner thoroughly until all traces of detergent are eliminated. Squeeze out excess water (do not wring). Allow the precleaner to air dry.

4.Saturate the precleaner with new engine oil. Squeeze out all excess oil.

5.Reinstall the precleaner over the paper element.

6.Reinstall the air cleaner cover. Secure cover with the cover retaining knob.

Air Filter Paper Element Service

1.Loosen the cover retaining knob and remove the cover.

2.Remove the precleaner from the paper element.

3.Remove the element cover nut, element cover, and paper element.

4.Do not wash the paper element or use pressurized air, as this will damage the element. Replace a dirty, bent, or damaged element with a new ele- ment. Handle new elements carefully; do not use if the sealing surfaces are bent or damaged.

5.When servicing the air cleaner, check the air clean- er base. Make sure it is secured and not bent or damaged. Also check the element cover for dam- age or improper fit. Replace all damaged air cleaner components.

NOTE: Before air cleaner reassembly make sure rub- ber seal is in position around stud. Inspect, making sure it is not damaged and seals with the element cover.

6.Reinstall the paper element, precleaner, element cover, element cover nut, and air cleaner cover. Secure cover with the cover retaining knob.

SPARK PLUG SERVICE

To ensure proper engine operation, the spark plugs must be properly gapped and free of deposits.

1.Remove the spark plug caps.

2.Clean any dirt from around the spark plug bases.

3.Use a plug wrench to remove the spark plugs.

WARNING

The muffler becomes very hot during operation and remains hot for a while after stopping the engine. Be careful not to touch the muffler while it is hot.

------------------------------------------------------------------------

4.Visually inspect the spark plugs. Discard them if the insulator is cracked or chipped. Clean the spark plugs with a wire brush if they are to be reused.

5.Measure the plug gap with a feeler gauge. Correct as necessary by bending the side electrode.

6.Check that the spark plug washer is in good condi- tion and thread the spark plug in by hand to pre- vent cross-threading.

7.After the spark plug is seated, tighten with a spark plug wrench to compress the washer.

-If installing a new spark plug, tighten 1/2 turn after the spark plug seats to compress the washer.

-If reinstalling a used spark plug, tighten 1/8 - 1/4 turn after the spark plug seats to compress the washer.

TABLE D.6

SPARK PLUG INSTALLATION SPECIFICATIONS


Kohler


Spark Plug Gap

.030in. (.76 mm)


Spark Plug Torque

20 ft. lb. (27 N-m)


CAUTION

The spark plug must be securely tightened. An improperly tight- ened spark plug can become very hot and may cause engine dam- age.

Use only the recommended spark plug or equivalent. A spark plug which has an improper heat range may cause engine damage.

------------------------------------------------------------------------------------------

RANGER 275

Page 37
Image 37
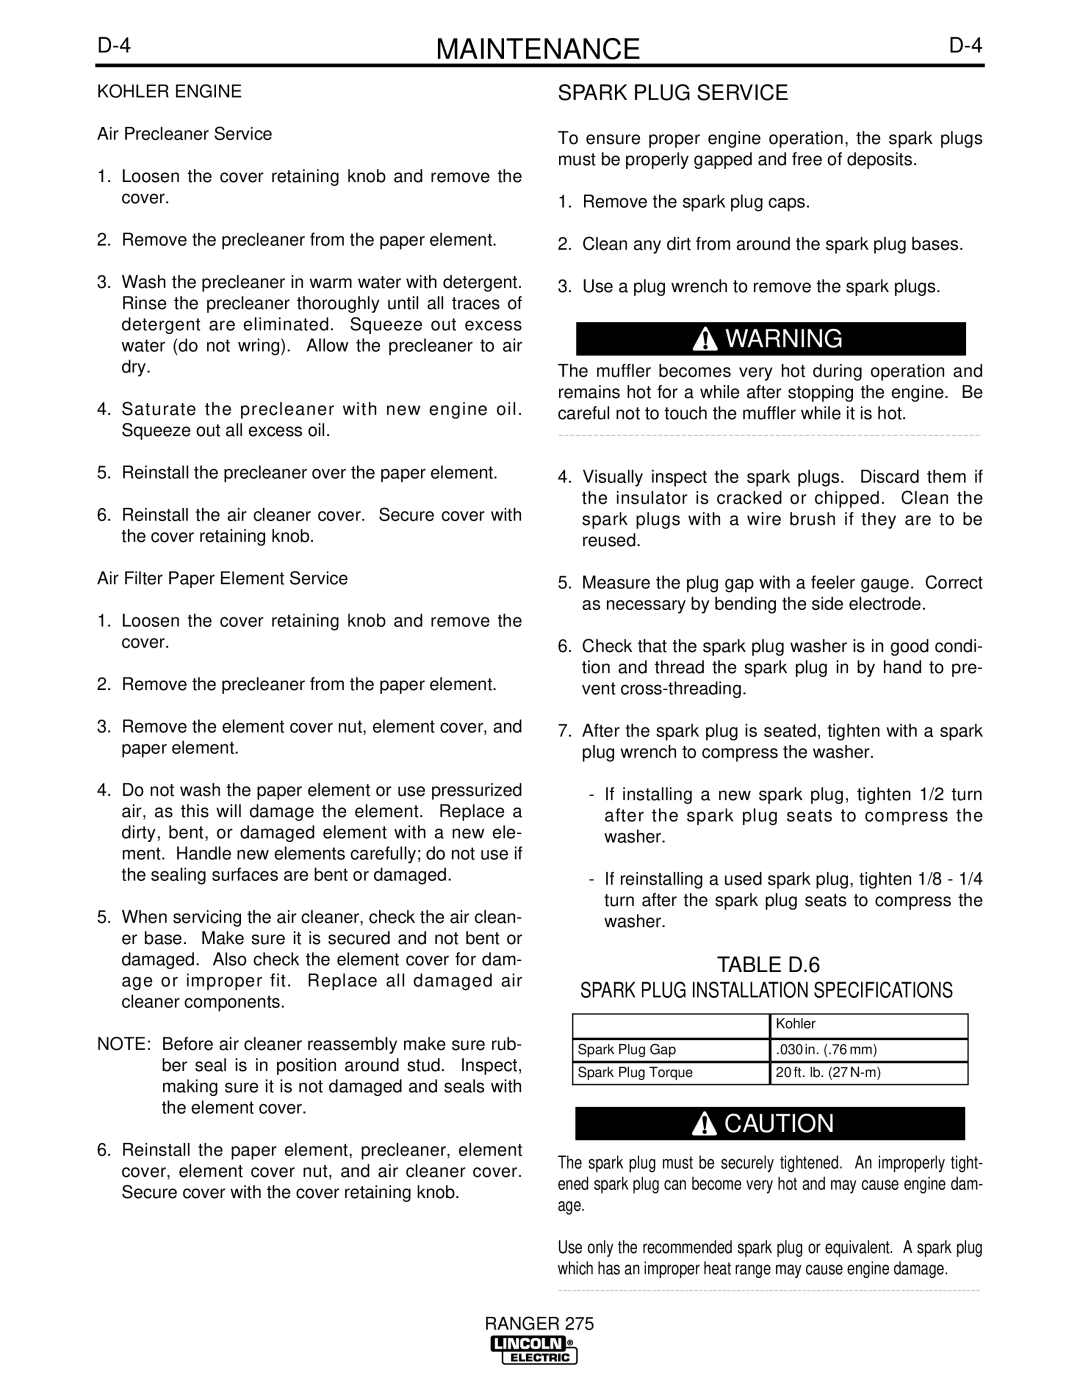
Lincoln Electric 275 manual Spark Plug Service, Table D.6 Spark Plug Installation Specifications

275 specifications

The Lincoln Electric 275 is a versatile multi-process welding machine that stands out for its advanced features and robust performance. Designed for both novice and experienced welders, the machine offers MIG, TIG, and stick welding capabilities, making it a valuable tool for a variety of applications.

One of the main features of the Lincoln Electric 275 is its power output. With an impressive selection of amperage settings, it can deliver between 25 to 275 amps, making it suitable for both thin and thick materials. This flexibility allows users to work on projects ranging from automotive repairs to industrial fabrication.

The machine utilizes inverter technology, which significantly enhances its efficiency and reduces power consumption. Inverter welders are known for their lightweight design and compact size compared to traditional transformer-based welders. This portability makes the Lincoln Electric 275 easy to transport to job sites, catering to both professional and hobbyist welders who require mobility.

Another defining characteristic of the Lincoln Electric 275 is its easy-to-use interface. The digital display provides clear readings, allowing users to effortlessly adjust settings for optimal performance. Additionally, the machine features a user-friendly control panel with distinct knobs for regulating voltage and wire feed speed, assisting welders in achieving precise welds.

The Lincoln Electric 275 is also equipped with advanced arc technologies. Its built-in arc control enhances the stability of the welding arc, resulting in a smoother, more consistent weld. Furthermore, the machine offers synergic controls that automatically adjust the voltage and wire feed speed based on the selected material and thickness, making the welding process more intuitive and reducing the margin for error.

Durability is another hallmark of the Lincoln Electric 275. Constructed with high-quality materials, the machine is built to withstand the rigors of daily use in demanding environments. Its design also incorporates efficient cooling mechanisms to prevent overheating during prolonged operations, ensuring longevity and reliability.

In conclusion, the Lincoln Electric 275 is a powerful and adaptable welding machine that combines advanced technology with user-friendly features. Its multi-process capabilities, inverter technology, and robust construction make it an essential tool for both professional welders and DIY enthusiasts. Whether tackling intricate projects or heavy-duty tasks, the Lincoln Electric 275 proves to be a reliable choice that does not compromise on performance.