OPERATION | ||
|
|
|
•Hold the nozzle standoff 1/8” (3.2mm) to 3/16” (4.7mm) above the workpiece during cutting. Do not let the nozzle touch the work or carry a long arc.
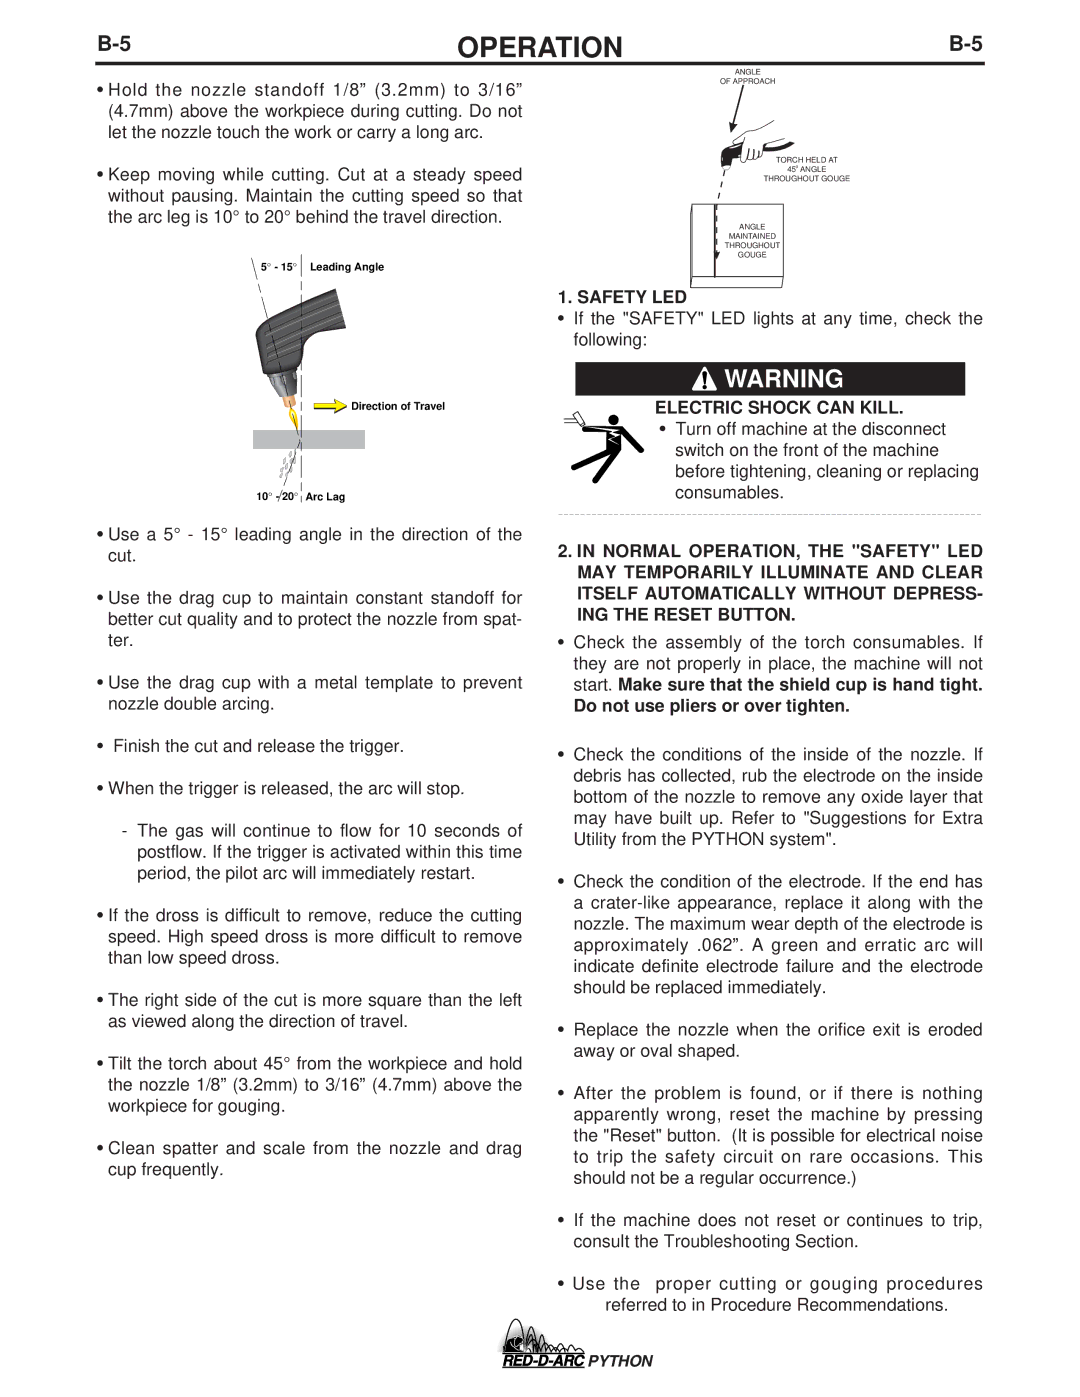
•Keep moving while cutting. Cut at a steady speed without pausing. Maintain the cutting speed so that the arc leg is 10° to 20° behind the travel direction.
5° - 15° Leading Angle
![]() Direction of Travel
Direction of Travel
10° - 20° Arc Lag
•Use a 5° - 15° leading angle in the direction of the cut.
•Use the drag cup to maintain constant standoff for better cut quality and to protect the nozzle from spat- ter.
•Use the drag cup with a metal template to prevent nozzle double arcing.
•Finish the cut and release the trigger.
•When the trigger is released, the arc will stop.
-The gas will continue to flow for 10 seconds of postflow. If the trigger is activated within this time period, the pilot arc will immediately restart.
•If the dross is difficult to remove, reduce the cutting speed. High speed dross is more difficult to remove than low speed dross.
•The right side of the cut is more square than the left as viewed along the direction of travel.
•Tilt the torch about 45° from the workpiece and hold the nozzle 1/8” (3.2mm) to 3/16” (4.7mm) above the workpiece for gouging.
•Clean spatter and scale from the nozzle and drag cup frequently.
ANGLE
OF APPROACH
TORCH HELD AT
450 ANGLE
THROUGHOUT GOUGE
ANGLE
MAINTAINED
THROUGHOUT
GOUGE
1. SAFETY LED
•If the "SAFETY" LED lights at any time, check the following:
![]() WARNING
WARNING
ELECTRIC SHOCK CAN KILL.
• Turn off machine at the disconnect switch on the front of the machine before tightening, cleaning or replacing consumables.
2.IN NORMAL OPERATION, THE "SAFETY" LED MAY TEMPORARILY ILLUMINATE AND CLEAR ITSELF AUTOMATICALLY WITHOUT DEPRESS- ING THE RESET BUTTON.
•Check the assembly of the torch consumables. If they are not properly in place, the machine will not start. Make sure that the shield cup is hand tight.
Do not use pliers or over tighten.
•Check the conditions of the inside of the nozzle. If debris has collected, rub the electrode on the inside bottom of the nozzle to remove any oxide layer that may have built up. Refer to "Suggestions for Extra Utility from the PYTHON system".
•Check the condition of the electrode. If the end has a
•Replace the nozzle when the orifice exit is eroded away or oval shaped.
•After the problem is found, or if there is nothing apparently wrong, reset the machine by pressing the "Reset" button. (It is possible for electrical noise to trip the safety circuit on rare occasions. This should not be a regular occurrence.)
•If the machine does not reset or continues to trip, consult the Troubleshooting Section.
•Use the proper cutting or gouging procedures
referred to in Procedure Recommendations.
![]()
![]()
![]()
![]()
![]() PYTHON
PYTHON