Phone Adapter with 2 Ports for
Chapter 3: Connecting the Phone Adapter
Overview
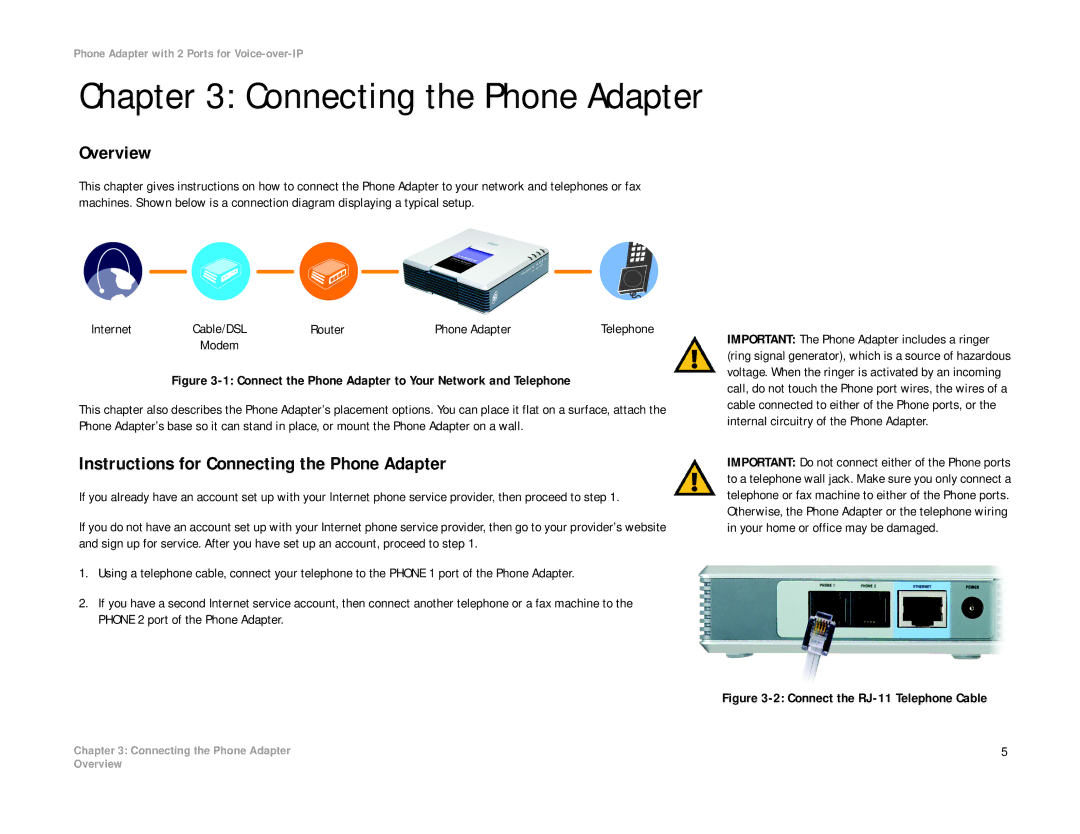
This chapter gives instructions on how to connect the Phone Adapter to your network and telephones or fax machines. Shown below is a connection diagram displaying a typical setup.
Internet | Cable/DSL | Router | Phone Adapter | Telephone |
| Modem |
|
|
|
Figure 3-1: Connect the Phone Adapter to Your Network and Telephone
This chapter also describes the Phone Adapter’s placement options. You can place it flat on a surface, attach the Phone Adapter’s base so it can stand in place, or mount the Phone Adapter on a wall.
Instructions for Connecting the Phone Adapter
If you already have an account set up with your Internet phone service provider, then proceed to step 1.
If you do not have an account set up with your Internet phone service provider, then go to your provider’s website and sign up for service. After you have set up an account, proceed to step 1.
1.Using a telephone cable, connect your telephone to the PHONE 1 port of the Phone Adapter.
2.If you have a second Internet service account, then connect another telephone or a fax machine to the PHONE 2 port of the Phone Adapter.
IMPORTANT: The Phone Adapter includes a ringer (ring signal generator), which is a source of hazardous voltage. When the ringer is activated by an incoming call, do not touch the Phone port wires, the wires of a cable connected to either of the Phone ports, or the internal circuitry of the Phone Adapter.
IMPORTANT: Do not connect either of the Phone ports to a telephone wall jack. Make sure you only connect a telephone or fax machine to either of the Phone ports. Otherwise, the Phone Adapter or the telephone wiring in your home or office may be damaged.
Figure 3-2: Connect the RJ-11 Telephone Cable
Chapter 3: Connecting the Phone Adapter | 5 |
Overview