Wireless-N Notebook Adapter
Chapter 4: Setting up and Connecting the Wireless-N Notebook Adapter
Starting the Setup
The
Wizard will install the driver and Wireless Network Monitor, as well as connect and configure the Adapter.
IMPORTANT: Do not connect the Adapter until you are instructed to do so or the setup will not work.
Insert the Setup Wizard
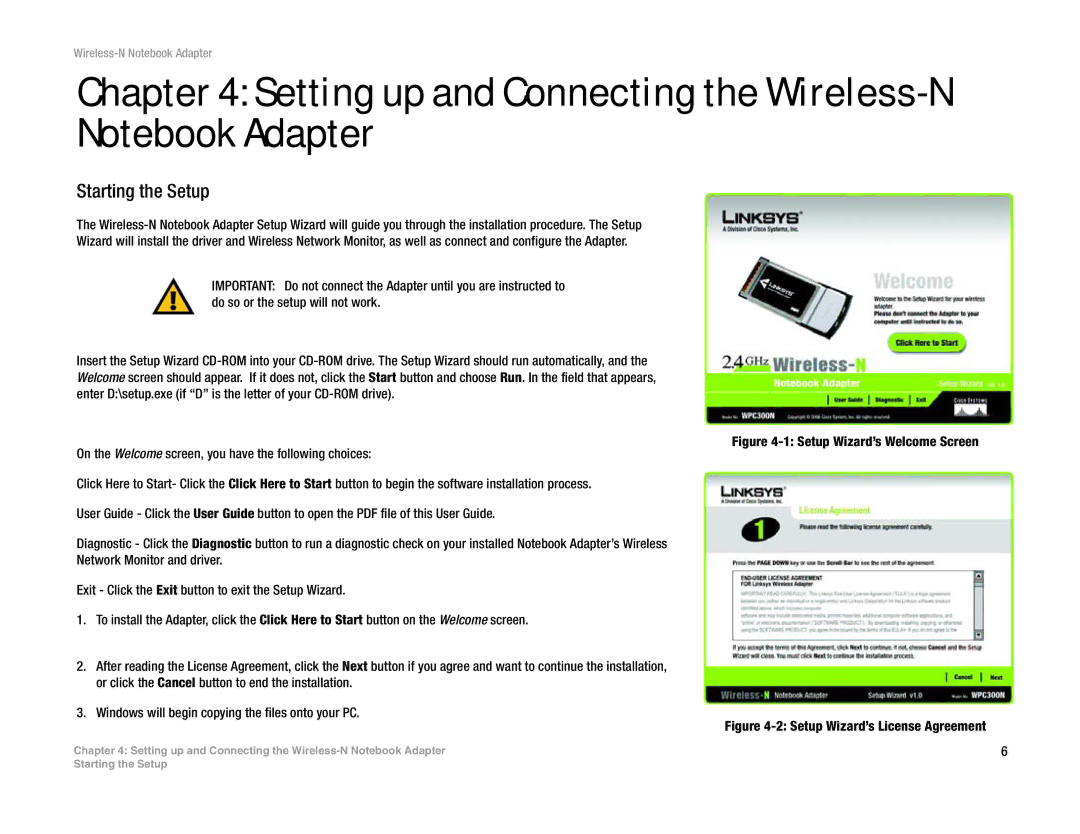
Figure 4-1: Setup Wizard’s Welcome Screen
On the Welcome screen, you have the following choices:
Click Here to Start- Click the Click Here to Start button to begin the software installation process.
User Guide - Click the User Guide button to open the PDF file of this User Guide.
Diagnostic - Click the Diagnostic button to run a diagnostic check on your installed Notebook Adapter’s Wireless
Network Monitor and driver.
Exit - Click the Exit button to exit the Setup Wizard.
1.To install the Adapter, click the Click Here to Start button on the Welcome screen.
2.After reading the License Agreement, click the Next button if you agree and want to continue the installation, or click the Cancel button to end the installation.
3.Windows will begin copying the files onto your PC.
Figure 4-2: Setup Wizard’s License Agreement
Chapter 4: Setting up and Connecting the | 6 |
Starting the Setup