Instant WirelessTM Series
Hardware Detection for Windows 98SE, Me, and 2000
After the Wireless USB Network Adapter has been physically connected to your computer, Windows will detect the new hardware. You may see the screen in Figure
Figure
In most cases, Windows will then automatically copy all of the files needed for networking. If Windows asks you for the files, and D is your computer’s CD- ROM drive, they may be located at: D:\Drives
These files may also be located at C:\windows\options\cabs. Check with your operating system’s user guide for the exact location.
Note to Windows 2000 Users: You may be prompted at this time that a digital signature has not been found; this is normal. See Figure
Important for Windows XP users: After the Wireless USB Network Adapter has been physically connected to your computer, Windows will detect the new hardware. Proceed to Chapter 6: Installation and Configuration of the USB Adapter for Windows XP.
Wireless USB Network Adapter
Chapter 6: Installation and Configuration of the USB Drivers for Windows XP
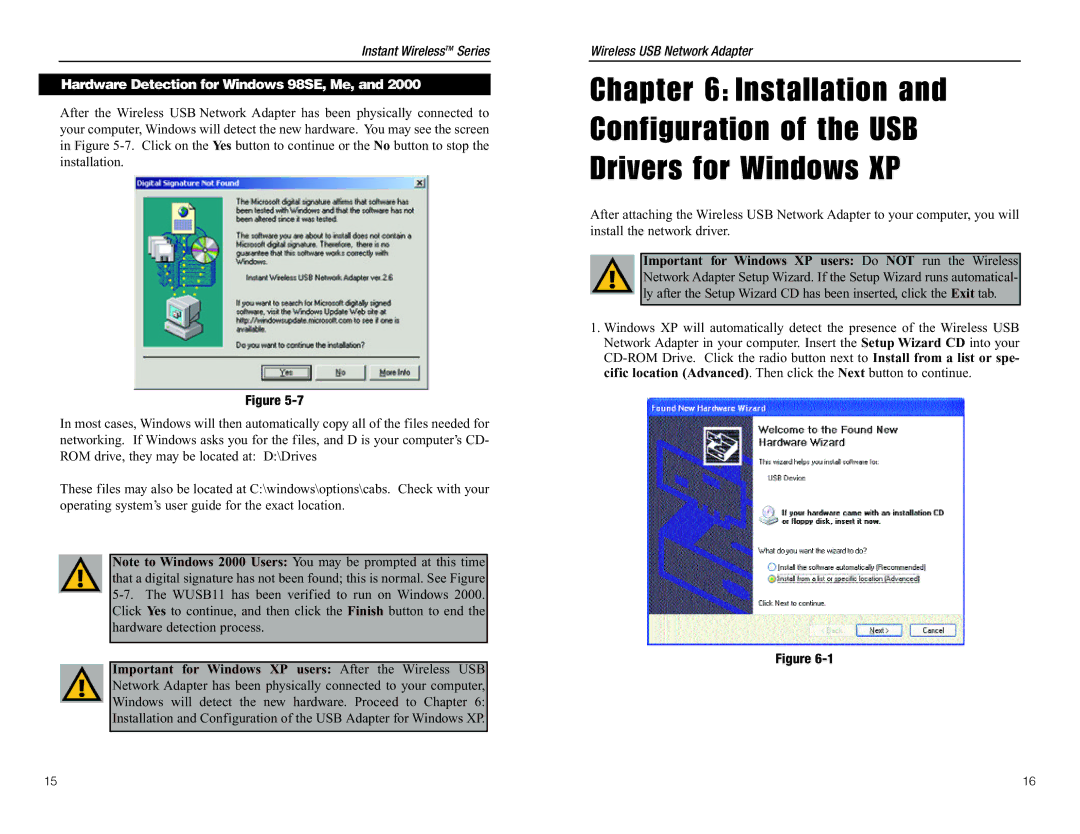
After attaching the Wireless USB Network Adapter to your computer, you will install the network driver.
Important for Windows XP users: Do NOT run the Wireless Network Adapter Setup Wizard. If the Setup Wizard runs automatical- ly after the Setup Wizard CD has been inserted, click the Exit tab.
1.Windows XP will automatically detect the presence of the Wireless USB Network Adapter in your computer. Insert the Setup Wizard CD into your
Figure
15 | 16 |