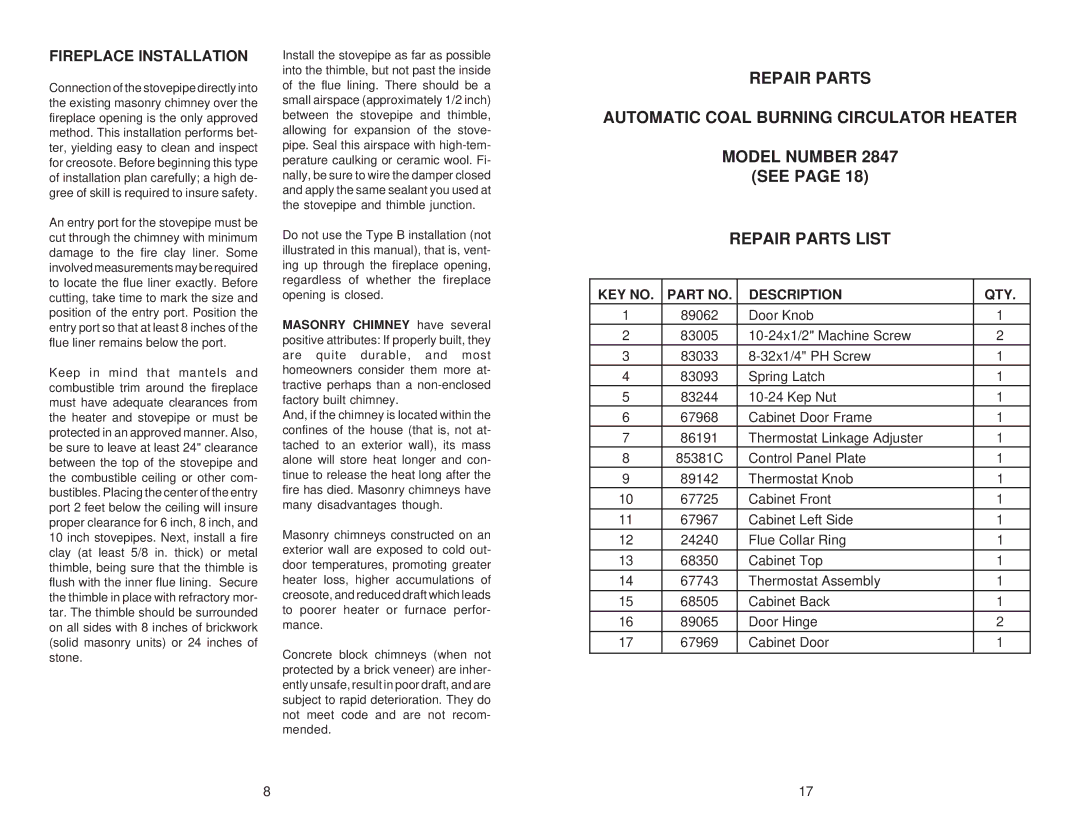
2847 specifications
The Little Wonder 2847 is an innovative piece of outdoor equipment that has gained popularity among gardening enthusiasts and landscape professionals alike. Known for its durability and efficiency, the Little Wonder 2847 combines advanced engineering with user-friendly features, making it a top choice for both residential and commercial landscape maintenance.One of the standout features of the Little Wonder 2847 is its powerful engine. Equipped with a robust Honda GX160 engine, the machine delivers reliable performance and exceptional efficiency. This engine allows the Little Wonder 2847 to handle various tasks, from leaf blowing to debris clearing, with ease. With a high air velocity, users can efficiently clear large areas, ensuring that their landscaping efforts maintain a pristine appearance.
In addition to its powerful engine, the Little Wonder 2847 also boasts an ergonomic design that prioritizes user comfort. The adjustable handle makes it suitable for operators of different heights and provides a comfortable grip during extended use. This design consideration reduces strain on the operator's back and arms, allowing for improved productivity and less fatigue.
The machine is equipped with a durable, steel frame that can withstand the rigors of daily use. This rugged construction ensures that the Little Wonder 2847 can handle the demands of both residential yards and commercial properties, providing years of dependable service. The design also features strategic weight distribution, which enhances stability while in operation.
Another notable characteristic of the Little Wonder 2847 is its versatility. It is designed to be easily transportable, with a compact size that allows it to navigate through tight spaces and around obstacles. This feature makes it ideal for use in various environments, from suburban gardens to larger commercial properties.
The Little Wonder 2847 is also equipped with advanced technology that enhances its performance. Its superior air filtration system ensures that debris is easily collected, preventing clogging and ensuring smooth operation. Additionally, a quick-release mechanism allows for effortless maintenance, making it easy for users to clean filters or perform routine checks.
In conclusion, the Little Wonder 2847 is a powerhouse in the outdoor equipment market, combining a strong engine, ergonomic design, durability, and advanced technology. Its versatility and ease of use make it an excellent choice for anyone looking to maintain and enhance outdoor spaces efficiently. Whether for personal use or professional landscaping, the Little Wonder 2847 proves to be an invaluable tool in achieving landscaping goals.
