english
Settings for the Digital Recorder
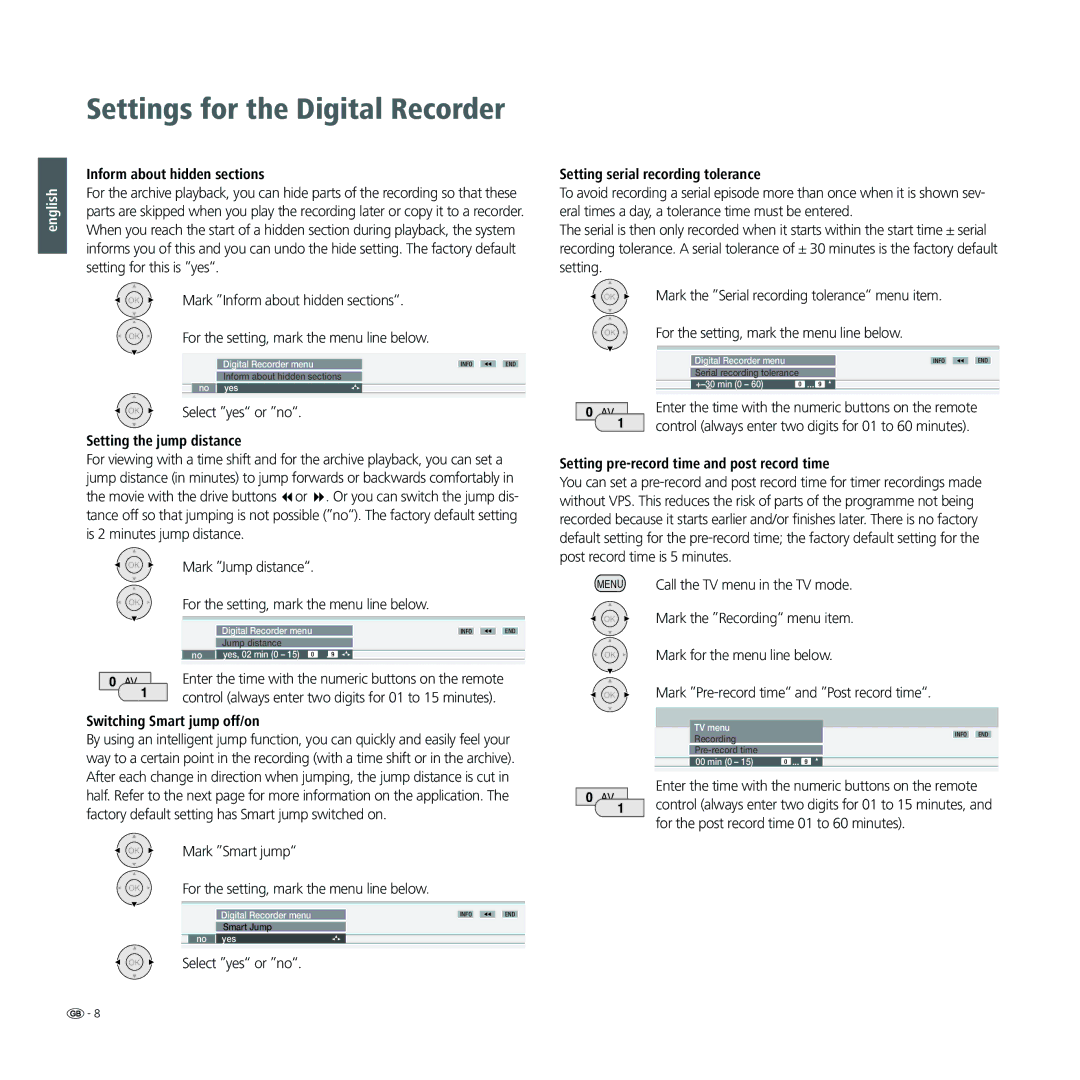
Inform about hidden sections
For the archive playback, you can hide parts of the recording so that these parts are skipped when you play the recording later or copy it to a recorder. When you reach the start of a hidden section during playback, the system informs you of this and you can undo the hide setting. The factory default setting for this is ”yes“.
OK | Mark ”Inform about hidden sections“. |
|
| ||||
OK | For the setting, mark the menu line below. |
|
| ||||
|
|
|
|
|
|
|
|
|
|
| Digital Recorder menu |
| INFO | END | |
|
|
| Inform about hidden sections |
|
|
| |
|
| no | yes |
|
|
| |
OK | Select ”yes“ or ”no“. |
|
| ||||
Setting the jump distance
For viewing with a time shift and for the archive playback, you can set a jump distance (in minutes) to jump forwards or backwards comfortably in the movie with the drive buttons or . Or you can switch the jump dis- tance off so that jumping is not possible (”no“). The factory default setting is 2 minutes jump distance.
OK | Mark ”Jump distance“. |
|
|
| |||
|
|
|
|
|
| ||
OK | For the setting, mark the menu line below. |
| |||||
|
|
|
|
|
| ||
|
|
|
|
|
|
| |
|
|
|
|
|
|
| |
|
|
| Digital Recorder menu |
| INFO | END | |
|
|
| Jump distance |
|
|
|
|
|
| no | yes, 02 min (0 – 15) | 0 | ... |
|
|
|
|
|
| 9 |
|
| |
|
| Enter the time with the numeric buttons on the remote |
| ||||
AV |
|
| |||||
|
| control (always enter two digits for 01 to 15 minutes). |
| ||||
Setting serial recording tolerance
To avoid recording a serial episode more than once when it is shown sev- eral times a day, a tolerance time must be entered.
The serial is then only recorded when it starts within the start time ± serial recording tolerance. A serial tolerance of ± 30 minutes is the factory default setting.
OK Mark the ”Serial recording tolerance“ menu item.
OK | For the setting, mark the menu line below. |
| |||||
|
|
|
|
|
|
|
|
|
|
|
|
|
|
|
|
|
|
| Digital Recorder menu |
|
| INFO | END |
|
|
| Serial recording tolerance |
|
|
| |
|
|
| 0 | ... 9 |
|
| |
|
|
|
|
|
| ||
| Enter the time with the numeric buttons on the remote |
| |||||
AV |
| ||||||
| control (always enter two digits for 01 to 60 minutes). |
| |||||
Setting pre-record time and post record time
You can set a
MENU | Call the TV menu in the TV mode. |
| |
OK | Mark the ”Recording“ menu item. |
OK | Mark for the menu line below. |
OK Mark
Switching Smart jump off/on
By using an intelligent jump function, you can quickly and easily feel your
TV menu Recording
INFO END
way to a certain point in the recording (with a time shift or in the archive). After each change in direction when jumping, the jump distance is cut in half. Refer to the next page for more information on the application. The factory default setting has Smart jump switched on.
OK | Mark ”Smart jump“ |
|
| ||
OK | For the setting, mark the menu line below. |
|
| ||
|
|
|
|
|
|
|
|
|
|
|
|
|
| Digital Recorder menu | INFO | END | |
|
| Smart Jump |
|
|
|
| no | yes |
|
|
|
OK | Select ”yes“ or ”no“. |
|
| ||
00 min (0 – 15) | 0 ... 9 |
Enter the time with the numeric buttons on the remote AV ![]() control (always enter two digits for 01 to 15 minutes, and
control (always enter two digits for 01 to 15 minutes, and
for the post record time 01 to 60 minutes).
![]() - 8
- 8
