© 2005 Strategic Vista International Inc. | p.3 |
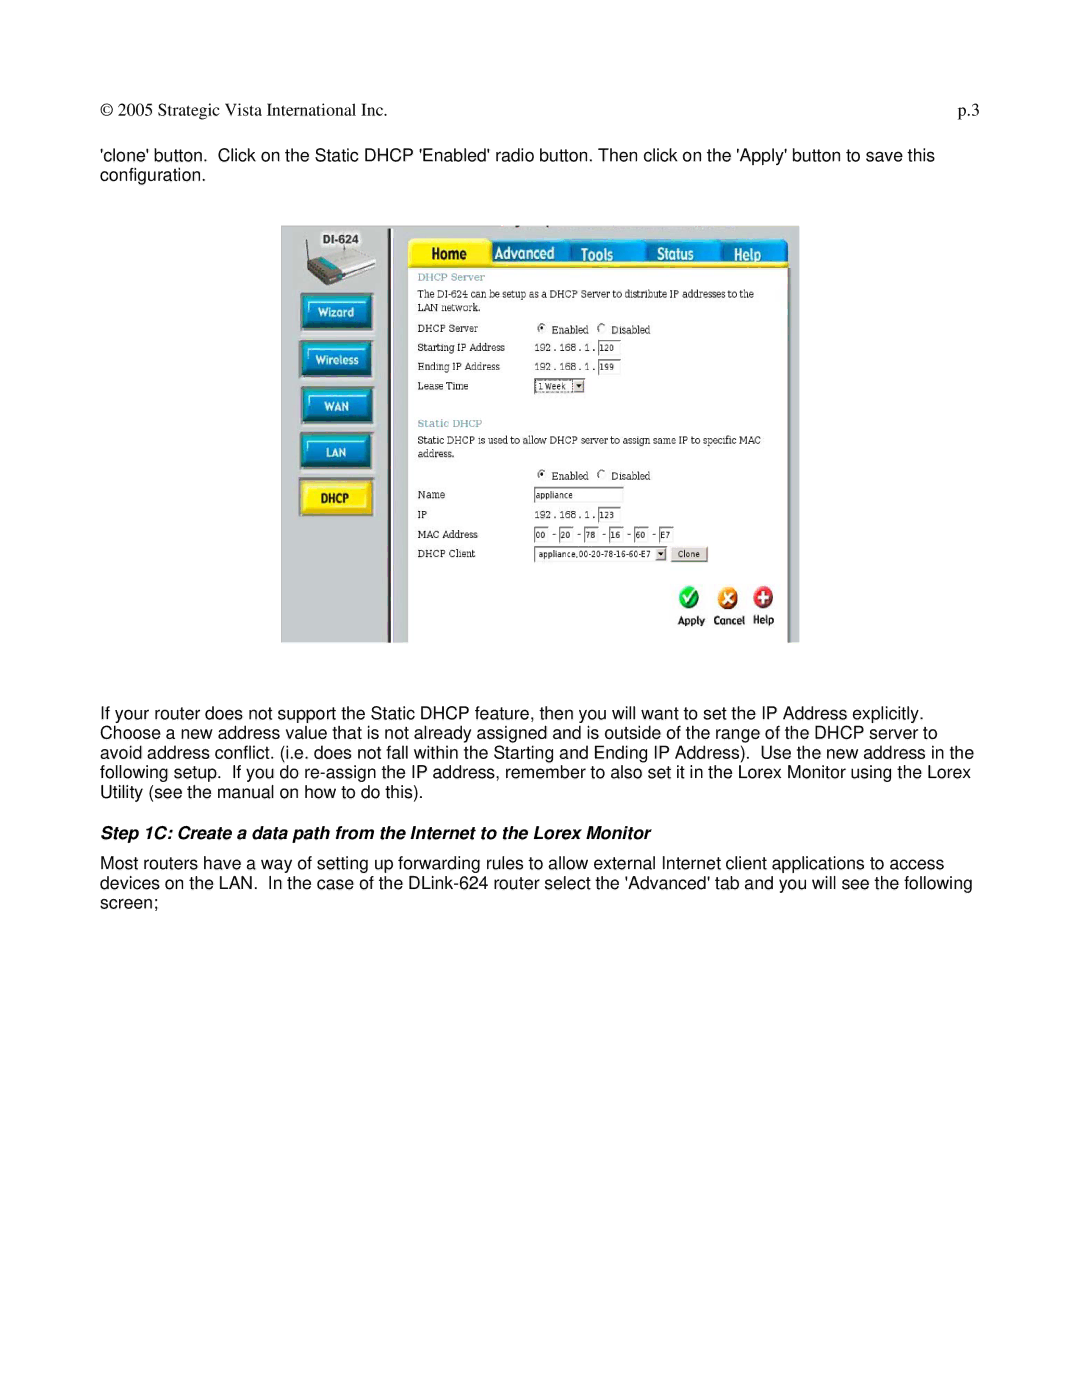
'clone' button. Click on the Static DHCP 'Enabled' radio button. Then click on the 'Apply' button to save this configuration.
If your router does not support the Static DHCP feature, then you will want to set the IP Address explicitly. Choose a new address value that is not already assigned and is outside of the range of the DHCP server to avoid address conflict. (i.e. does not fall within the Starting and Ending IP Address). Use the new address in the following setup. If you do
Step 1C: Create a data path from the Internet to the Lorex Monitor
Most routers have a way of setting up forwarding rules to allow external Internet client applications to access devices on the LAN. In the case of the
