STEP 3 - SET UP INTERNET REMOTE SECURITY MONITORING - continued | |
8 | 9 |
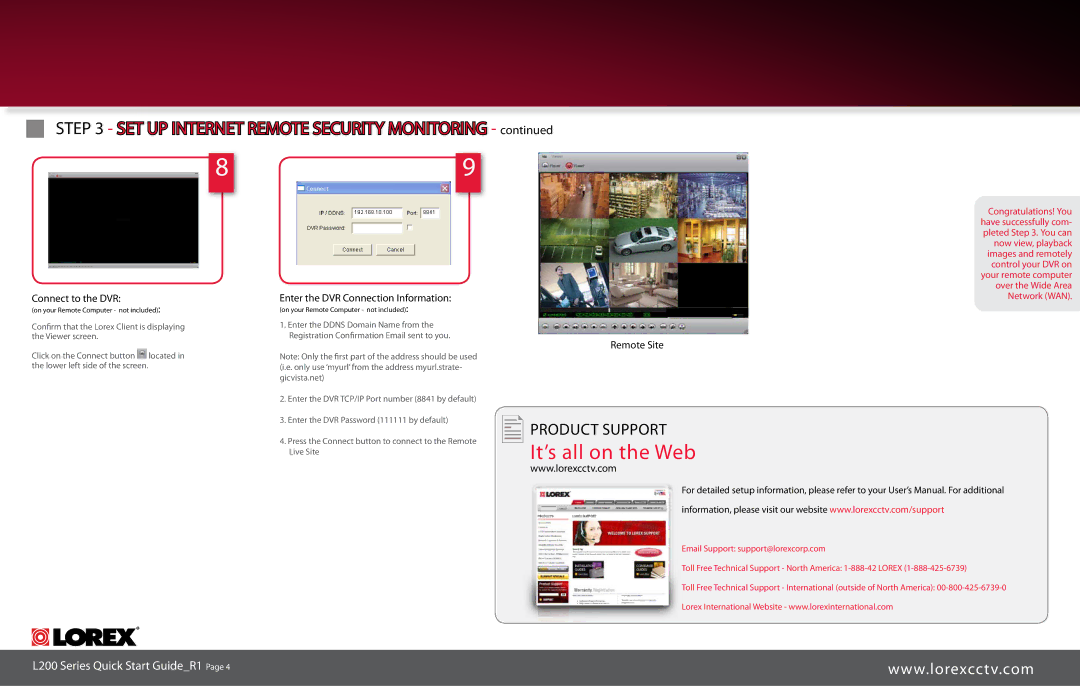
Connect to the DVR:
(on your Remote Computer - not included):
Confirm that the Lorex Client is displaying the Viewer screen.
Click on the Connect button ![]() located in the lower left side of the screen.
located in the lower left side of the screen.
Enter the DVR Connection Information:
(on your Remote Computer - not included):
1.Enter the DDNS Domain Name from the Registration Confirmation Email sent to you.
Note: Only the first part of the address should be used (i.e. only use ‘myurl’ from the address myurl.strate- gicvista.net)
2.Enter the DVR TCP/IP Port number (8841 by default)
3.Enter the DVR Password (111111 by default)
4.Press the Connect button to connect to the Remote Live Site
Remote Site
product support
It’s all on the Web
www.lorexcctv.com
Congratulations! You have successfully com- pleted Step 3. You can now view, playback images and remotely control your DVR on your remote computer over the Wide Area Network (WAN).
For detailed setup information, please refer to your User’s Manual. For additional
information, please visit our website www.lorexcctv.com/support
Email Support: support@lorexcorp.com
Toll Free Technical Support - North America:
Toll Free Technical Support - International (outside of North America):
L200 Series Quick Start Guide_R1 Page | www.lorexcctv.com |
|
|
