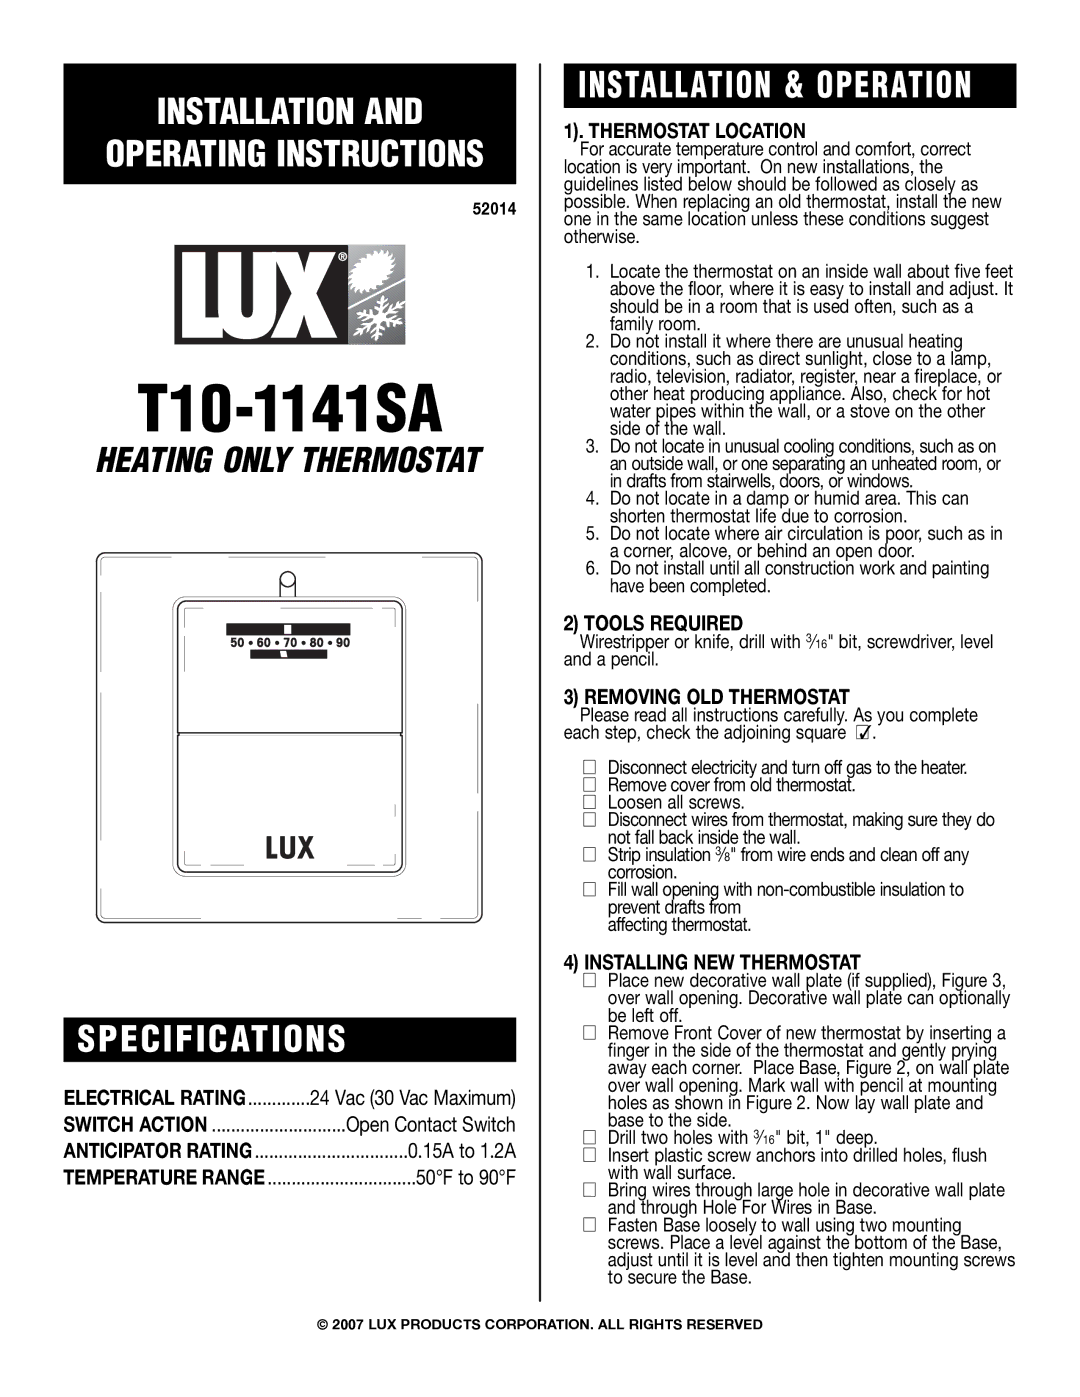
T10-1141SA specifications
The Lux Products T10-1141SA is a highly efficient and versatile programmable thermostat that is designed to enhance the comfort of your home while saving you energy costs. This thermostat is particularly popular among homeowners looking for a user-friendly interface and advanced features that cater to both heating and cooling systems.One of the standout features of the T10-1141SA is its ability to be programmed for a week, allowing users to customize settings for each day. This flexibility means you can set different schedules for weekdays and weekends, ensuring that your home is always at an ideal temperature when you are there and conserving energy when you are away or asleep. The intuitive interface makes programming simple, even for those who may not be technology-savvy.
In terms of technologies, the T10-1141SA utilizes a 7-day programmable schedule that can be easily adjusted via its large, easy-to-read LCD display. The screen provides clear visibility to temperatures and settings, ensuring quick adjustments as needed. Additionally, the thermostat is equipped with a quick-response feature that allows for fast temperature changes, making it perfect for varying conditions.
The T10-1141SA is designed to work seamlessly with most HVAC systems, including gas, electric, and heat pump systems. This compatibility makes it an excellent choice for a wide range of homes, regardless of the existing heating and cooling setup. Furthermore, the thermostat includes features such as an anti-glare display that allows for easy reading in various lighting conditions.
Another key characteristic of the T10-1141SA is its energy-saving mode, which helps reduce energy usage while maintaining comfort. It enables users to track their energy consumption and helps in making informed decisions regarding their heating and cooling habits.
Additionally, the thermostat is equipped with a battery backup system, ensuring that your settings are preserved even in the event of a power outage. This feature adds an extra level of convenience and reliability for users.
Overall, the Lux Products T10-1141SA is a solid choice for those looking to modernize their home’s temperature control. With its programmable capabilities, user-friendly design, and energy-saving features, it provides an excellent balance of comfort and efficiency. Its versatile compatibility with various HVAC systems also makes it a practical addition to many households.