28 Playing
Follow the steps below to play a tape.
1
Insert a tape in the TV/VCR. The power will come on. If the tape’s record tab has been removed, playback should start auto- matically.
2
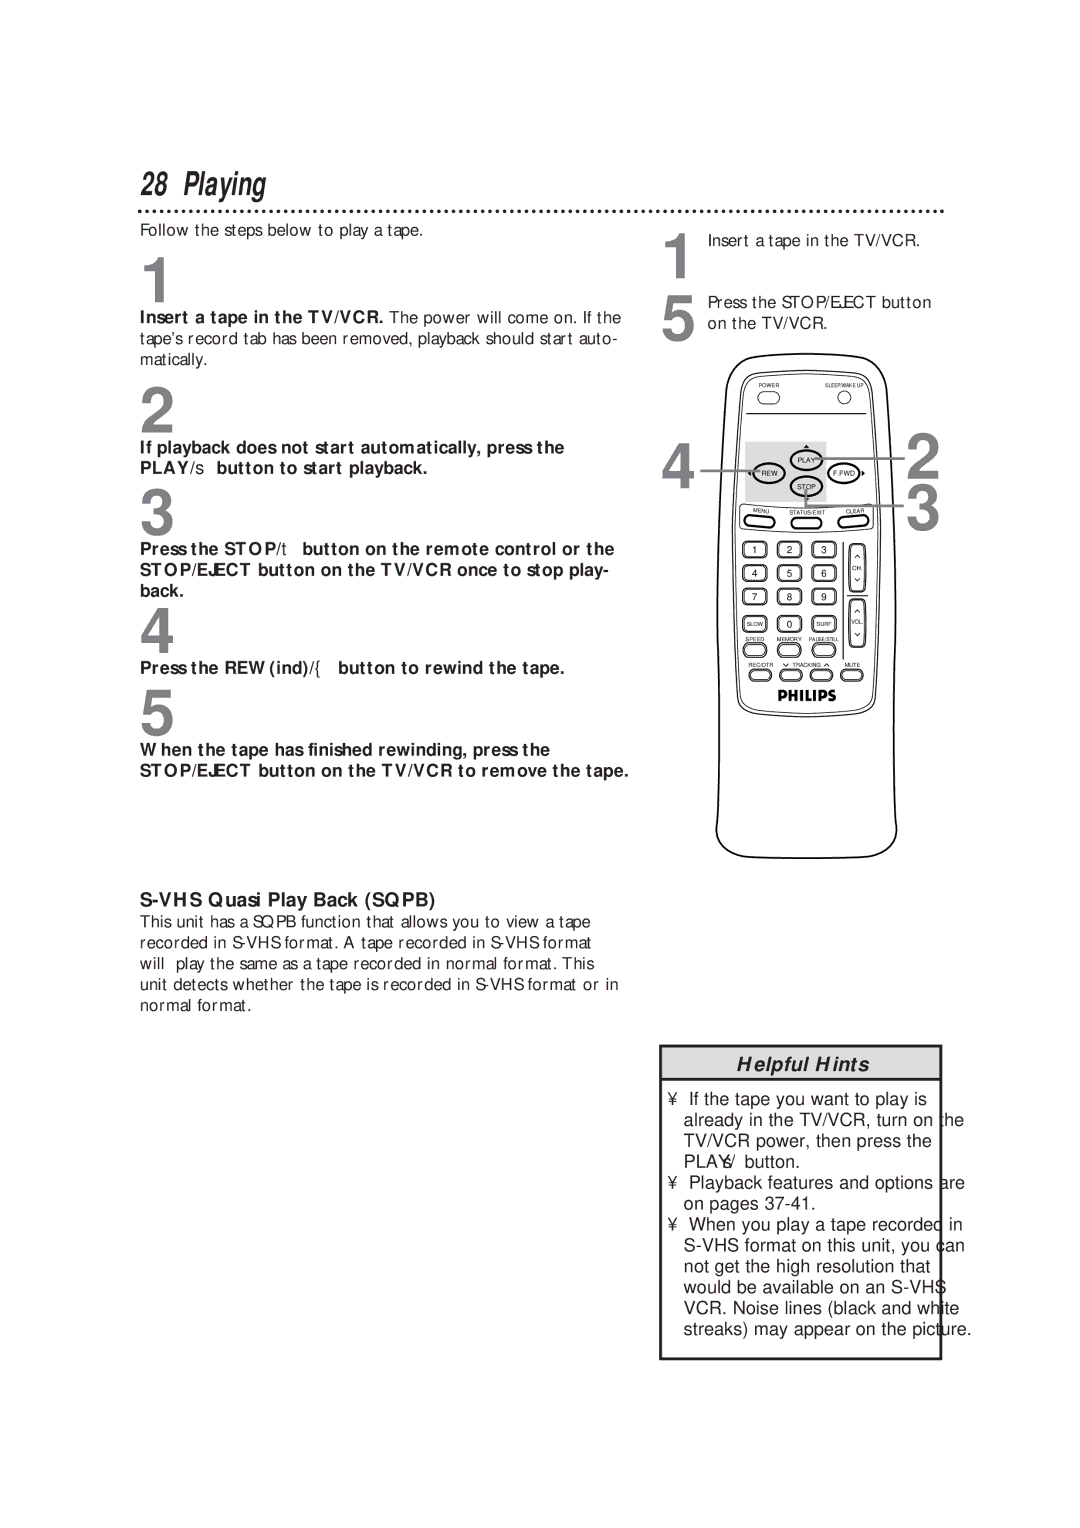
1 Insert a tape in the TV/VCR.
Press the STOP/EJECT button
5 on the TV/VCR.
POWER | SLEEP/WAKE UP |
If playback does not start automatically, press the PLAY/▲ button to start playback.
3
4![]() REW
REW
MENU
PLAY
F.FWD
STOP
STATUS/EXIT | CLEAR |
2
3
Press the STOP/▼ button on the remote control or the
STOP/EJECT button on the TV/VCR once to stop play- back.
1
4
2 3
5 6
CH.
4
Press the REW(ind)/{ button to rewind the tape.
5
When the tape has finished rewinding, press the STOP/EJECT button on the TV/VCR to remove the tape.
S-VHS Quasi Play Back (SQPB)
This unit has a SQPB function that allows you to view a tape recorded in
7 | 8 | 9 |
|
SLOW | 0 | SURF | VOL. |
| |||
SPEED | MEMORY | PAUSE/STILL |
|
REC/OTR | TRACKING | MUTE | |
Helpful Hints
•If the tape you want to play is already in the TV/VCR, turn on the TV/VCR power, then press the PLAY/▲ button.
•Playback features and options are on pages
•When you play a tape recorded in