
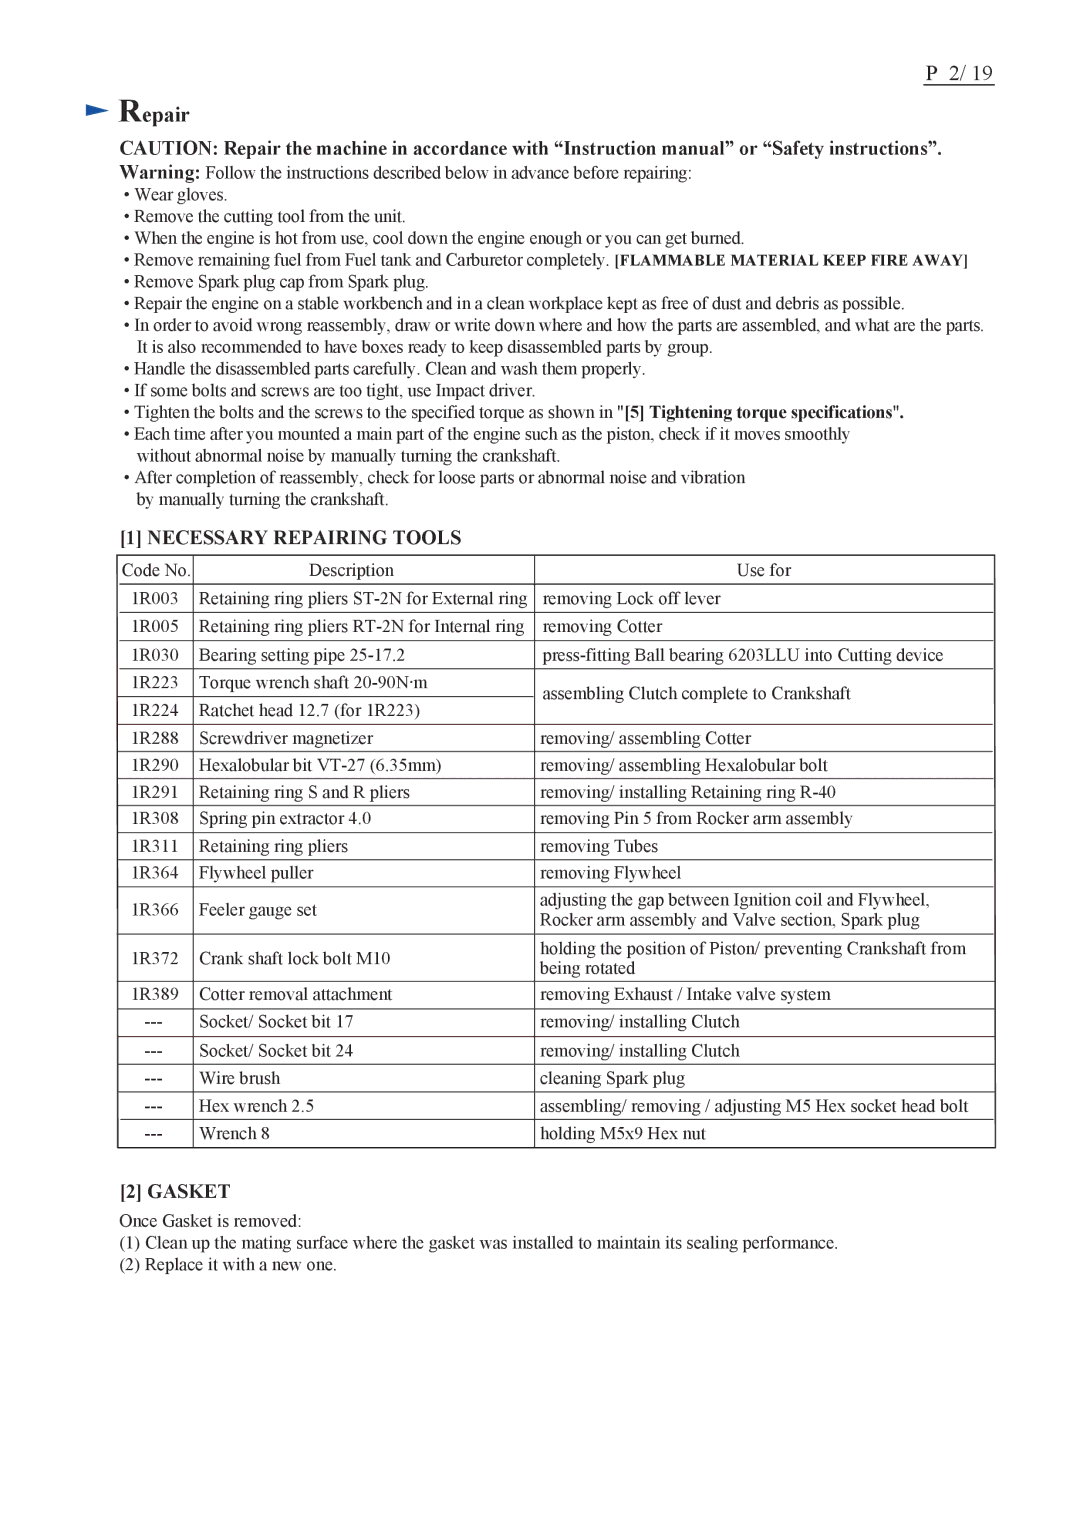
EK7650H, EK7651H specifications
The Makita EK7650H and EK7651H are robust and powerful cut-off saws designed for professional contractors and construction workers. These models are ideal for cutting through concrete, masonry, asphalt, and other tough materials with precision and efficiency. Their advanced engineering and innovative features set them apart in the competitive landscape of power tools.One of the standout features of both models is the 4-stroke engine technology, which provides a significant reduction in emissions and noise compared to traditional 2-stroke engines. This makes them environmentally friendly while also allowing for longer operating times without the need for frequent fuel refills. The powerful 6.6 HP engine delivers exceptional cutting performance, enabling users to tackle even the most challenging jobs.
The EK7650H and EK7651H are equipped with a “Fast Start” technology that allows for easy starting, reducing the effort required to get the saw up and running. This is especially useful for users who need to work quickly and efficiently on-site. Additionally, the saws feature an automatic choke that enhances starting reliability in various weather conditions.
Comfort and usability are central to the design of these models. The dual anti-vibration technology minimizes vibrations during operation, significantly reducing user fatigue. The ergonomic handle provides a secure grip, allowing for greater control during cutting tasks. This is particularly beneficial for prolonged use in demanding work environments.
Another key characteristic of the Makita EK7650H and EK7651H is their versatility. They are designed to accommodate various blade sizes, which gives users flexibility in choosing the right blade for specific applications. The saws also feature an integrated dust management system that helps keep the work area clean, enhancing visibility and safety.
Both models come with an adjustable cutting depth feature, enabling users to achieve precise cuts for various materials. The easy-to-access air filter and fuel system ensure simple maintenance, extending the life of the saws.
In summary, the Makita EK7650H and EK7651H are powerful, efficient, and user-friendly cut-off saws that cater to the needs of professional users. With their advanced features, including a 4-stroke engine, ergonomic design, and versatility in blade sizes, these saws are indispensable tools for anyone looking to perform cutting tasks with precision and ease.