![]() WARNING:
WARNING:
DO NOT let comfort or familiarity with product (gained from repeated use) replace strict adherence to safety rules for the subject product.
MISUSE or failure to follow the safety rules stated in this instruction manual may cause serious personal injury.
FUNCTIONAL DESCRIPTION
![]() CAUTION:
CAUTION:
•Always be sure that the tool is switched off and unplugged before adjusting or checking function on the tool.
Adjusting depth of cut
For tool with lock-off button
To prevent the switch trigger from being accidentally pulled, a
To start the tool, depress the
Electronic function
For Model KP0810C only
The tool equipped with electronic function are easy to operate because of the following features.
Constant speed control
Electronic speed control for obtaining constant speed. Possible to get fine finish, because the rotating speed is kept constant even under load condition.
Soft start
| 1. | Knob |
1 | 2. | Pointer |
|
|
2
007639
Depth of cut may be adjusted by simply turning the knob on the front of the tool so that the pointer points the
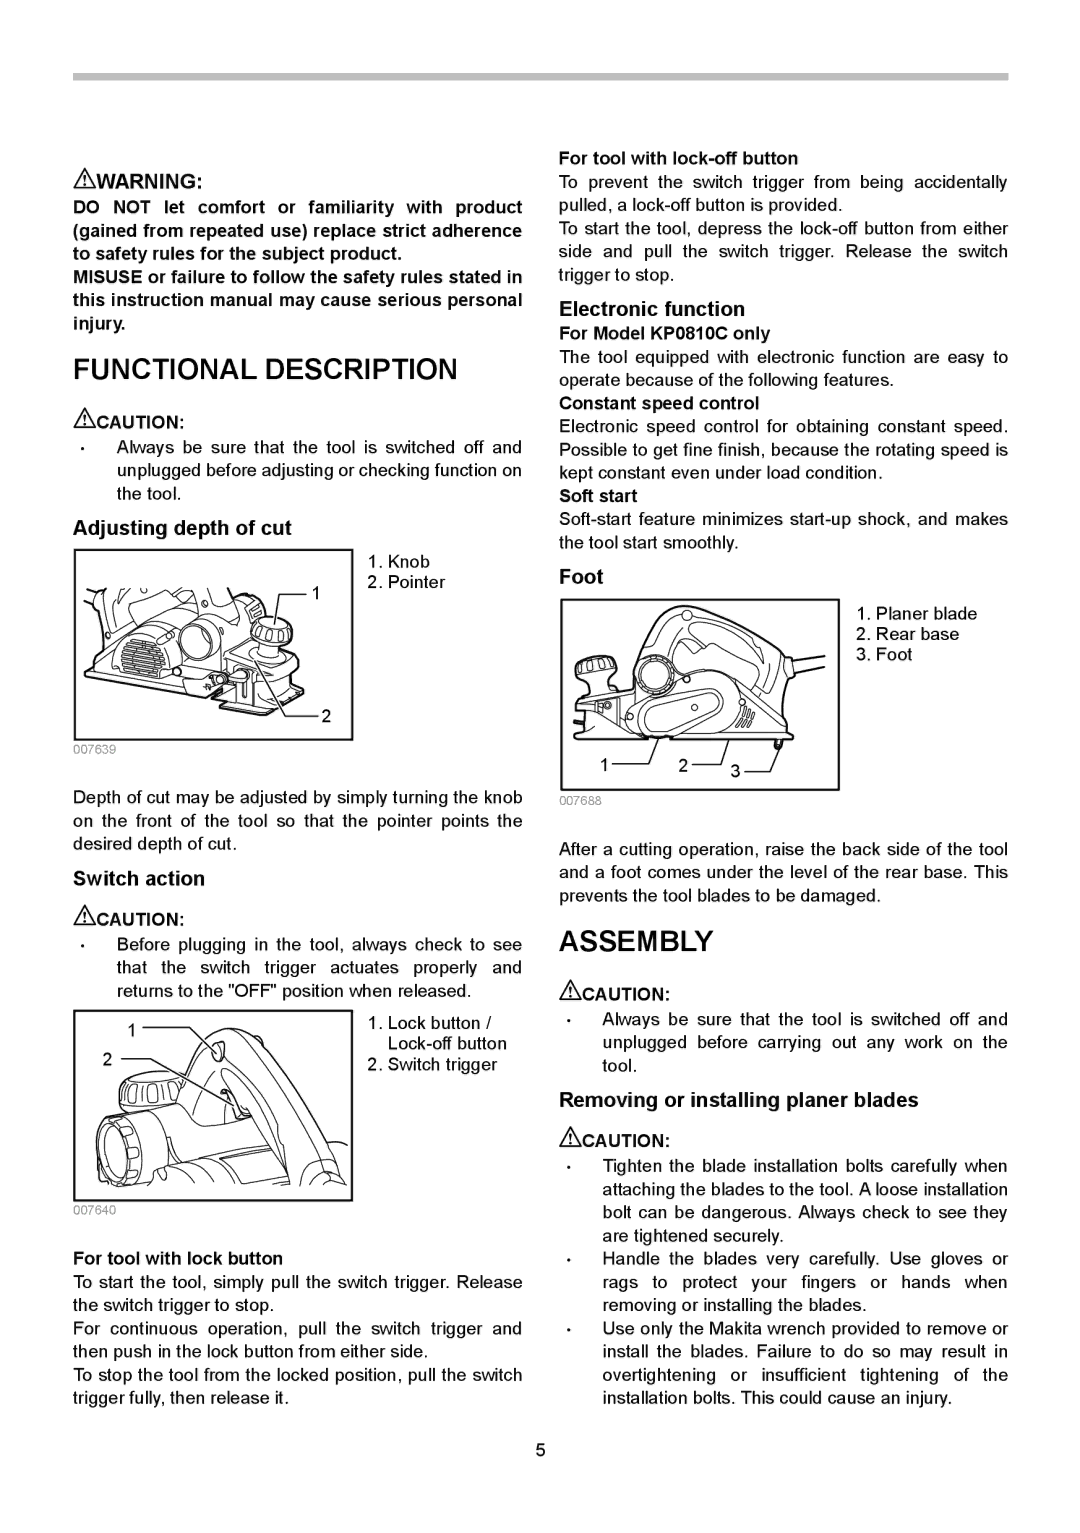
Foot
1 | 2 | 3 |
007688
1.Planer blade
2.Rear base
3.Foot
desired depth of cut.
Switch action
![]() CAUTION:
CAUTION:
•Before plugging in the tool, always check to see that the switch trigger actuates properly and returns to the "OFF" position when released.
| 1 | 1. | Lock button / |
|
| ||
2 |
|
| |
| 2. | Switch trigger |
007640
For tool with lock button
To start the tool, simply pull the switch trigger. Release the switch trigger to stop.
For continuous operation, pull the switch trigger and then push in the lock button from either side.
To stop the tool from the locked position, pull the switch trigger fully, then release it.
After a cutting operation, raise the back side of the tool and a foot comes under the level of the rear base. This prevents the tool blades to be damaged.
ASSEMBLY
![]() CAUTION:
CAUTION:
•Always be sure that the tool is switched off and unplugged before carrying out any work on the tool.
Removing or installing planer blades
![]() CAUTION:
CAUTION:
•Tighten the blade installation bolts carefully when attaching the blades to the tool. A loose installation bolt can be dangerous. Always check to see they are tightened securely.
•Handle the blades very carefully. Use gloves or rags to protect your fingers or hands when removing or installing the blades.
•Use only the Makita wrench provided to remove or install the blades. Failure to do so may result in overtightening or insufficient tightening of the installation bolts. This could cause an injury.
5