MODEL 6019D specifications
The Makita Model 6019D is a powerful and versatile cordless drill that caters to both professional and DIY enthusiasts. Known for its reliability and performance, the 6019D stands out in the Makita line-up for its impressive features and innovative technologies.At the heart of the 6019D is a robust 18V battery system, providing users with the freedom to work without the constraints of a power cord. This cordless design not only enhances maneuverability but also allows for operation in tight spaces and at various outdoor locations. The 6019D has a battery indicator that offers real-time feedback on charge levels, ensuring that users can plan their work without interruptions.
One of the prominent features of the Makita 6019D is its compact and lightweight design, weighing only 1.5 kg. This makes it an ideal choice for prolonged use, as it reduces user fatigue during extended projects. The drill is equipped with a keyless chuck for quick and easy bit changes, enhancing efficiency when switching between tasks.
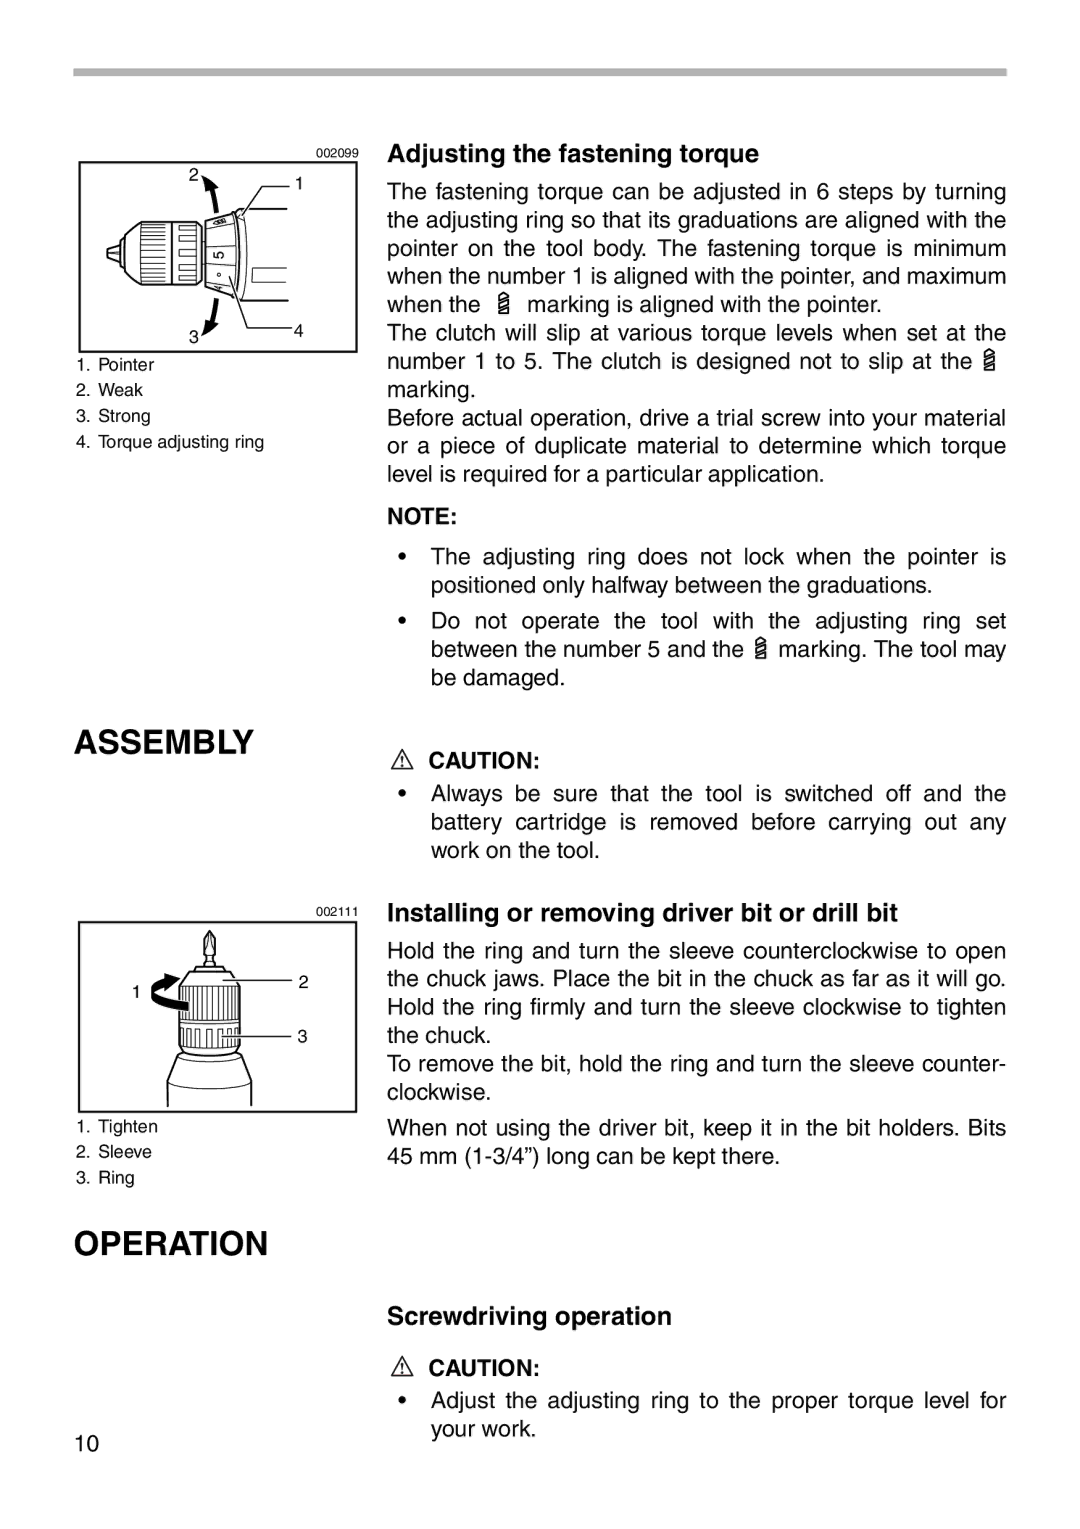
In terms of performance, the 6019D boasts two speed settings, allowing users to choose between high speed for drilling into softer materials and a lower speed for more controlled operations. The maximum torque of 36 Nm ensures that users can tackle a variety of materials, from wood to metal, with ease. Additionally, the drill features a reverse function, making it simple to remove screws and drill bits when necessary.
The Makita 6019D incorporates advanced technologies to enhance its durability and user experience. The motor is designed with built-in overload protection, which helps prevent damage during intensive use. Furthermore, the drill's ergonomic grip provides comfort and control, allowing for a secure hold during operation.
The Makita Model 6019D also features a LED work light that illuminates the workspace, ensuring visibility even in dark or confined areas. This is particularly useful for tasks that require precision and attention to detail.
In summary, the Makita 6019D is a well-engineered cordless drill that combines power, performance, and user-friendly features. With its durable construction, advanced technologies, and smart design, it is an outstanding tool for various tasks in both professional and home settings. Whether you are assembling furniture, performing repairs, or handling heavy-duty construction projects, the Makita 6019D is a reliable choice that promises efficiency and effectiveness.

