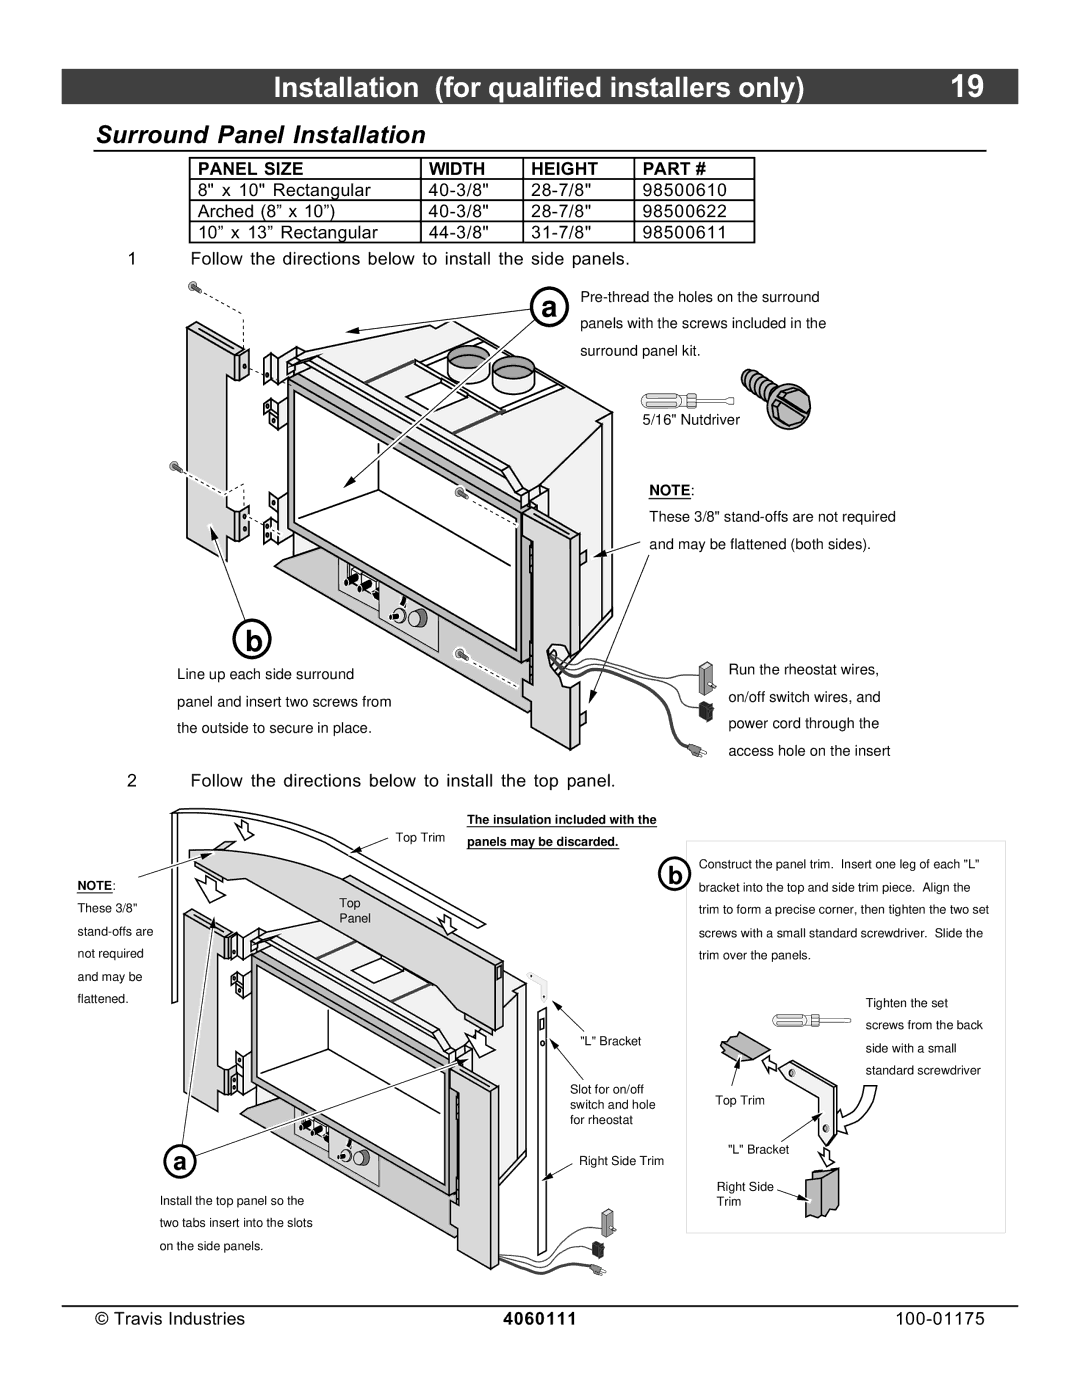
DVS Insert EF II specifications
The Avalon Stoves DVS Insert EF II is a sophisticated heating solution designed to bring warmth and comfort to modern homes while enhancing their aesthetic appeal. This impressive insert is characterized by its advanced engineering and striking design, making it a perfect addition to any living space.One of the primary features of the Avalon DVS Insert EF II is its efficient heating capability. With a heating capacity of up to 2,200 square feet, it is ideal for larger rooms or open concept areas. Utilizing a powerful EPA-certified wood-burning system, the insert delivers a clean and efficient burn, ensuring that you maximize heat while minimizing emissions. This feature aligns with the growing demand for environmentally friendly heating options and complies with strict emissions standards.
The design of the DVS Insert EF II is marked by a large, stylish viewing area that provides an unobstructed view of the flames, creating a beautiful focal point in any room. This model is equipped with a durable glass door that not only showcases the fire but also contributes to the overall energy efficiency by maintaining optimal heat levels within the insert. The clean lines and sophisticated finish of the insert further enhance its visual appeal, making it suitable for both contemporary and traditional interiors.
In addition to its aesthetic charm, the Avalon DVS Insert EF II incorporates advanced technologies that improve user experience and functionality. The built-in temperature control system allows users to adjust the heat output with ease, ensuring a comfortable environment at all times. Furthermore, the unit features an easy-to-use ash pan and a self-cleaning glass mechanism that simplifies maintenance, allowing homeowners to enjoy their fireplace without the hassle of frequent cleaning.
The construction of the DVS Insert EF II emphasizes durability and longevity. Made from high-quality materials, this insert is designed to withstand the rigors of daily use while providing years of efficient heating. The heat exchanger technology maximizes heat output while minimizing the consumption of fuel, making it an economical choice for homeowners.
Overall, the Avalon Stoves DVS Insert EF II is a compelling choice for those seeking a powerful, efficient, and aesthetically pleasing heating solution. Its combination of innovative technologies, user-friendly features, and elegant design positions it as a top contender in the wood stove market, providing both comfort and style for any home. Whether you are looking to replace an old insert or add a new feature to your living space, the Avalon DVS Insert EF II stands out as an exemplary option.

