SEARCHING CHANNELS
Press MENU key and go to INSTALL. Select Channel Search.
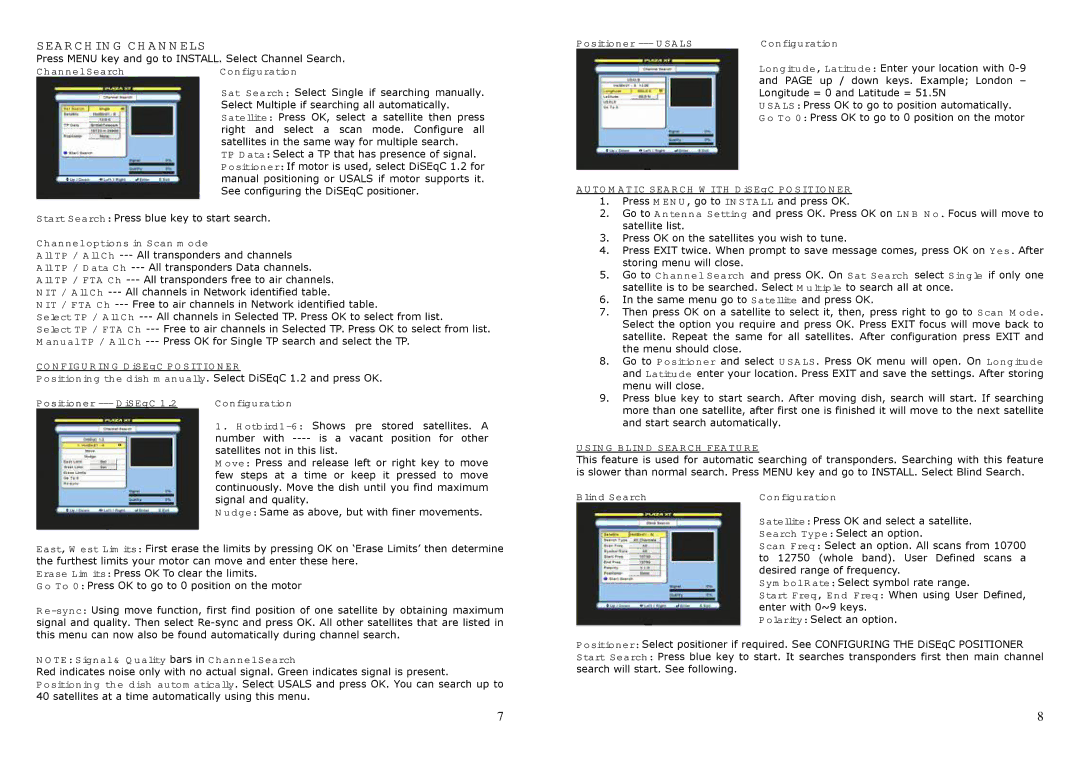
Channel Search | Configuration |
| Sat Search: Select Single if searching manually. |
| Select Multiple if searching all automatically. |
| Satellite: Press OK, select a satellite then press |
| right and select a scan mode. Configure all |
| satellites in the same way for multiple search. |
| TP Data: Select a TP that has presence of signal. |
| Positioner: If motor is used, select DiSEqC 1.2 for |
| manual positioning or USALS if motor supports it. |
| See configuring the DiSEqC positioner. |
Start Search: Press blue key to start search.
Channel options in Scan mode
All TP / All Ch
All TP / FTA Ch
NIT / FTA Ch
Select TP / All Ch
Select TP / FTA Ch
CONFIGURING DiSEqC POSITIONER
Positioning the dish manually. Select DiSEqC 1.2 and press OK.
Positioner | Configuration |
| 1. |
| number with |
| satellites not in this list. |
| Move: Press and release left or right key to move |
| few steps at a time or keep it pressed to move |
| continuously. Move the dish until you find maximum |
| signal and quality. |
| Nudge: Same as above, but with finer movements. |
East, West Limits: First erase the limits by pressing OK on ‘Erase Limits’ then determine the furthest limits your motor can move and enter these here.
Erase Limits: Press OK To clear the limits.
Go To 0: Press OK to go to 0 position on the motor
NOTE: Signal & Quality bars in Channel Search
Red indicates noise only with no actual signal. Green indicates signal is present. Positioning the dish automatically. Select USALS and press OK. You can search up to 40 satellites at a time automatically using this menu.
Positioner | Configuration |
Longitude, Latitude: Enter your location with
USALS: Press OK to go to position automatically.
Go To 0: Press OK to go to 0 position on the motor
AUTOMATIC SEARCH WITH DiSEqC POSITIONER
1.Press MENU, go to INSTALL and press OK.
2.Go to Antenna Setting and press OK. Press OK on LNB No. Focus will move to satellite list.
3.Press OK on the satellites you wish to tune.
4.Press EXIT twice. When prompt to save message comes, press OK on Yes. After storing menu will close.
5.Go to Channel Search and press OK. On Sat Search select Single if only one satellite is to be searched. Select Multiple to search all at once.
6.In the same menu go to Satellite and press OK.
7.Then press OK on a satellite to select it, then, press right to go to Scan Mode. Select the option you require and press OK. Press EXIT focus will move back to satellite. Repeat the same for all satellites. After configuration press EXIT and the menu should close.
8.Go to Positioner and select USALS. Press OK menu will open. On Longitude and Latitude enter your location. Press EXIT and save the settings. After storing menu will close.
9.Press blue key to start search. After moving dish, search will start. If searching more than one satellite, after first one is finished it will move to the next satellite and start search automatically.
USING BLIND SEARCH FEATURE
This feature is used for automatic searching of transponders. Searching with this feature is slower than normal search. Press MENU key and go to INSTALL. Select Blind Search.
Blind Search | Configuration |
| Satellite: Press OK and select a satellite. |
| Search Type: Select an option. |
| Scan Freq: Select an option. All scans from 10700 |
| to 12750 (whole band). User Defined scans a |
| desired range of frequency. |
| Symbol Rate: Select symbol rate range. |
| Start Freq, End Freq: When using User Defined, |
| enter with 0~9 keys. |
| Polarity: Select an option. |
Positioner: Select positioner if required. See CONFIGURING THE DiSEqC POSITIONER
Start Search: Press blue key to start. It searches transponders first then main channel search will start. See following.
7 | 8 |
