Maintenance
Check the Air Filter Often
A wet or dirty air filter can affect the way your engine starts, performs, and wears. So, it’s a good idea to check your air filter once a month.
If you work in dusty soil, or if you want to be on the safe side — then check your filter more often (for instance, before each use). But be sure to replace it at least once a year, in the spring or fall.
How to Check, Clean and Change the Air Filter
1.The air filter is held in the air cleaner in a black housing on the side of the tiller, behind the gas tank cap.
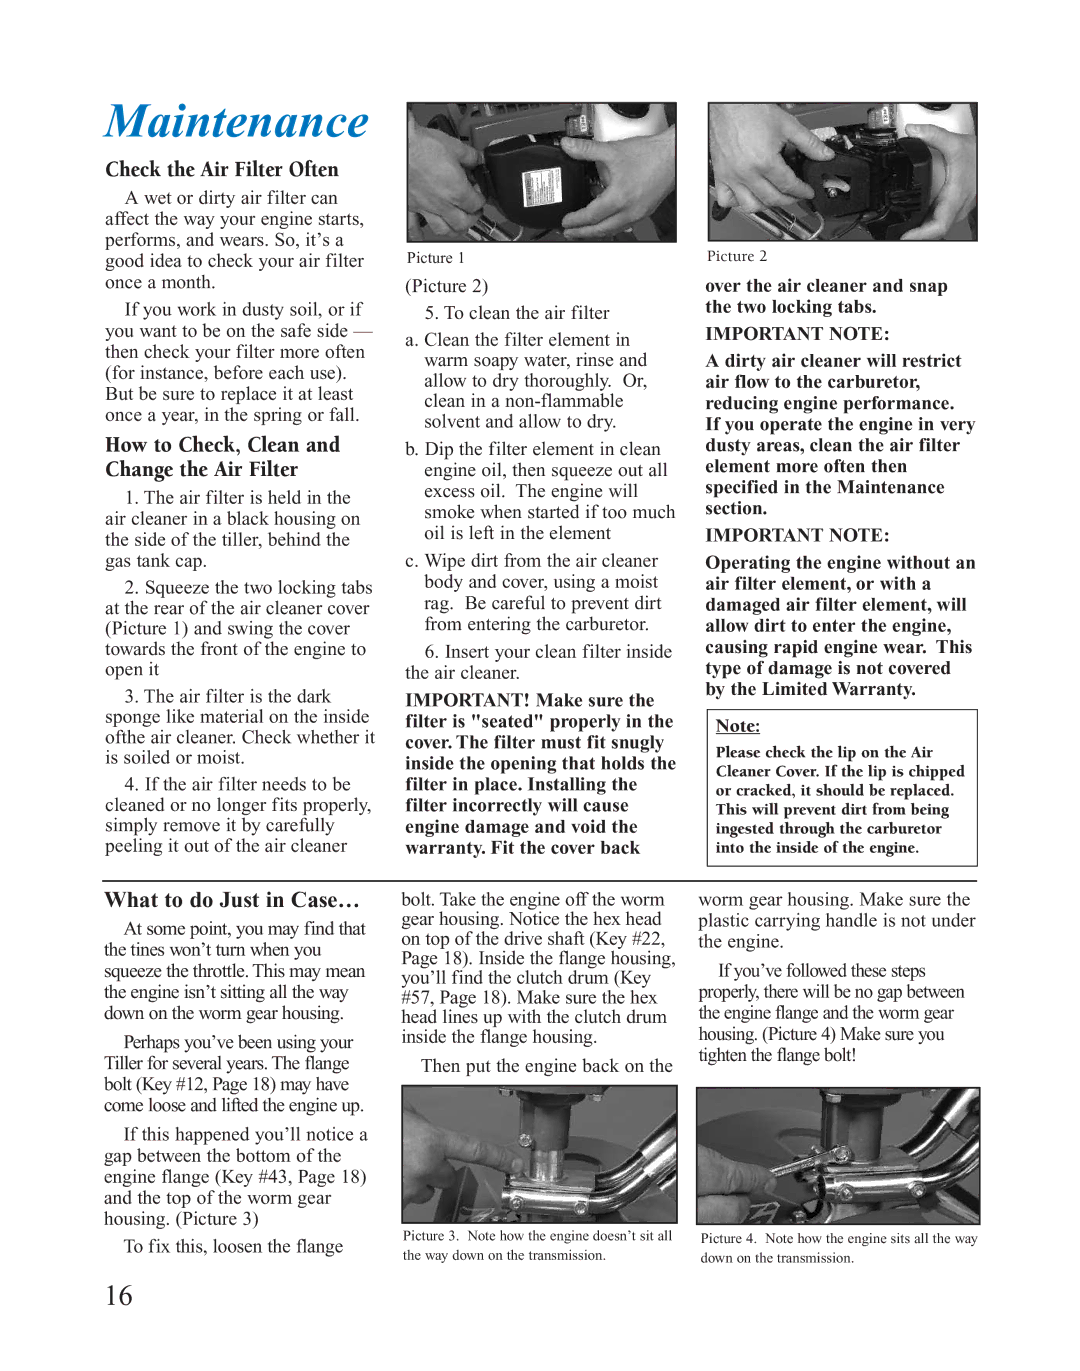
2.Squeeze the two locking tabs at the rear of the air cleaner cover (Picture 1) and swing the cover towards the front of the engine to open it
3.The air filter is the dark
sponge like material on the inside ofthe air cleaner. Check whether it is soiled or moist.
4.If the air filter needs to be cleaned or no longer fits properly, simply remove it by carefully peeling it out of the air cleaner
Picture 1
(Picture 2)
5.To clean the air filter
a.Clean the filter element in warm soapy water, rinse and allow to dry thoroughly. Or, clean in a
b.Dip the filter element in clean engine oil, then squeeze out all excess oil. The engine will smoke when started if too much oil is left in the element
c.Wipe dirt from the air cleaner body and cover, using a moist rag. Be careful to prevent dirt from entering the carburetor.
6.Insert your clean filter inside the air cleaner.
IMPORTANT! Make sure the filter is "seated" properly in the cover. The filter must fit snugly inside the opening that holds the filter in place. Installing the filter incorrectly will cause engine damage and void the warranty. Fit the cover back
Picture 2
over the air cleaner and snap the two locking tabs.
IMPORTANT NOTE:
A dirty air cleaner will restrict air flow to the carburetor, reducing engine performance. If you operate the engine in very dusty areas, clean the air filter element more often then specified in the Maintenance section.
IMPORTANT NOTE:
Operating the engine without an air filter element, or with a damaged air filter element, will allow dirt to enter the engine, causing rapid engine wear. This type of damage is not covered by the Limited Warranty.
Note:
Please check the lip on the Air Cleaner Cover. If the lip is chipped or cracked, it should be replaced. This will prevent dirt from being ingested through the carburetor into the inside of the engine.
What to do Just in Case…
At some point, you may find that the tines won’t turn when you squeeze the throttle. This may mean the engine isn’t sitting all the way down on the worm gear housing.
Perhaps you’ve been using your Tiller for several years. The flange bolt (Key #12, Page 18) may have come loose and lifted the engine up.
If this happened you’ll notice a gap between the bottom of the engine flange (Key #43, Page 18) and the top of the worm gear housing. (Picture 3)
bolt. Take the engine off the worm gear housing. Notice the hex head on top of the drive shaft (Key #22, Page 18). Inside the flange housing, you’ll find the clutch drum (Key #57, Page 18). Make sure the hex head lines up with the clutch drum inside the flange housing.
Then put the engine back on the
worm gear housing. Make sure the plastic carrying handle is not under the engine.
If you’ve followed these steps properly, there will be no gap between the engine flange and the worm gear housing. (Picture 4) Make sure you tighten the flange bolt!
To fix this, loosen the flange
Picture 3. Note how the engine doesn’t sit all | Picture 4. Note how the engine sits all the way |
the way down on the transmission. | down on the transmission. |
16
