D.Assemble the tines for tilling
Assembling the tines for tilling
1.Remove the cardboard from around your Tiller’s base.
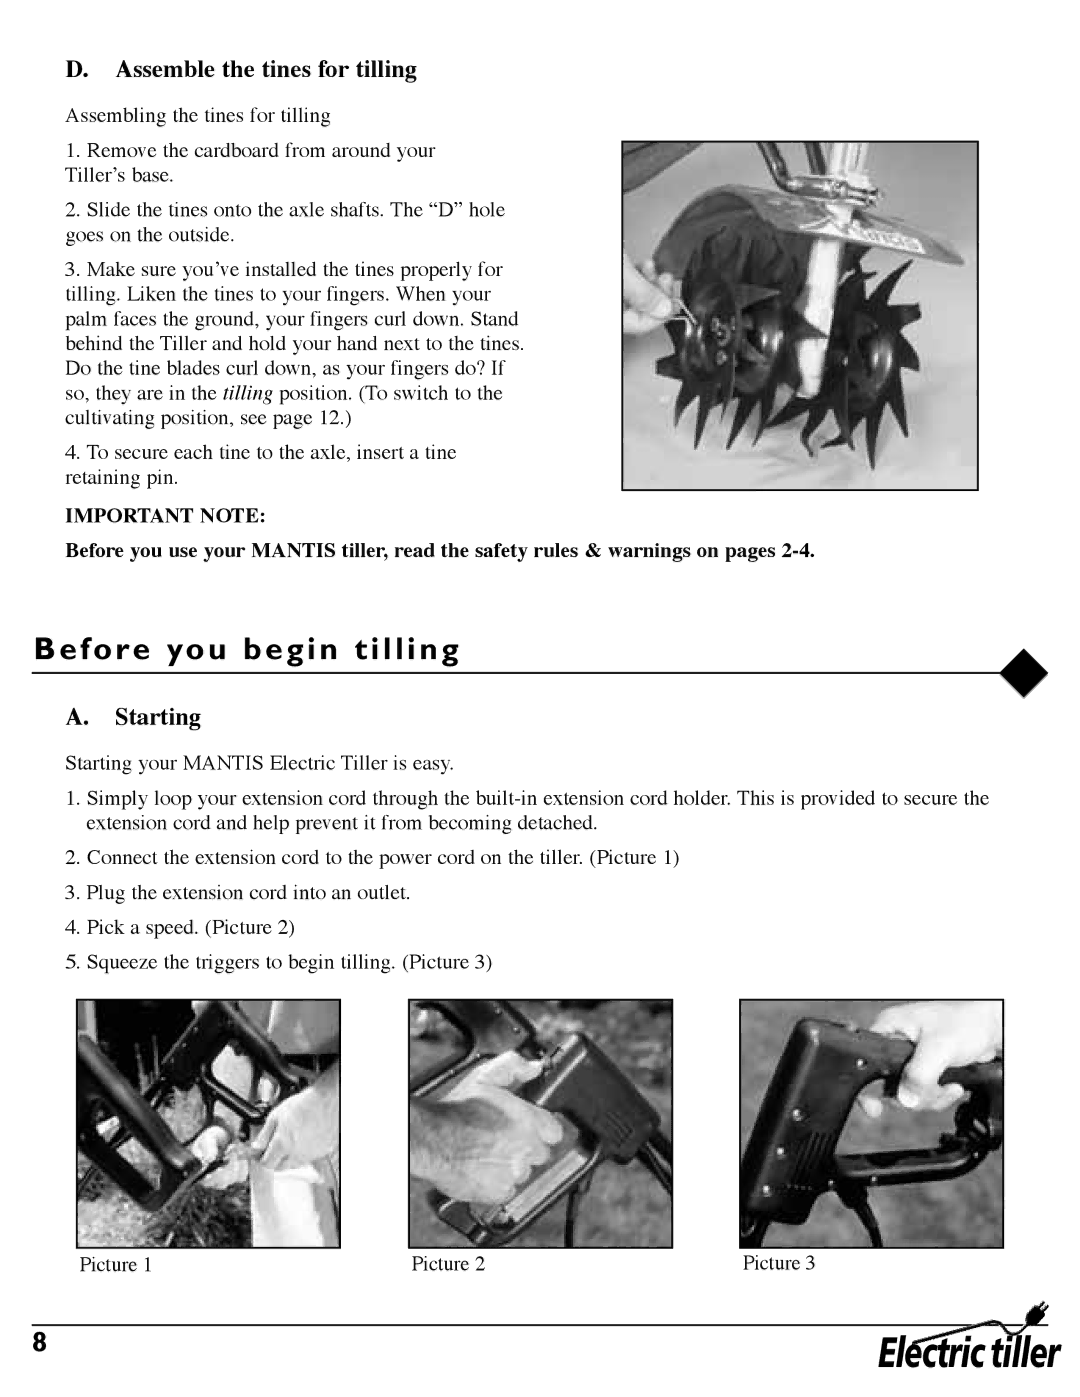
2.Slide the tines onto the axle shafts. The “D” hole goes on the outside.
3.Make sure you’ve installed the tines properly for tilling. Liken the tines to your fingers. When your palm faces the ground, your fingers curl down. Stand behind the Tiller and hold your hand next to the tines. Do the tine blades curl down, as your fingers do? If so, they are in the tilling position. (To switch to the cultivating position, see page 12.)
4.To secure each tine to the axle, insert a tine retaining pin.
IMPORTANT NOTE:
Before you use your MANTIS tiller, read the safety rules & warnings on pages
Before you begin tilling
A.Starting
Starting your MANTIS Electric Tiller is easy.
1.Simply loop your extension cord through the
2.Connect the extension cord to the power cord on the tiller. (Picture 1)
3.Plug the extension cord into an outlet.
4.Pick a speed. (Picture 2)
5.Squeeze the triggers to begin tilling. (Picture 3)
Picture 1 | Picture 2 | Picture 3 |
8 | Electric tiller |
|