CDR631 specifications
The Marantz CDR631 is a sophisticated CD recorder and player that expertly combines performance, versatility, and ease of use. Designed for audiophiles and casual listeners alike, the CDR631 encapsulates years of engineering expertise, delivering reliable and high-quality playback and recording capabilities.At the heart of the Marantz CDR631 lies its ability to record audio from various sources, including CDs, vinyl records, and other analog inputs. Equipped with analog inputs and outputs alongside digital connections, the CDR631 provides seamless integration into any audio setup. The unit supports recording on standard CD-R and CD-RW discs, allowing users to create compilations of their favorite music, mix live performances, or even digitize vinyl collections.
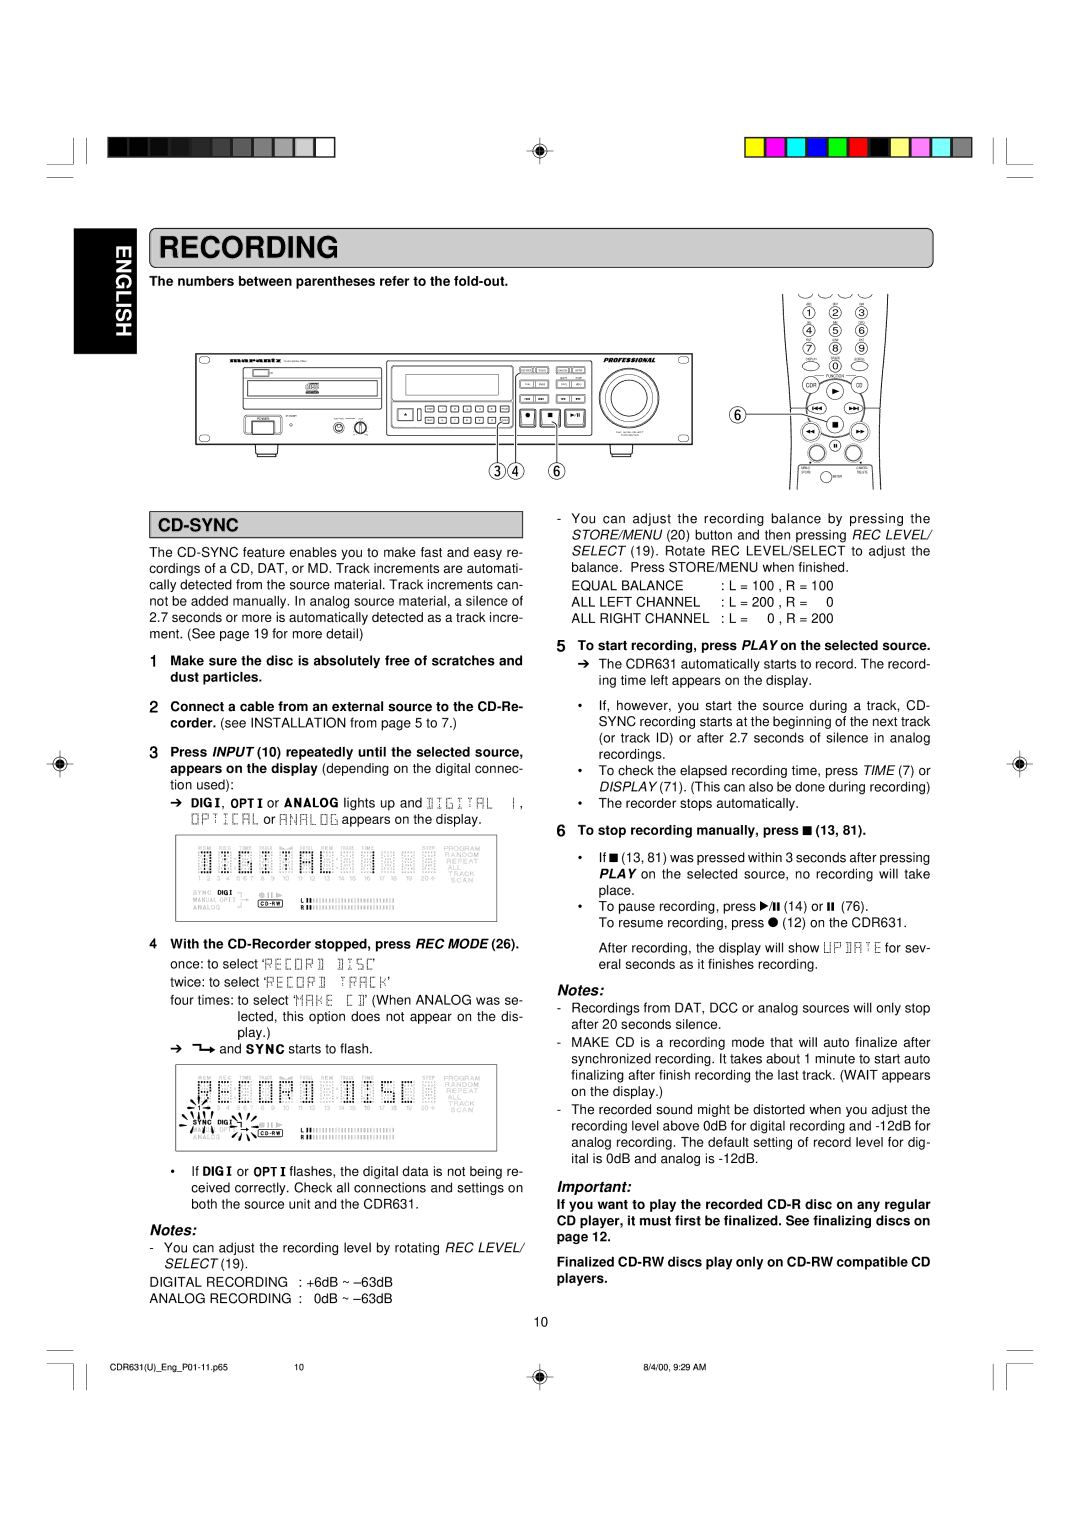
One of the standout features of the CDR631 is its user-friendly interface. It boasts a straightforward control layout, including a large LCD display that shows track information, disc status, and other essential data at a glance. The jog wheel and direct access buttons enhance navigation, ensuring that users can swiftly and easily manage their recordings and playbacks.
In terms of sound quality, the CDR631 does not disappoint. It incorporates advanced digital audio processing technologies that help minimize distortion and enhance clarity. With its high-performance digital-to-analog converter (DAC), music playback is crisp and immersive. Additionally, the CDR631 supports a wide range of audio formats, making it compatible with various music media.
Another remarkable feature is the built-in editing capabilities, which enable users to trim, split, or combine tracks directly on the device. This functionality is invaluable for users looking to create custom recordings without the need for complex audio editing software. The CDR631 also includes a programmable remote control, allowing for convenient operation from any location in the room.
The build quality of the Marantz CDR631 reflects the brand's commitment to excellence. Its classic design, with a robust chassis and premium finish, is not only aesthetically pleasing but ensures durability and longevity. This CD recorder is also designed with user convenience in mind, featuring quick setup and intuitive operation, making it an excellent choice for both beginners and experienced audiophiles.
Overall, the Marantz CDR631 is a highly capable CD recorder and player that stands out for its sound quality, versatile recording options, and user-friendly design. Whether you're looking to create custom music compilations, preserve old recordings, or enjoy your favorite CDs, the CDR631 delivers an exceptional audio experience with reliability and performance at its core.