Getting started
ENGLISH
Getting
Thank you for purchasing this marantz product. To ensure proper operation, please read this user guide carefully before using the product.
After reading them, be sure to keep them for future reference.
Contents
Getting started················································································1
Accessories···················································································1 About this manual·········································································1 Features························································································2 Cautions on handling·····································································2
Part names······················································································3
Front panel····················································································3 Rear panel·····················································································3
Connections····················································································4
Preparations··················································································4 Speaker connections·····································································4 Example connection variation························································5 Connecting MM8077 with an AV
Operations·······················································································9
Turning the power on····································································9 Turning the power standby···························································9 Switching the illumination lamp ON/OFF······································9 Setting the power to standby automatically
(Auto standby function) ································································9
Explanation of terms····································································10
Troubleshooting···········································································10
Specifications················································································11
Index······························································································11
Accessories |
|
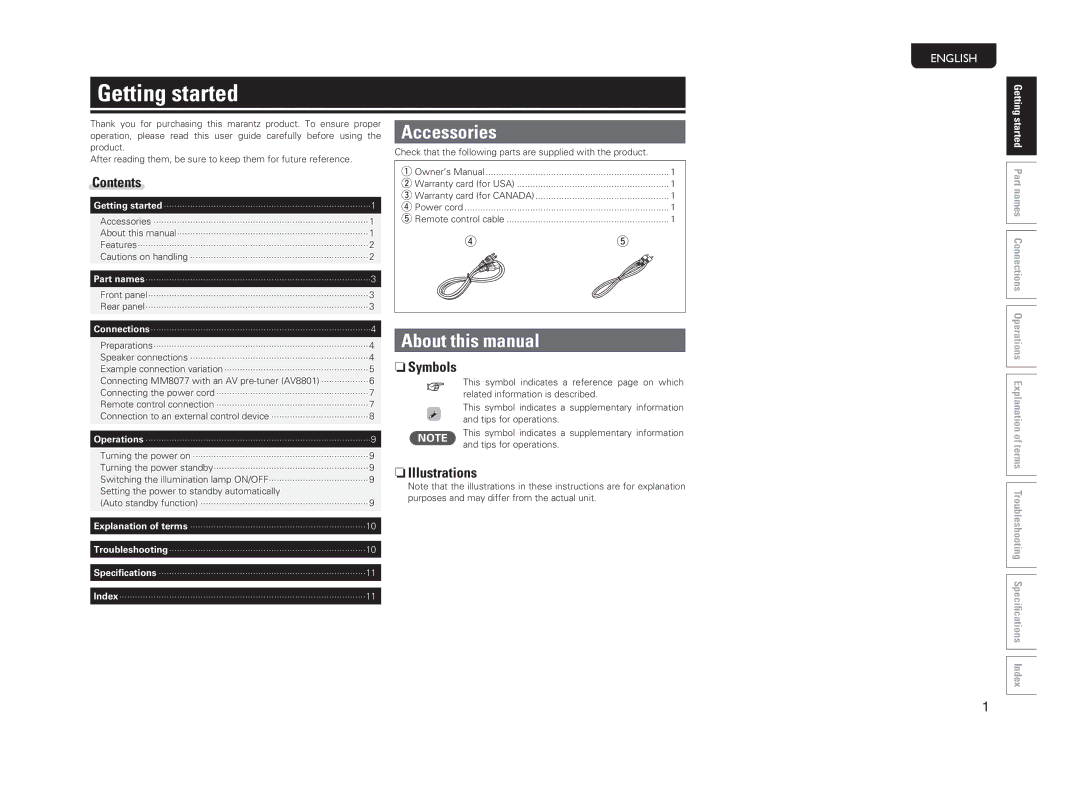
Check that the following parts are supplied with the product. |
|
q Owner’s Manual | 1 |
w Warranty card (for USA) | 1 |
e Warranty card (for CANADA) | 1 |
r Power cord | 1 |
t Remote control cable | 1 |
rt
About this manual
nnSymbols
vThis symbol indicates a reference page on which related information is described.
This symbol indicates a supplementary information and tips for operations.
NOTE | This symbol indicates a supplementary information | |
and tips for operations. | ||
|
nnIllustrations
Note that the illustrations in these instructions are for explanation purposes and may differ from the actual unit.
started Part names Connections Operations Explanation of terms Troubleshooting Specifications Index
1
